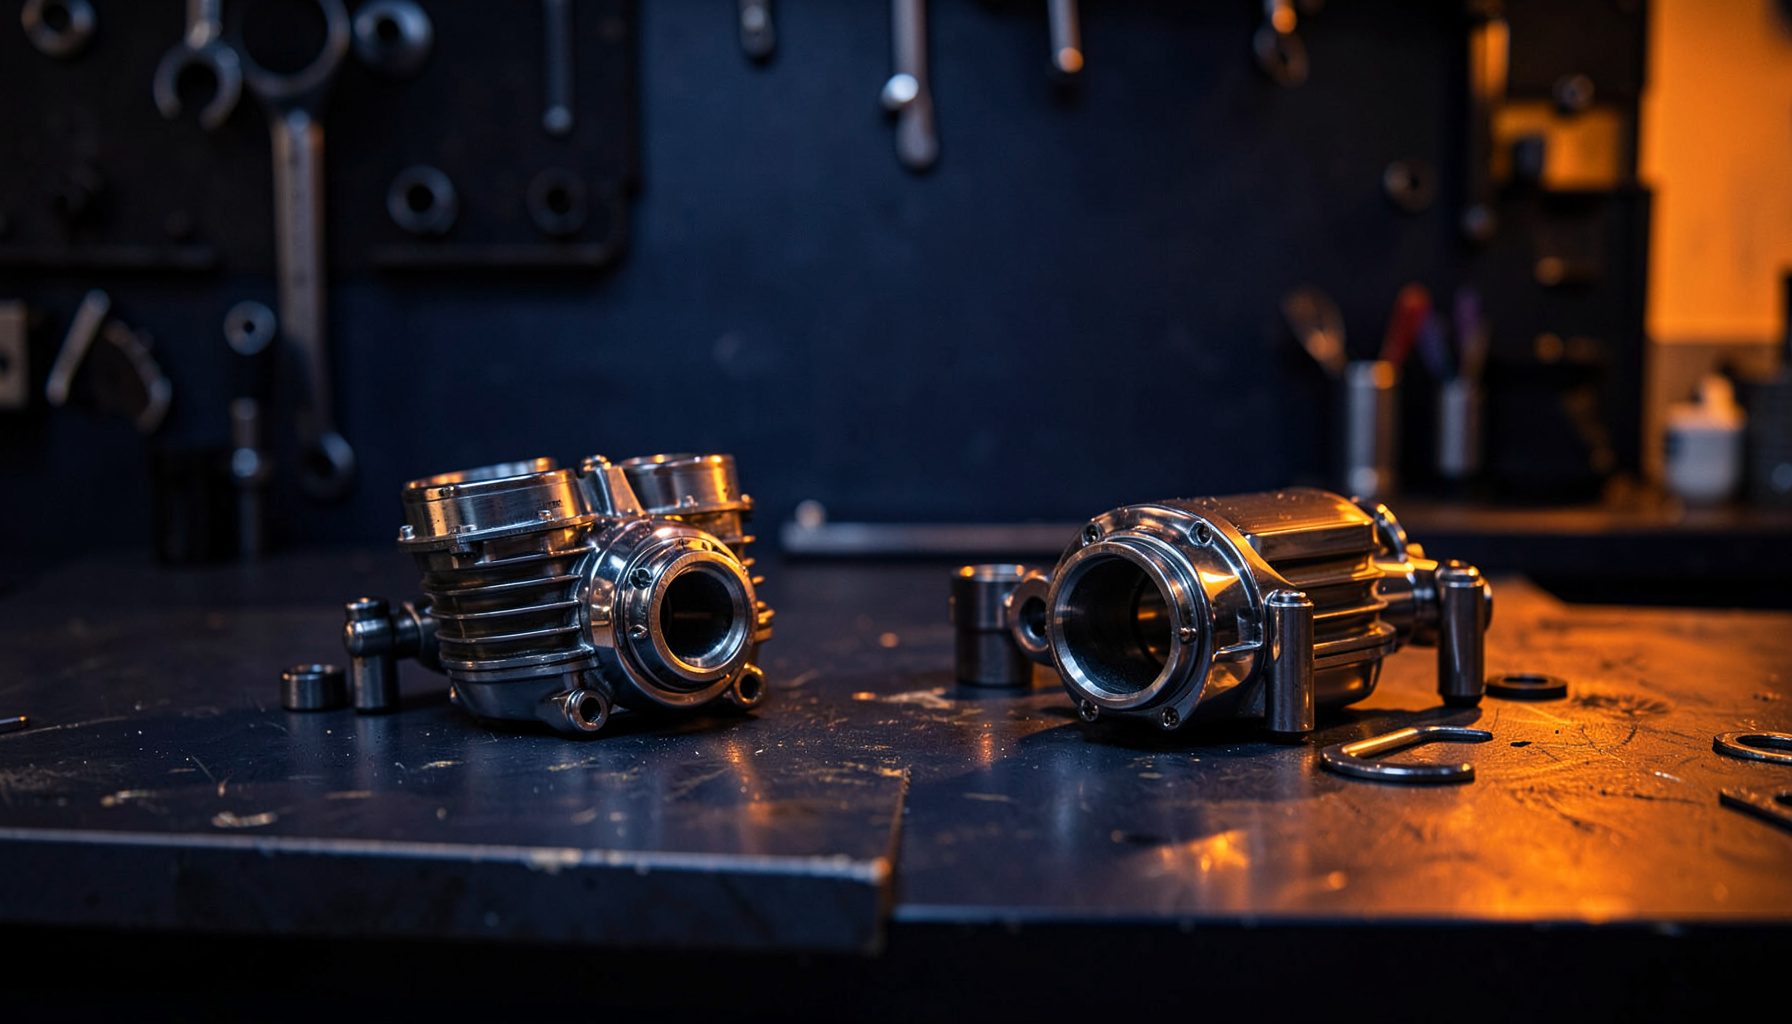
How To Bleed Motorcycle Brakes With Confidence
Brake bleeding is one of those maintenance tasks that feels intimidating the first time but quickly becomes routine once you understand the principle. Air trapped inside the hydraulic circuit compresses under pressure, which is what gives a lever that dreaded spongy feel. Pushing that air out and replacing it with fresh fluid restores firm bite and predictable stopping power on the road.
For riders in Sydney, Melbourne, and Brisbane, regular brake maintenance matters even more given the urban stop-start traffic most commuters deal with daily. Australian summers also push brake fluid temperatures higher than cooler climates, and moisture-laden fluid boils more easily when brakes are worked hard on a scorching day. Knowing how to bleed motorcycle brakes properly keeps you ahead of that risk.
Why Fresh Fluid Matters For Aussie Riders
Brake fluid is hygroscopic, meaning it pulls moisture straight out of the air. Every time you crack the master cylinder cap, top up the reservoir, or ride through a wet coastal storm like the ones that batter the Gold Coast, small amounts of water accumulate inside the lines. Over time this moisture lowers the boiling point of the fluid dramatically, and under hard braking the caliper can heat the mix past its boiling threshold.
The result is vapour lock, where a gas bubble forms in the line and the lever pushes back toward the bar instead of biting the disc. Across the LAMS-approved learner bikes and bigger touring machines alike, the fix is straightforward: flush the old fluid and replace it. Most workshops and experienced home mechanics recommend a complete bleed every one to two years, more often if you ride track days or live somewhere tropical.
Gathering The Right Tools And Fluid
Before you begin, line up everything you need within arm's reach. A clear vinyl hose that fits snugly over the bleed nipple is essential, along with a box spanner to match the nipple size, a clean catch jar, and fresh brake fluid from a sealed container. Many Australian riders also keep a turkey baster or large syringe on hand for extracting old fluid from the reservoir.
The fluid specification is critical. Stick with the rating printed on your master cylinder cap, usually DOT 4 for modern motorcycles, DOT 5.1 for higher-performance bikes, or the occasional older machine running DOT 3. Never mix silicone DOT 5 with the conventional glycol-based fluids because the two chemistries do not play nicely together. Sourcing gear from a reputable supplier keeps things simple, and you can read the brand background for context on the operation that stocks parts riders commonly order alongside a bleed kit.
Preparing The Bike And Work Area
Park the bike on a level concrete floor, ideally in a garage with good lighting and a stable stool for the rider end. Cover the tank and fairing with a rag in case of spills, because brake fluid strips paint very quickly. If the bike has been ridden recently, let the calipers cool before loosening anything.
Start by removing any rubber dust cap from the bleed nipple and giving the area a clean with brake cleaner or isopropyl alcohol. Top up the master cylinder reservoir with fresh fluid so it stays above the minimum line throughout the procedure, because running the piston dry introduces fresh air that defeats the purpose. Position the catch jar so the clear hose routes fluid downhill into it, and have a roll of paper towel ready for the inevitable drips.
Running Through The Bleed Process
The classic two-person method remains the most reliable for home garages. The helper sits on the bike and pumps the lever three or four times, holds it down firmly, and calls out when pressure is built. The mechanic opens the bleed nipple, lets fluid and air bubble out, then closes the nipple before the lever is released. Repeat the sequence, working from the caliper furthest from the master cylinder to the closest, until no more air bubbles appear.
| Brake Fluid | Dry Boiling Point | Wet Boiling Point | Typical Use | Notes |
|---|---|---|---|---|
| DOT 3 | 205 °C | 140 °C | Older commuter bikes | Hygroscopic, cheap |
| DOT 4 | 230 °C | 155 °C | Most modern motorcycles | Standard for street riding |
| DOT 5.1 | 260 °C | 180 °C | Sport and touring machines | Higher cost, racing friendly |
| DOT 5 | 260 °C | 180 °C | Custom and military vehicles | Silicone based, not mixable |
For riders working solo, a vacuum bleeder draws fluid through the system with hand or pump suction and removes the need for a helper, though it can occasionally leave micro-bubbles in the caliper. A reverse-bleed kit pushes fluid upward from the caliper, which purges air very effectively on ABS-equipped bikes found on many late-model machines sold across Australia.
Spotting And Fixing Common Mistakes
A lever that still feels soft after bleeding usually means air is trapped higher up, often in the master cylinder itself, so tilt the bars down slightly and try again. Over-tightened bleed nipples strip easily, so use the correct box spanner and finish with a gentle torque. If fluid leaks past the threads, a new sealing washer or a wrap of PTFE tape is the quick fix.
Avoid the temptation to keep the master cylinder cap off while you work, because moisture in humid coastal air quickly contaminates the supply. Some Australian home mechanics also overlook the front brake light switch that sits inside the reservoir on many bikes, and a soaked switch causes the light to stay on until the fluid dries out. A spare switch tucked in the toolbox saves a frustrating diagnostic session later.
Keeping Brakes Healthy Long Term
Between full flushes, monitor pad wear, especially on bikes that commute through Brisbane traffic or ferry riders across Melbourne's tram-lined streets. Worn pads push the pistons further out and let heat reach the fluid faster, so swap pads early rather than letting them grind on the discs.
A quick visual check of the hoses, banjo bolts, and caliper seals during each oil change catches slow leaks before they leave you stranded. On bikes parked outside during a Darwin wet season, consider stepping up to DOT 5.1 fluid, because tropical humidity tests even the best seals. Riders tackling the long stretches between outback roadhouses should also carry a small emergency bleed kit so a roadside repair stays straightforward.
Restocking Parts Before The Next Bleed
Set aside a clear Saturday morning, gather the kit, and bleed both circuits methodically. The whole job takes roughly an hour for a single caliper setup and a little longer for twin front discs on a sports bike. With fresh fluid in the lines, lever feel returns to sharp and consistent, and your bike stops the way the engineers intended. Browse the catalogue at Pattern Parts for replacement seals, hoses, banjo washers, and brake cleaner so every part of the maintenance job is covered in one Australian-friendly order.