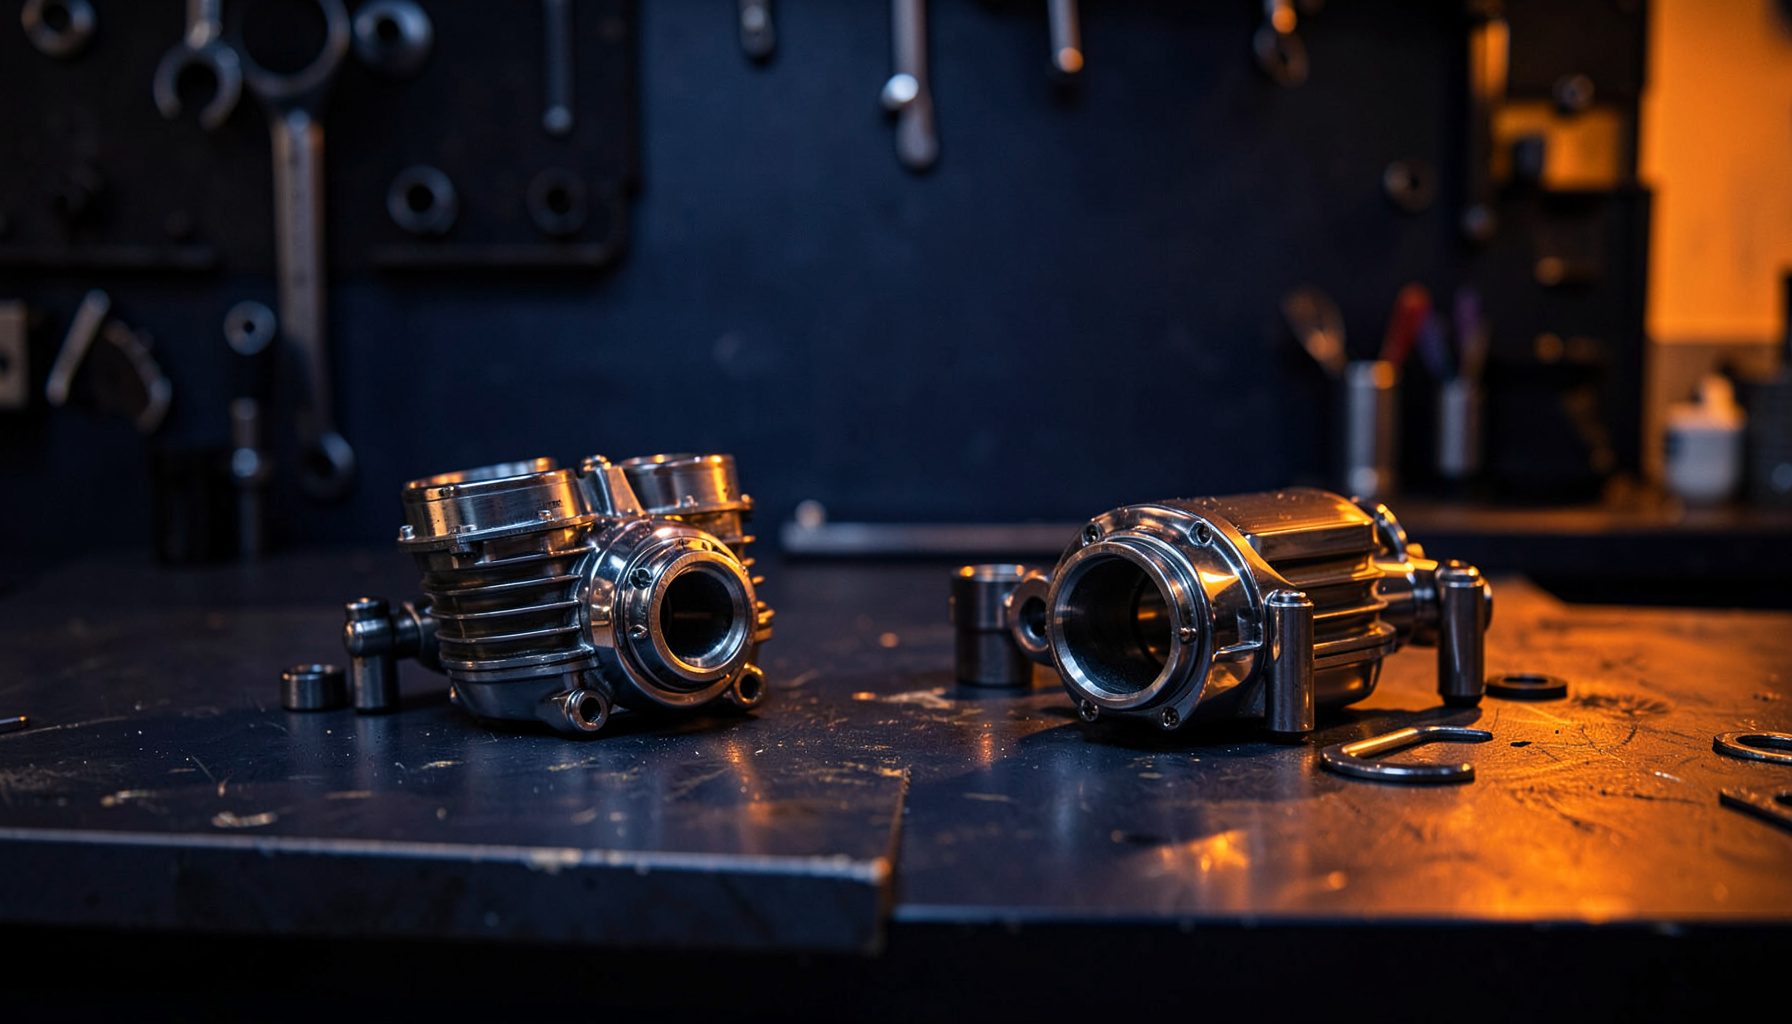
How to check and adjust motorcycle valve clearances at home
Valve clearance sounds intimidating at first but becomes straightforward once you understand the principle. On most four-stroke engines, the valve opens via a cam profile and closes via a spring, so there must always be a tiny gap between cam and valve component when the valve is shut. Too tight and the valve never fully seats, leading to burnt seats and lost compression. Too loose and you get a noisy top end, lazy throttle response, and accelerated cam wear.
For Australian riders logging big kays across the Plenty Highway or carving loops through the Yarra Ranges, getting this gap right matters more than you might think. Our summers push engines hard, and a clearance that was spot-on in a mild UK winter can cook a valve on a stinking-hot ride through central Queensland. This guide walks through the full process using basic tools, with notes specific to bikes commonly seen on local roads.
Why valve clearance drifts on Aussie bikes
Every engine specification is written for a particular operating temperature, and that figure assumes a fairly narrow band. When an engine runs consistently hotter than the design point, metal expands more than the engineer planned for, which closes the gap. Australia's climate, combined with slow-moving traffic through the cities or sustained highway speeds across the Nullarbor, gives many bikes far more heat soak than their design ever intended.
Vibration also plays a role. On bikes past 40,000 km, bucket shims wear into the cam lobe and the adjuster develops slop. If you ride a Honda CB400, Suzuki SV650, or Yamaha MT-07 with the occasional track day at Phillip Island, the clearances will almost certainly have moved from factory spec. Checking them every 10,000 to 20,000 km is cheap insurance.
Tools and parts to have on hand
The job requires very little. A good set of feeler blades, a small socket set, a torque wrench, a pair of circlip pliers if your bike uses shim-under-bucket, and a clean workspace are the essentials. If you're working on a bike with screw-and-locknut adjusters, you'll also need a ring spanner sized to the locknut and a flat screwdriver that fits the adjuster slot.
Before you start, grab the factory service manual for your model. The clearance figures vary wildly between engines and there is no universal number. A common Kawasaki inline-four wants 0.10 to 0.15 mm on the inlet, while a Triumph twin might be 0.15 to 0.20 mm. Pattern Parts stocks the shims, gaskets, and small fasteners you'll need. Working on a cold engine is also important, since heat dramatically changes the gap you measure.
Finding top dead centre and the timing marks
With the spark plugs out, turn the engine over by hand using a spanner on the crank bolt. Rotate until the timing mark on the rotor or cam sprocket lines up with its indicator. Orientation depends on whether you're checking inlet or exhaust and which cylinder is on its compression stroke. Place a finger over the spark plug hole; when pressure builds, that cylinder is rising on compression.
Most modern engines mark TDC clearly, but on older or modified bikes you may need to remove a timing cover or use a dial indicator. If the cam lobes are pointing in roughly the right direction, you're on the right stroke. Double-checking against the manual's diagram is worth the extra minute, especially on DOHC engines where each cam has its own timing mark.
Measuring the gap
Slide the appropriate feeler blade between the cam lobe and bucket, or between rocker arm and valve tip on older designs. The blade should slide in with a slight drag, not fall in loose and not require force. Try one size up and one size down to confirm. If the manual calls for 0.15 mm and a 0.15 mm blade drags while a 0.20 mm feels free, you're in spec.
For more precise work, especially on shim-under-bucket engines, a valve clearance gauge (also called a dial bore gauge or comparator) gives a more accurate reading than feeler blades alone. This is helpful when you're close to a service limit and need to know whether to leave it or adjust it. Whichever method you use, take the measurement with the engine stone cold and note the figures for both inlet and exhaust on each cylinder.
Making the adjustment
The adjustment method depends on your engine type. On most Japanese and modern European bikes, you'll remove the bucket, measure the existing shim, calculate the required shim thickness, and drop in a new one. Shims come in stepped sizes, often in 0.025 mm increments, so you'll usually find one within tolerance. Pattern Parts carries shim kits covering the popular Honda, Yamaha, Kawasaki, and Suzuki ranges, which saves a frustrating parts run.
Bikes with screw-and-locknut adjusters are quicker to set. Slacken the locknut, turn the adjuster screw until the feeler blade just drags, then nip up the locknut while holding the screw still. Recheck the clearance after tightening, as the locknut often shifts the gap slightly. Some racers prefer this method because it allows fine-tuning on the spot, but it requires more frequent checking than a solid shim.
Putting it back together and testing
Reassembly is the reverse of disassembly, but a few details matter. Torque the cam cap bolts to spec in a staggered pattern, replace the cam cover gasket if it's hardened or weeping, and double-check your timing marks before refitting the cover. Refit the spark plugs, reconnect sensors, and turn the engine over by hand to confirm nothing is binding.
A cold start is your first sanity check. The engine should fire immediately and settle into a smooth idle. Obvious tapping from the top end means the clearance is still too wide; an unusually quiet idle with the smell of unburnt fuel suggests you've gone too tight. Take it for a short ride around the block first, then a longer loop if everything feels right.
When the job is more than a weekend
Some situations call for a workshop rather than the driveway. If you find a clearance way outside spec and the bucket shows visible pitting, the cam may also need inspection. Interference engines where a valve has contacted a piston need immediate attention. If you're unsure beyond a straightforward shim swap, your local mechanic or a club day at Wakefield will often have experienced hands happy to chat. While you're thinking about chassis setup, it's also worth revisiting your suspension, since a properly sorted bike makes any engine work feel even better — see this guide to understanding motorcycle suspension setup for road riding for more on that side of things.
| Feature | Shim-under-bucket | Screw-and-locknut |
|---|---|---|
| Typical bikes | Modern Honda, Yamaha, Kawasaki, Suzuki, BMW | Older British twins, some Italian, classic UJMs |
| Tools required | Shim kit, micrometer, circlip pliers, feeler gauges | Feeler gauges, spanners, flat screwdriver |
| Adjustment precision | Very high, shims in 0.025 mm steps | Moderate, dependent on feel and locknut torque |
| Time per valve | 5–10 minutes once familiar | 2–4 minutes |
| Recheck interval | Every 10,000–20,000 km | Every 5,000–10,000 km |
| Skill level | Intermediate | Beginner friendly |
If you've been putting off this job because it looks complicated, start with the manual open and the right shim kit on hand. Most home mechanics get their first valve clearance check done in an arvo, and a quieter top end and smoother idle are hard to beat. Order your shims and gaskets from Pattern Parts before you start, and you'll have everything in one delivery. Too easy.