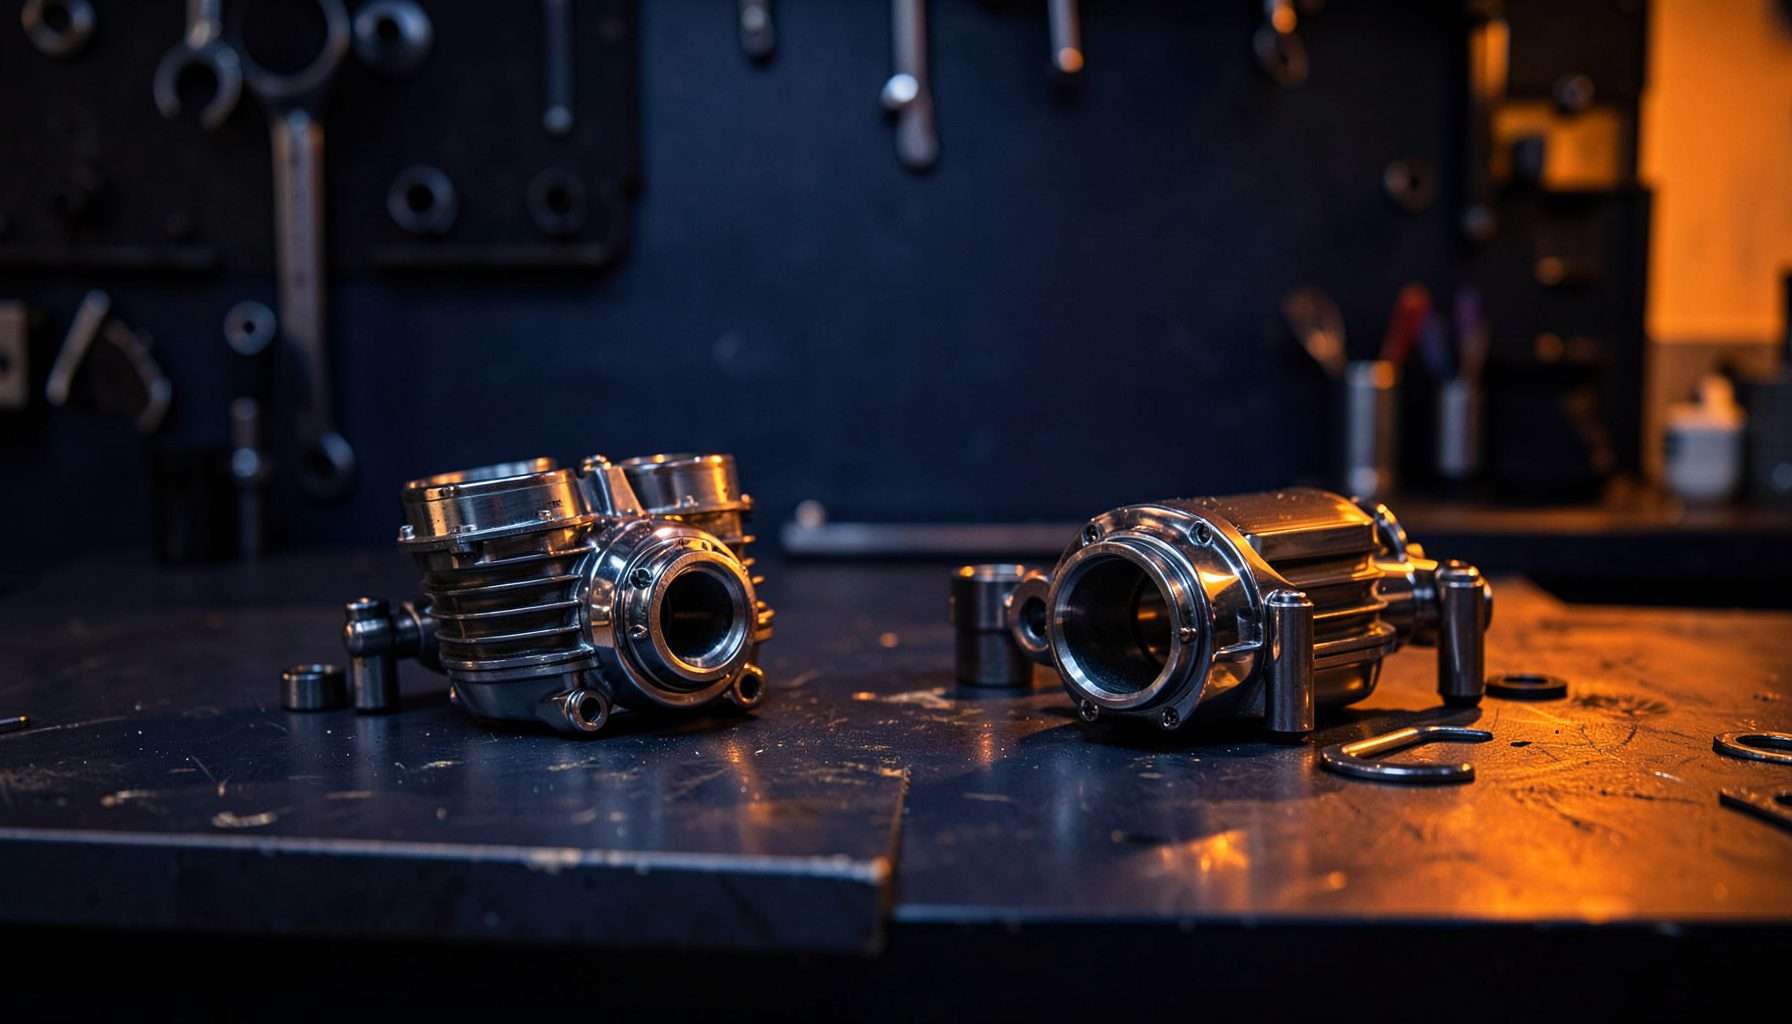
How to Clean and Sync Motorcycle Carburetors
A motorcycle with dirty or poorly balanced carburetors may start reluctantly, hesitate when you open the throttle, surge at steady speed, or return poor fuel economy. Cleaning removes varnish and debris from the fuel passages, while synchronising ensures each cylinder receives a balanced airflow at idle and through the lower throttle range.
The job suits a careful home mechanic, although it requires patience and accurate adjustment. Australian riding conditions can make carburettor maintenance particularly worthwhile: dusty outback roads, humid coastal weather, long periods of storage, and fuel containing ethanol can all contribute to deposits or degraded rubber components.
Why Carburettor Condition Matters
A multi-cylinder engine uses separate carburettors that must work together. If one throttle plate opens earlier than the others, the engine can shake at idle, respond unevenly, or feel flat when pulling away. An air leak, blocked pilot jet, or incorrect float height can create similar symptoms, so cleaning and synchronisation should form part of a broader diagnosis.
Before removing anything, check the basics. Inspect the air filter, fuel tap, intake boots, spark plugs, and throttle cable. A blocked filter or split intake manifold can imitate a carburettor fault, while stale petrol may leave gum inside the float bowls. Make a note of the original idle speed and mixture screw positions where accessible.
Prepare The Work Area And Tools
Work in a well-ventilated place away from naked flames, heaters, and electrical sparks. Petrol vapour is highly flammable, and carburettor cleaner can irritate skin and eyes. Place a clean tray beneath the motorcycle and label hoses, electrical connectors, jets, and brackets as they come off.
Useful equipment includes screwdrivers with correctly sized tips, small spanners, needle-nose pliers, a fuel-safe container, compressed air, replacement gaskets, and a synchronising gauge set or manometer. A workshop manual is valuable for torque settings, float height, pilot screw procedure, and the correct vacuum take-off points.
Good preparation prevents lost parts and makes reassembly faster.
- Photograph hose routing and cable positions before dismantling.
- Drain the fuel bowls into a suitable container rather than onto the ground.
- Use fresh petrol and a clean, approved fuel container.
- Replace damaged O-rings, bowl gaskets, intake boots, and vacuum caps.
- Keep each jet and needle with its original carburettor where practical.
- Avoid steel wire in small brass jets, as it can enlarge the calibrated opening.
Remove The Carburettor Assembly
Turn off the fuel supply and disconnect the battery if the motorcycle’s service procedure requires it. Remove the seat, side covers, tank, and airbox components carefully. On some Australian-market motorcycles, access can be tight around emissions equipment, vacuum-operated taps, or evaporative hoses, so mark every connection before pulling the bank of carburettors free.
Loosen the intake and airbox clamps, then disconnect the throttle cables, choke or enricher cable, fuel line, and vacuum hoses. Do not force the assembly against the rubber manifolds. Warm rubber may release more easily, but never use an open flame or excessive heat near fuel.
Place the removed carburettors on a clean bench. If the bank does not need to be separated, leave the linkages and balance screws undisturbed until cleaning is complete.
Clean The Jets And Fuel Passages
Remove the float bowls and inspect them for rust, sediment, or a sticky amber film. Take out the main jets, pilot jets, emulsion tubes, float pins, needle valves, and mixture screws according to the manual. Count mixture screw turns gently before removal so the original setting can be restored.
Spray a dedicated carburettor cleaner through each passage and follow it with compressed air. Hold small components securely because air pressure can launch them across the workshop. Every jet should show a clear, round opening when held up to a suitable light. Do not rely on spraying the outside of a jet; internal varnish can remain in place.
Avoid soaking plastic parts, diaphragms, painted surfaces, and rubber seals in aggressive solvent. If a CV slide diaphragm is torn, pinched, or hardened, it will need replacement rather than cleaning.
Inspect Floats, Needles, And Seals
Check each float for fuel inside it by gently shaking it. A saturated float cannot regulate the fuel level correctly and may cause flooding. Inspect the float needle tip and its seat for grooves, corrosion, or contamination. Replace worn parts rather than trying to polish away damage.
Measure float height in the position specified by the manufacturer, using the correct reference point. This setting varies between motorcycles, and turning the carburettor upside down can compress the needle spring and produce a false measurement. Incorrect float height can cause rich running, lean hesitation, overflowing bowls, or hard starting.
Fit clean jets and new seals where required. On bikes regularly ridden through Queensland humidity or parked near the coast, pay close attention to corrosion on screws, brackets, and electrical connectors.
Synchronise The Carburettors
After reinstalling the carburettors and checking for intake leaks, warm the engine fully. Connect the vacuum gauges to the manufacturer’s specified ports, replacing any removed vacuum caps securely. Keep the hoses clear of the exhaust and moving parts, and use a small fan if the motorcycle must idle for an extended period.
Set the idle speed to the manual’s specification before adjusting the balance screws. Open the throttle briefly and allow the readings to settle. Adjust the synchronising screws in small increments, aiming for closely matched vacuum readings at idle. Each adjustment can affect the others, so move around the bank progressively instead of turning one screw repeatedly.
A balanced reading does not compensate for incorrect valve clearance, ignition timing, compression, or a vacuum leak. If the gauges fluctuate heavily, investigate the engine and intake system rather than chasing unstable readings.
Reassemble And Test Ride Carefully
Refit the airbox, cables, hoses, tank, and bodywork, ensuring the throttle snaps closed from full lock in both directions. Check that the choke or enricher operates correctly and that no fuel line is kinked. Turn on the fuel supply and inspect the carburettor area for leaks before starting the engine.
Start the motorcycle and confirm a steady idle, clean throttle response, and normal choke operation. Let it cool, then recheck accessible fasteners and hose connections. On the first ride, stay close to home and avoid busy traffic or remote routes until you are satisfied that the engine accelerates cleanly and returns to idle properly.
Australian riders often say a bike is “running sweet” when throttle response is crisp and predictable. A short test ride on local roads can reveal issues that are not obvious on a workshop stand, but avoid making mixture changes without reading the manufacturer’s procedure.
Use the right parts and a methodical process when servicing your fuel system. Pattern Parts supplies motorcycle filters, gaskets, fuel-system components, ignition parts, and other maintenance items for a wide range of models, helping riders match replacement parts to the job rather than relying on improvised repairs.
Clean your carburettors, balance the vacuum readings, and inspect the result before returning to longer rides. For touring across regional New South Wales, Victoria, or Western Australia, carry basic tools and confirm the motorcycle is reliable before leaving areas where parts and roadside assistance may be limited.