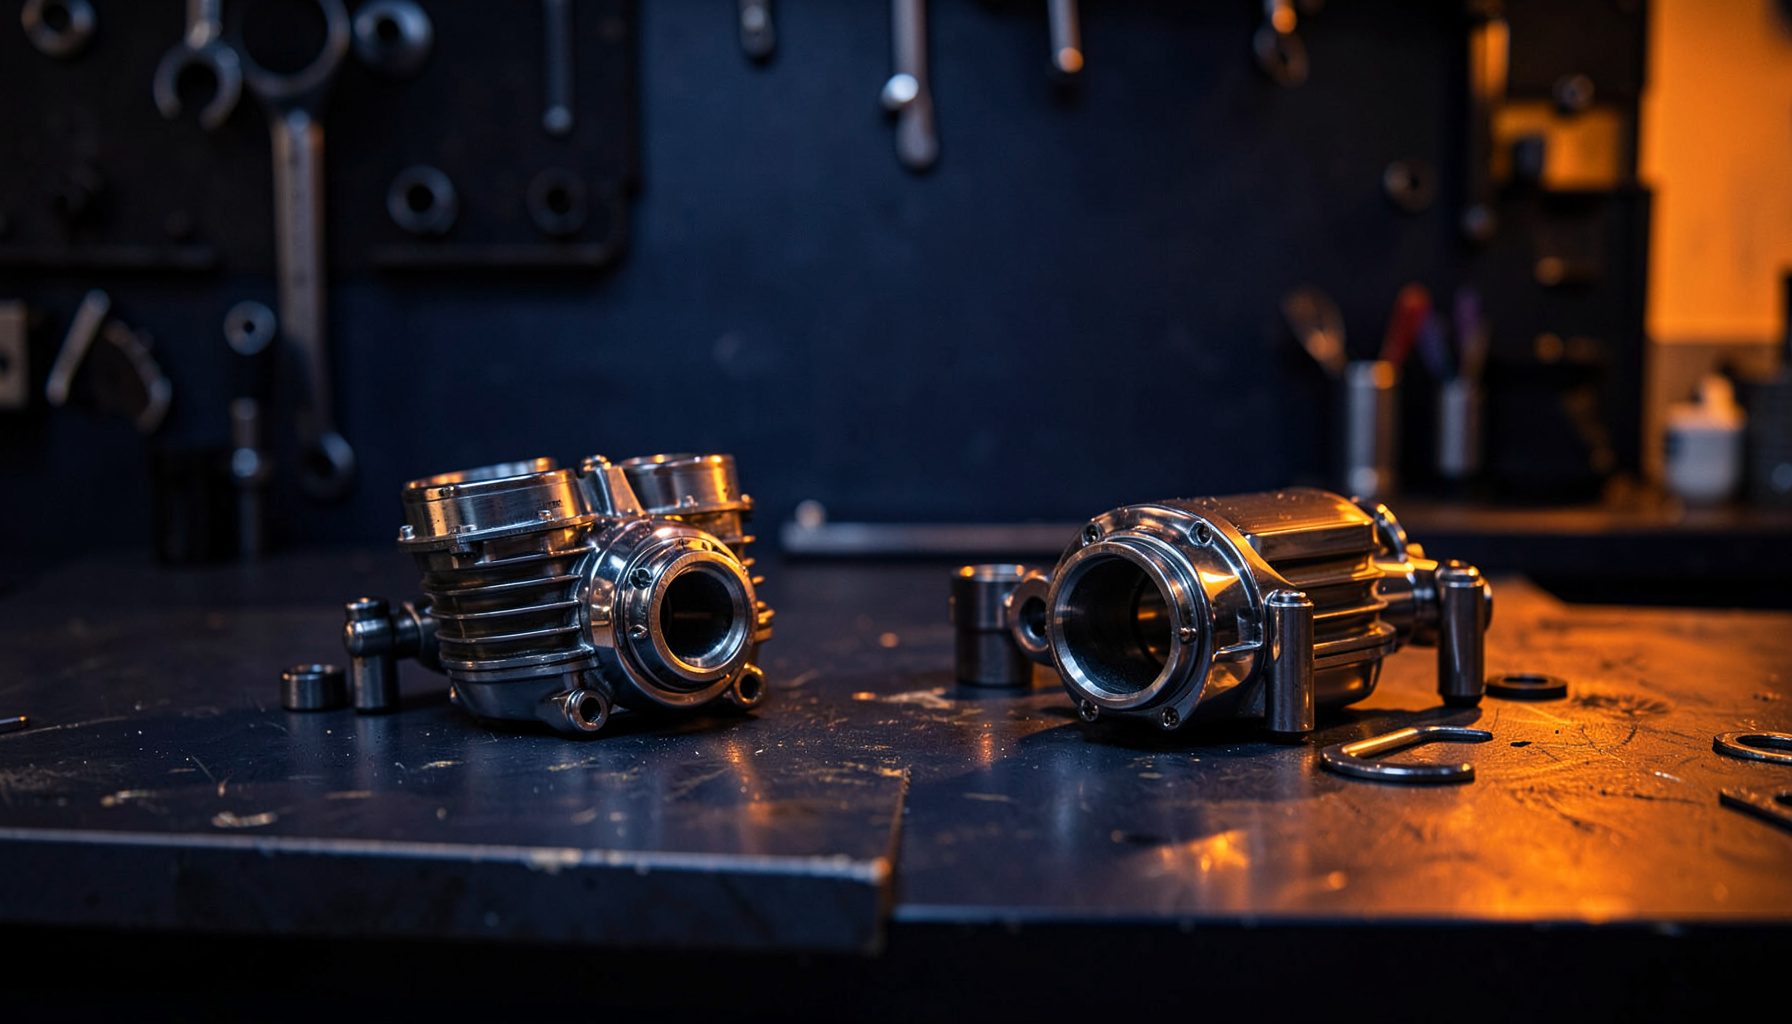
How to Diagnose a Failing Motorcycle Regulator Rectifier
The regulator rectifier sits at the heart of every motorcycle charging system, quietly converting the stator's alternating current into the direct current that keeps the battery topped up and the lights burning. When it starts to fail, symptoms creep in slowly, and many riders blame the battery before suspecting this small aluminium box tucked behind a side panel.
A methodical test with a multimeter will tell you in under an hour whether the unit, the stator, or the battery is at fault. For Australian riders dealing with Brisbane heatwaves, outback NSW dust, and salty coastal air around Wollongong, that diagnostic confidence pays off before any big ride.
What the regulator rectifier actually does
The component does two jobs in one housing. The rectifier half converts AC from the stator into DC that the battery stores, while the regulator half clamps voltage to a safe ceiling so the battery, ECU, and lighting never see a damaging spike. Most bikes use a shunt-type design, while premium aftermarket replacements use MOSFET internals that run cooler and last longer.
Because the unit sheds excess voltage as heat, it relies on airflow across its fins. Mount it behind a tight cover or near the exhaust and it cooks well before its time. In Australia, where many riders commute through stop-start traffic on hot February afternoons and park outdoors overnight, that heat soak adds up fast.
Warning signs that point to a failing unit
A battery that goes flat overnight is the most common complaint, and it sends plenty of riders to the parts shop for a replacement when the real culprit is elsewhere. Watch for headlights that brighten as you rev and dim at idle, a battery that bubbles or loses water faster than normal, and a charging warning light that flickers when you blip the throttle.
Accessories such as heated grips, LED light bars, and phone chargers draw extra current, and a marginal rectifier often fails the moment a third accessory is plugged in. Blown fuses and burnt bulbs at high RPM also point to voltage climbing above the safe ceiling. When two or more of these symptoms appear together, treat the charging system as a whole rather than chasing parts one at a time.
Tools and preparation before testing
A digital multimeter that reads DC volts, AC volts, and resistance to two decimal places is essential, along with the bike's workshop manual showing the stator pinout and target charging voltage. Add a basic socket set, contact cleaner, and a torque wrench, and the kit is complete.
Riders planning long tours across the Nullarbor or up through the Red Centre often carry a spare known-good rectifier for swap-testing, since workshops can be hundreds of kilometres apart. An infrared thermometer is a worthwhile extra, because a healthy unit should never run hot enough to be uncomfortable to touch.
Static battery and visual checks
Before pressing the starter, set the multimeter to DC volts and measure across the battery terminals with the bike switched off. A rested, healthy 12-volt battery reads between 12.6 and 12.8 volts. Anything below 12.2 volts suggests slow discharge, which can point to a rectifier leaking current through failing diodes.
Inspect the rectifier for green corrosion on the connector pins, melted plastic around the housing, or a burnt-electronics smell. In Australian conditions where many bikes live under a carport rather than inside a sealed garage, moisture ingress and corrosion account for a large share of early failures. While under the seat, check the earth strap for looseness or heat discolouration, because a poor earth can mimic regulator symptoms.
Running voltage test at the battery
Start the engine and bring the revs to roughly 3000 RPM with the multimeter still across the battery. A healthy system pushes voltage into the 13.8 to 14.4 volt range. Readings above 14.8 volts mean the regulator is no longer clamping output, which will eventually cook the battery and any sensitive electronics.
Numbers below 13.2 volts at the same engine speed suggest a regulator that has lost diodes or a stator not producing enough output. Repeat the test with headlights on high beam and accessories cranked up to load the system realistically, since some faults only appear under demand. Riders running ADR-compliant accessory looms should be wary of loads that exceed the stator's rated output, which places extra strain on the rectifier.
Stator output and AC leakage testing
With the engine running, unplug the rectifier from the stator side and switch the multimeter to AC volts. Measure between each pair of stator leads at roughly 3000 RPM. A three-phase stator should produce around 50 to 70 volts AC across any two leads, while a single-phase commuter bike will read lower.
The more telling test is a resistance check with the engine off. Place one lead on a stator pin and the other on clean bare engine metal. The meter should read open line on every pin. Any continuity at all means the windings have shorted to ground, and both the stator and rectifier must be replaced together to avoid repeat failures. This is also a sensible moment to follow motorcycle maintenance routines before the riding season kicks off.
Replacement options and common pitfalls
When diagnosis confirms a dead unit, riders have three paths. An OEM replacement matches the original specification and keeps the bike within any remaining dealer warranty. Quality aftermarket units often use MOSFET internals that run cooler and handle higher loads, useful on bikes fitted with heated gear, GPS, and USB chargers common on Australian adventure rides. Used units off a wreck are cheap but risky, since you inherit someone else's heat damage and corrosion.
Fitment matters as much as brand. Heat paste, mounting position, and connector orientation all influence how long the new unit lasts, and small mistakes during the swap undo the benefits of buying a better part in the first place.
Choosing a quality replacement
- Sealed or fully potted case rated for high vibration
- Heat sink cast cleanly without burrs that block airflow
- Connectors matching the bike's loom without modification
- Vendor who publishes measured output and clamping voltage
Common pitfalls during the swap
- Routing the new wiring harness too close to the exhaust manifold
- Leaving old thermal paste in clumps instead of spreading a thin, even layer
- Skipping a charging system test after fitting, which hides a weak stator
- Overtightening mounting bolts and cracking the case
| Symptom | Likely fault | Test to confirm |
|---|---|---|
| Battery boils, lights blow at high RPM | Regulator not clamping voltage | DC volts above 14.8 at 3000 RPM |
| Battery flat after sitting, weak cranking | Rectifier diodes leaking AC back to battery | AC voltage on battery with engine off, regulator unplugged |
| Charging light stays on at all RPM | Open stator winding or failed R/R | AC stator test plus ground short check |
| Rectifier too hot to touch after a ride | Internal short, degraded thermal paste | IR thermometer reading above 80°C on housing |
Once the new unit is bolted in and the charging system is back inside spec, take the bike for a shakedown ride that includes a stretch of highway and some stop-start suburban running. Watch the voltmeter, feel for any new electrical gremlins, and recheck connector tightness after the first 200 kilometres. Pattern Parts stocks regulator rectifiers, stators, and the rest of the charging system spares for thousands of motorcycle models, with reliable shipping to riders across Melbourne, Perth, Darwin, and everywhere in between. Browse the catalogue today and get your bike's electrical heart beating steady before the next big ride.