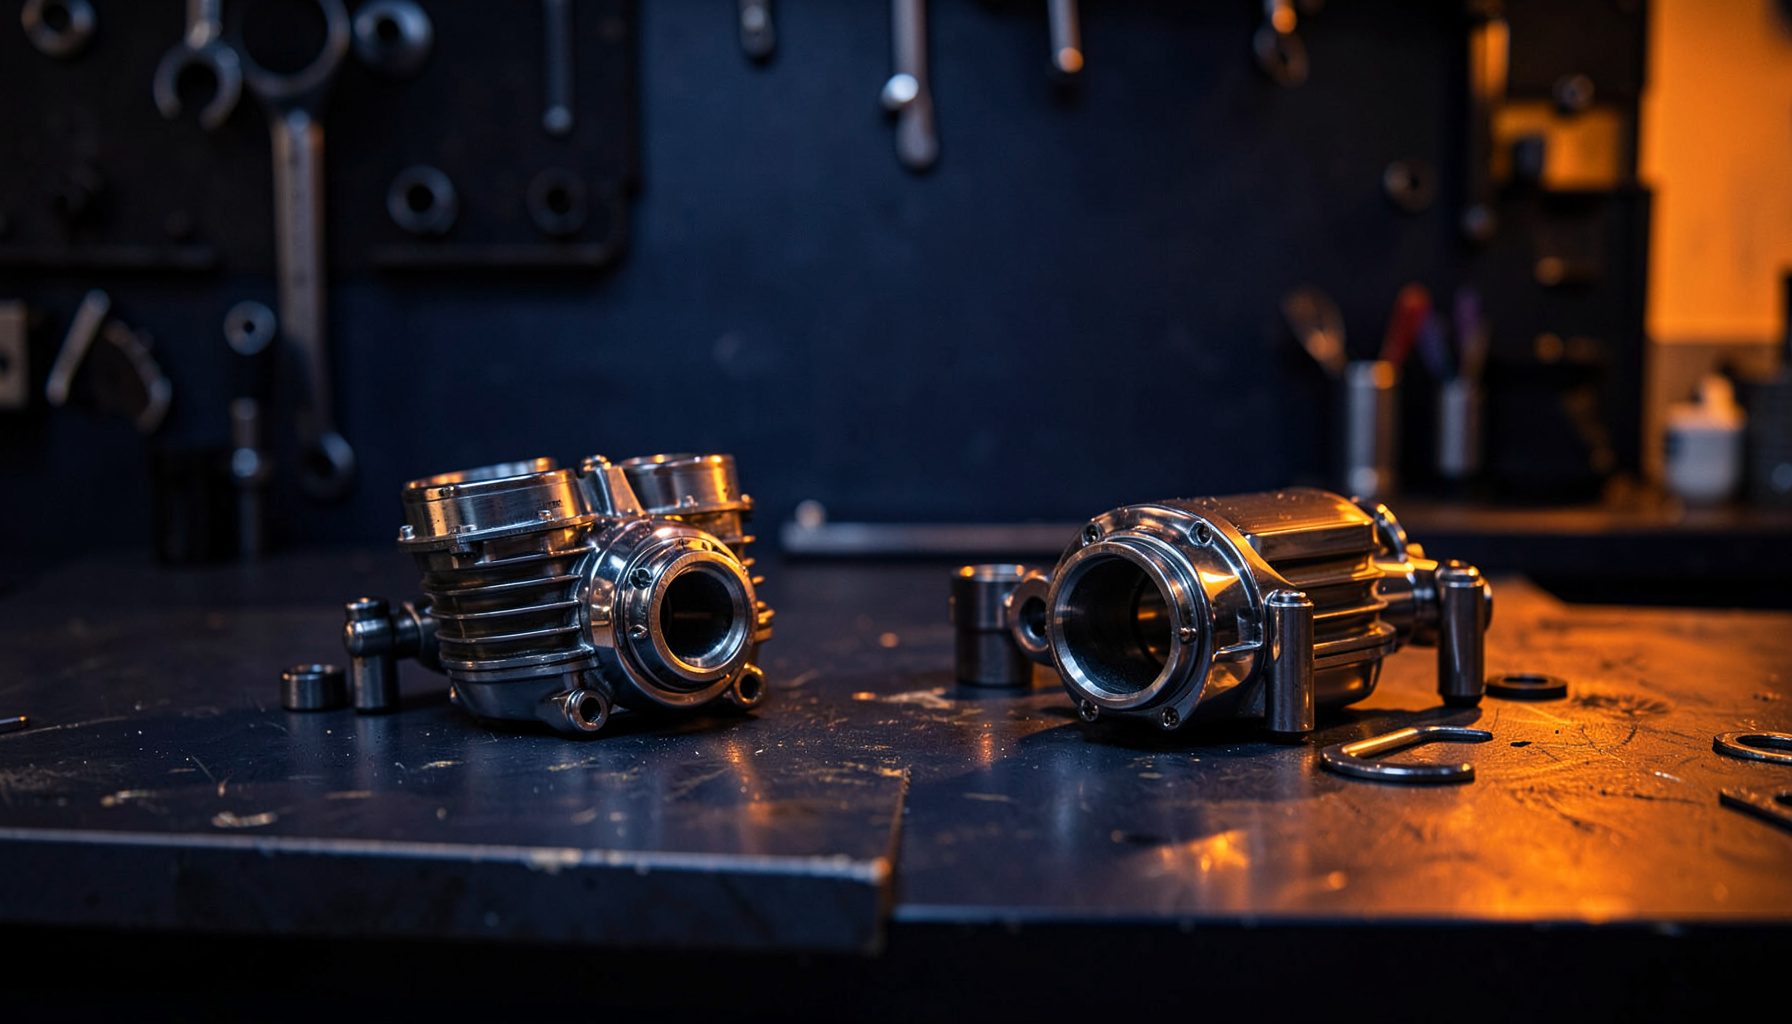
How to fit a new clutch kit on a Japanese motorcycle
A worn clutch can make a Japanese motorcycle difficult to launch smoothly, select neutral or hold a gear under load. Replacing the clutch pack is a manageable workshop job on many Yamaha, Honda, Suzuki and Kawasaki models, provided you follow the service manual and keep the work clean.
The job normally involves replacing the friction plates, steel plates and clutch springs as a matched kit. Some kits also include a gasket, while others require you to order one separately. Check the exact year, engine code and model variant before buying parts, as small changes can affect the clutch stack and cover gasket.
Allow several hours if this is your first motorcycle clutch replacement. You will need a stable stand, metric sockets, a torque wrench, a new cover gasket, the correct engine oil and a means of holding the clutch hub if the centre nut must be removed. Keep the bike upright on level ground, particularly if you are working in a small Brisbane garage or a sloping driveway in Hobart.
The instructions below suit many Japanese wet-clutch motorcycles, although details vary. Cable-operated and hydraulic systems share the same internal clutch work, but their external adjustment procedures differ. Consult the workshop manual for tightening torques, plate thickness limits and the correct oil specification.
| Clutch kit type | Best suited to | Main benefit | Points to check |
|---|---|---|---|
| OEM-equivalent | Standard road riding and commuting | Factory-like engagement and durability | Match the original specification |
| Heavy-duty | Touring, sidecars, frequent loads or modified engines | Greater resistance to slipping | Lever effort may increase |
| Performance | Big-bore kits, racing or high-output engines | Handles higher torque and heat | Requires careful setup and compatible springs |
Confirm the model and prepare the workspace
Start by identifying the motorcycle precisely. A 2012 GSX-R, for example, may use different plates from a similarly named Bandit, while Australian-market versions can differ from grey imports. Use the frame number, engine number and manufacturer parts fiche where possible. The Pattern Parts background can also help you understand the supplier’s range of replacement and upgrade components.
Gather a drain pan, rags, parts tray, rubber mallet, circlip pliers if required and a clutch holding tool. Read the service manual before loosening anything. Photograph the clutch cable routing, cover position and plate arrangement, and place bolts in a labelled tray because cover bolts are often different lengths.
Drain the oil and remove the clutch cover
Warm the engine briefly so the oil flows, then switch it off and let the exhaust cool enough to work safely. Drain the oil into a suitable container and remove the filler cap to improve flow. Dispose of used oil through an Australian council collection point, recycling facility or motorcycle shop rather than placing it in household rubbish.
Remove any fairing panels, footrests or guards that obstruct the clutch cover. Disconnect the cable arm or hydraulic slave cylinder without hanging the unit by its hose. Loosen the cover bolts gradually in a criss-cross pattern, noting their positions. If the cover sticks, tap it gently with a rubber mallet; do not drive a screwdriver between the mating surfaces, as this can create an oil leak.
Remove and inspect the old clutch pack
With the cover off, loosen the pressure plate bolts a little at a time and in a diagonal sequence. Springs can be under load, so keep the pressure plate controlled as the bolts come out. Remove the pressure plate, then slide out each friction and steel plate in order. Maintaining the original sequence helps you spot unusual wear or a missing judder spring.
Inspect the friction plates for glazing, burnt patches or a strong burnt-oil smell. Check the steel plates for blue heat marks, grooves and distortion by placing them on a flat surface. Examine the clutch basket fingers and inner hub for deep notches. Light marks may be serviceable, but pronounced grooves can prevent smooth plate movement and may justify replacing the basket or hub.
Prepare and install the replacement plates
Compare every new component with the removed parts before installation. Many wet-clutch friction plates must be soaked in the motorcycle’s specified oil for several hours, or at least thoroughly wetted before fitting. Follow the kit instructions, especially if the material differs from the original cork-based plates.
Install the plates in the exact sequence shown in the manual. Most designs alternate friction and steel plates, but some have a special first or last friction plate, a narrower steel plate or a judder spring and seat. Coat the plates lightly with clean engine oil, align the tabs with the basket and ensure the stack sits fully home.
Refit the pressure plate and clutch springs
Position the pressure plate so its alignment marks or splines engage correctly. Insert the springs and bolts, then tighten them evenly in stages. Use the manufacturer’s torque setting rather than guessing; overtightened small bolts can strip the aluminium hub, while loose bolts may allow the clutch to fail.
If you are fitting heavy-duty springs to a modified engine, consider the effect on lever weight. A stronger spring set can reduce clutch slip but may be tiring in stop-start traffic around Sydney or Melbourne. Check that the release mechanism moves smoothly before replacing the cover.
Seal the cover and adjust the control
Clean the crankcase and cover mating surfaces without gouging them. Fit a new gasket unless the manual specifically permits another sealing method. Do not apply excessive silicone, as loose sealant can enter oil passages. Refit the cover and tighten its bolts in the specified pattern and sequence.
Reconnect the cable or hydraulic slave cylinder and set the free play according to the manual. A cable-operated clutch commonly needs a small amount of lever free play, while a hydraulic system may require bleeding if the line was opened. Route the cable with full steering lock in both directions and make sure it does not become tight or kinked.
Refill, test and bed in the new clutch
Install the drain plug with its sealing washer if required, then add the correct quantity and grade of motorcycle oil. Car oils containing friction modifiers can cause a wet clutch to slip, so look for the motorcycle-rated JASO specification recommended by the manufacturer. Check the level with the bike positioned as specified, usually upright on level ground.
Start the engine and inspect the cover, drain plug and slave-cylinder area for leaks. With the rear wheel safely supported where appropriate, select first gear and test engagement carefully. Take a short ride in a quiet industrial area or residential street, checking that the clutch releases cleanly, neutral is obtainable and acceleration does not produce rising revs without matching speed.
New plates may need a gentle bedding-in period. Use progressive starts and several complete heat cycles rather than repeated hard launches. In Australia’s hotter inland regions, such as western New South Wales or parts of Queensland, avoid extended clutch slipping in traffic while the components settle. Recheck oil level, lever free play and fasteners after the first ride, then investigate immediately if the clutch drags, slips or makes abnormal noise.
A correctly installed clutch kit should give a predictable lever, clean gear changes and strong drive under load. Keep the removed parts until the motorcycle has passed its test ride, record the kit brand and date in your service notes, and retain the old gasket or plate measurements for future diagnosis. For replacement plates, springs, gaskets and related motorcycle components, browse the suitable model-specific range and order the parts needed for your next workshop session.