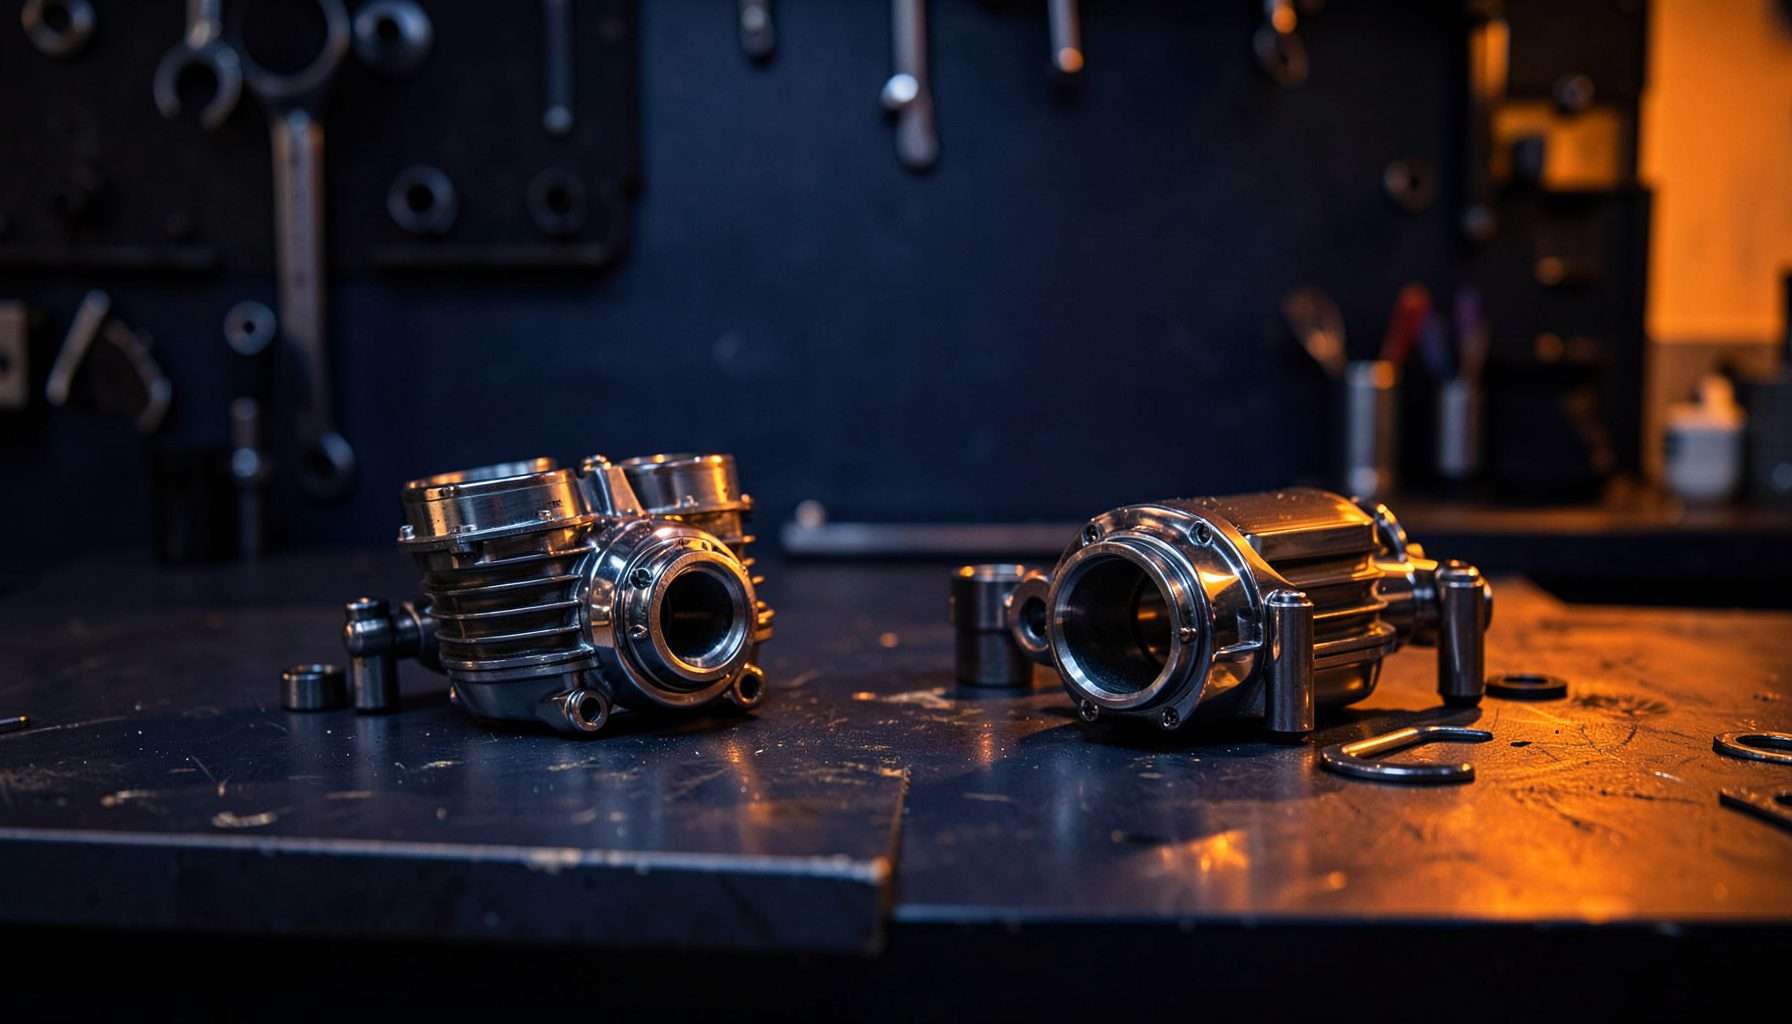
How to Fix a Motorcycle Tachometer That Stops Working
A motorcycle tachometer that stops working can be frustrating, especially when the engine clearly revs but the rev counter remains at zero. Other symptoms include a blank display, no backlight, erratic readings or a gauge that resets when the ignition is switched on. The fault may be the instrument itself, its wiring, or the engine-speed signal, so replacement should be the last diagnostic step.
Work through the system logically and consult the motorcycle’s service manual for connector layouts, fuse ratings and test values. Australian riding conditions can expose weak connections quickly, from stop-start traffic in Sydney and Melbourne to coastal corrosion in Perth. A fault that appears briefly during city riding may disappear at a standstill, so recording the symptoms is especially useful.
Identify the tachometer system
Most modern tachos are electronic. They receive engine-speed data from a magnetic pickup, crank-position sensor or engine control unit, then display the information on the instrument cluster. Some modern motorcycles transmit the engine speed over a CAN network, while others use a simpler pulse signal.
Older machines may use a mechanical cable running from the crankcase to a remote rev counter. Aftermarket gauges often add a separate pickup and require calibration. Before testing anything, determine which arrangement the motorcycle uses and whether the tachometer was fitted by the manufacturer or added later.
Look at the wiring route, connector type and model documentation. A factory gauge, an OEM-equivalent replacement and a universal aftermarket unit are not automatically interchangeable, even when their appearance is similar.
Prepare with a safe diagnostic plan
Park the motorcycle outside or in a well-ventilated workshop, allow the exhaust to cool and secure the bike before removing electrical components. Disconnect the battery when working around sensitive wiring, and keep metal tools away from the terminals.
Establish the symptom:
- The engine starts and revs normally
- The backlight and other instruments still operate
- The gauge is either completely dead or intermittent
- Recent battery, loom or instrument work has occurred
Collect identification details:
- Motorcycle make, model, year and engine variant
- Existing gauge or sender part number
- Photographs of the connectors and wiring routes
- Relevant wiring diagram and electrical test values
Before opening the instrument, choose a stable support for the chassis and work area. The motorcycle stand guide explains how to select a suitable stand without overloading a soft footrest or leaving the bike unstable.
Test power, earth, and connectors
Measure the battery voltage with the ignition off and again while the engine is running, then compare the readings with the service manual. Low battery voltage can cause an electronic gauge to malfunction or reset. Inspect the main fuse, ignition-switched supply and charging-system output as well, since electrical problems that affect several instruments may also upset the tachometer.
Trace the gauge’s power and earth circuits. Inspect plugs for green corrosion, trapped moisture, loose terminals and bent pins. Humid conditions around Brisbane and sea air in Perth can corrode contacts that appear clean from the outside. Clean suitable connectors with electrical contact cleaner, allow them to dry and apply a small amount of dielectric grease where appropriate.
Check the earth point at the gauge or instrument cluster. A voltage-drop test under load can reveal corrosion or a poor crimp that a basic continuity check misses. Follow the manufacturer’s limits, and do not probe or short ECU pins with a test light unless the wiring diagram specifically permits it.
Trace the engine-speed signal
For a mechanically driven tacho, inspect the cable, its outer sheath and the remote instrument while the engine is turned slowly by hand according to the manual. The remote needle should move. A cable that turns without moving the gauge, or a gauge that moves freely with no corresponding engine movement, points to a damaged internal drive.
Electronic gauges usually produce a pulse whose frequency increases with engine speed. Probe the correct sender or sensor terminal with an oscilloscope or suitable meter while the engine runs. No signal requires further checks of the pickup, reluctor gap and wiring; a healthy signal reaching the gauge points towards the gauge, its connector or its configuration.
Late motorcycles may receive engine speed from the ECU over a CAN network. A standard multimeter cannot interpret that data, so a diagnostic scan tool may be needed to read trouble codes and network activity. If the rev counter is the only missing instrument, a failed cluster, CAN configuration issue or damaged network wire becomes more likely.
Repair the wiring or choose a replacement
A connector or harness fault is often cheaper to repair than a complete instrument. Replace damaged terminals, renew crimped joints, repair the insulation and secure the loom correctly. Keep repaired wiring away from the hot exhaust and high-tension ignition cables. Intermittent tachometer faults frequently come from a poorly grounded cluster rather than the gauge itself.
A replacement must match the motorcycle’s part number and electrical specification. Check the connector and pin arrangement, supply voltage, earth arrangement, pulse calibration and display behaviour. Mechanical tachos also require the correct cable dimensions and mounting arrangement. A universal electronic gauge may need its own sender, a separate wiring loom and a calibration setting for the number of pulses per engine revolution.
Pattern Parts carries more than 30,000 motorcycle products, including electrical components, sensors and OEM-equivalent replacement parts for common brands such as Honda, Yamaha, Kawasaki, Suzuki, Triumph and Harley-Davidson. As the supplier is UK-based, Australian buyers should consider the exchange rate, international freight and any applicable import charges before ordering, then confirm fitment for the exact model year.
Install the replacement with the battery disconnected, using proper terminals or correctly soldered and insulated joints. Do not connect an aftermarket gauge to a CAN bus without the correct documentation. Configure any pulse setting or learning procedure before fitting the instrument into its mounting position.
Restore the gauge before returning to the road
Reconnect the battery and confirm that the warning lamps behave normally. Start the engine, check the charging output and vary the throttle through the available range. The tachometer should respond smoothly, hold a stable idle reading and return to zero without flickering. Check the connectors again after the ride because heat can reveal a loose terminal or damaged joint.
Roadworthiness requirements vary between Australian states. Queensland roadworthy guidance checks the condition of instruments, while Victoria operates a separate roadworthy safety inspection. A fitted tachometer should be restored to a proper working state, and any broader electrical fault should be corrected before the motorcycle is presented for inspection. Include low-speed riding and left turns in the road test to reflect Australia’s left-hand traffic.
Before ordering a component, confirm the gauge type, sender arrangement, connector and calibration from the model-specific documentation. Choose the correct replacement and complete a full electrical and road test before treating the repair as finished.