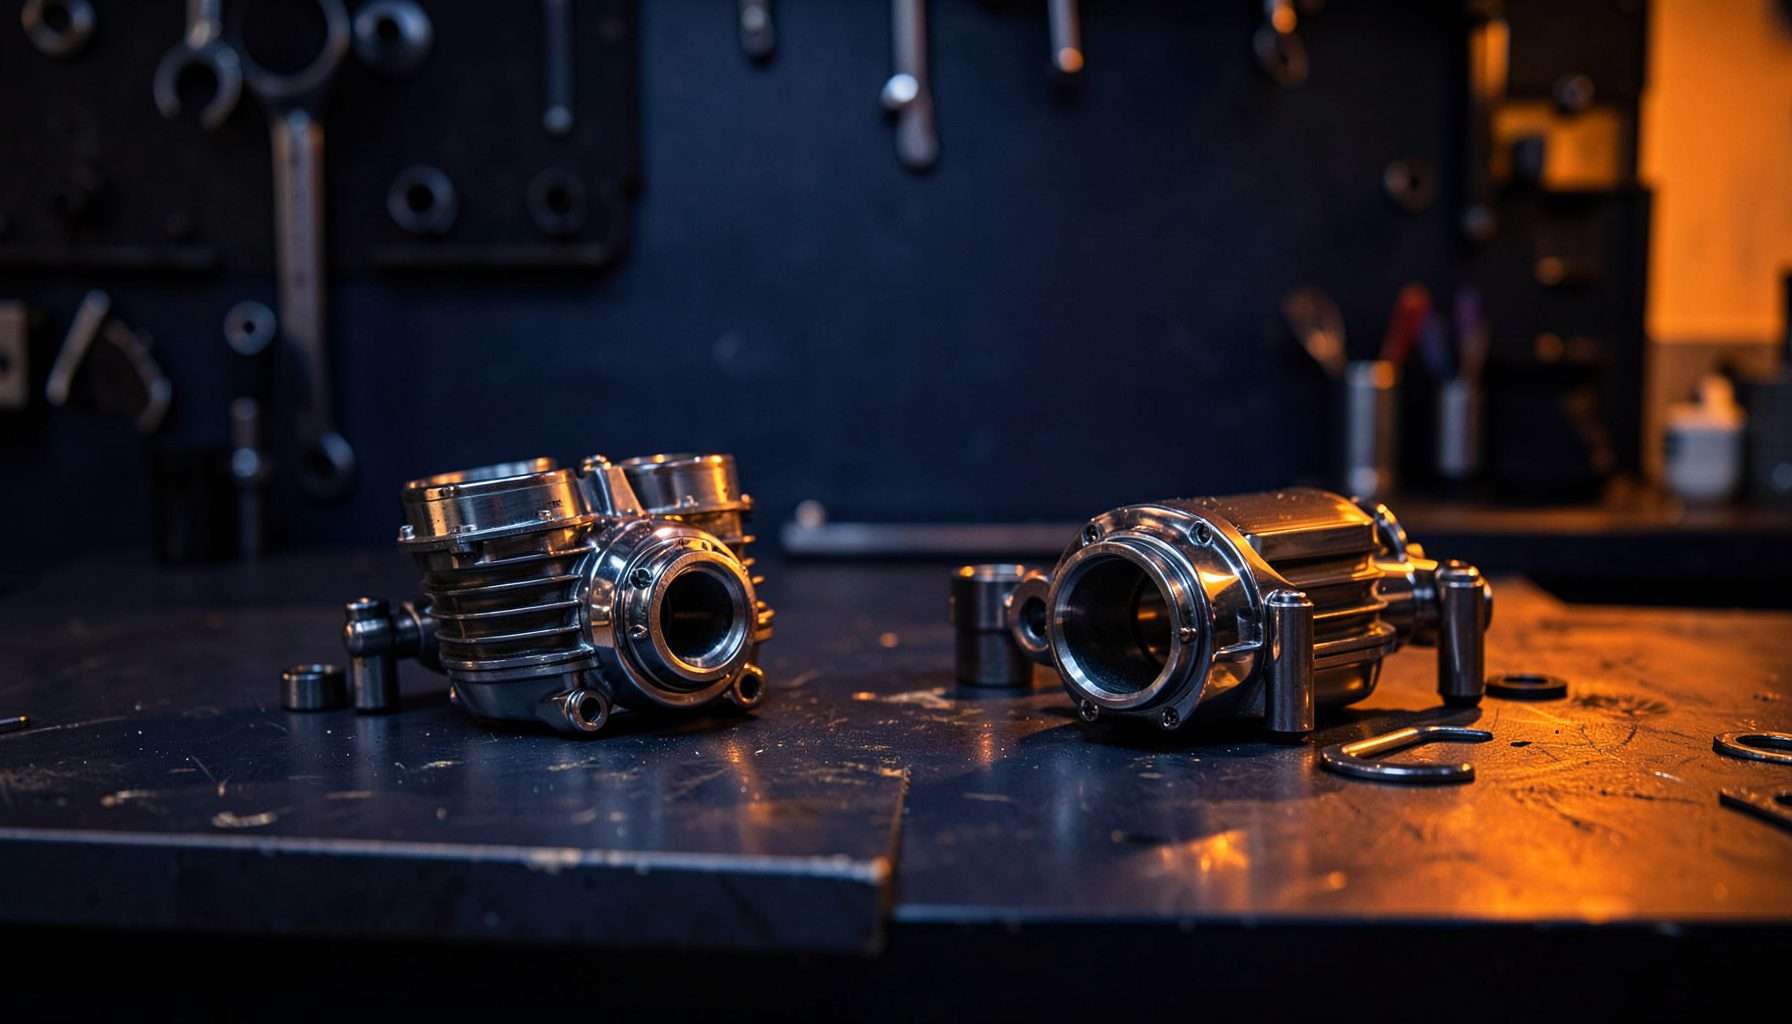
How to install a motorcycle oil pressure gauge
An oil pressure gauge makes an engine signal visible. Rather than relying only on a warning lamp, you can watch pressure at idle, cruising or climbing a hill and spot a developing fault before engine damage.
Australian riding makes that visibility useful. Melbourne and Sydney traffic is stop-start, while trips beyond Brisbane or Adelaide can mean long distances, heat, dust and corrugated roads. Metric bar and kPa scales are common locally, so confirm the unit before comparing readings with workshop limits.
The connection point matters. A gauge may use a banjo bolt, T-piece or adapter replacing the original oil pressure switch or sender. Its thread, sealing face and oil-flow requirements must match the motorcycle and gauge.
Pattern Parts is a Nottingham-based UK supplier with more than 30,000 products, from filters and engine parts to electrical items and tuning equipment. Its OEM-equivalent replacements and aftermarket upgrades help Australian riders source compatible hardware for motorcycle maintenance and tuning.
Identify the gauge connection
Check the motorcycle's make, model, year and engine variant against the service manual. Find the oil-gallery test port, pressure switch or sender, and required torque and pressure limits.
Decide whether the gauge will replace the warning switch, share a port through a T-piece, or use a separate mechanical connection. A handlebar gauge also needs clearance from the throttle, brake lever and steering movement.
Understand the pressure readings
Oil pressure varies with engine design, oil viscosity, temperature and speed, so the service manual's minimum pressure and test conditions are the reference. Performance engines may also require a check at a stated RPM.
A psi scale still works in Australia: one bar is about 14.5 psi. Choose a range that covers normal readings without making the useful part of the dial too small; a general rule of thumb cannot replace the manufacturer's specification.
A needle at zero may mean a failed sender, leaking connection or inadequate oil supply. If pressure falls as the engine warms or during acceleration, stop safely and investigate rather than treating the gauge as decoration.
Compare the common gauge formats
Mechanical, electronic and tee-mounted gauges suit different motorcycles. Compare their connections and requirements before ordering:
| Gauge format | Connection | Advantages | Check before fitting |
|---|---|---|---|
| Mechanical | Banjo fitting or hose to an oil gallery | No wiring; simple analogue readout | Correct range, thread and full-flow connection |
| Electronic | Sender, wiring and earth | Precise reading; possible warning function | Sender resistance, connector, power and earth |
| Tee or inline adapter | T-piece at an existing sender or port | Keeps the original warning lamp and adds a readout | Port suitability, seals and oil flow |
Whichever format you choose, use the full-flow fitting and pressure range specified for the engine. An electronic sender must match the gauge's resistance and connector, and any retained warning lamp must continue to function.
Prepare the motorcycle and gather the parts
Identify the pressure port before removing anything. Photograph the original fitting, inspect its washers or O-ring, and confirm whether the electrical switch must remain in the circuit. The correct adapter is specific to the engine and port.
Confirm these parts before starting:
- Gauge or display, sender if electronic, and mounting bracket
- Correct banjo bolt, T-piece or adapter with the specified thread
- Oil-resistant hose, P-clips or clamps, and replacement seals
Set up safely:
- Cool the engine, use secure stands, and disconnect the battery if required
- Protect the sump and paint from escaping oil
- Keep the correct tools, drain pan, rags and workshop manual ready
If fitting requires a tapped oil-gallery connection or modified cover, use a qualified motorcycle mechanic unless experienced with precision machining. Never drill a crankcase or oil-filter housing; location and depth affect lubrication.
Connect the gauge to the oil gallery
Disconnect the battery where required, then remove the original switch, sender or banjo bolt only after confirming its function. Plug the port to reduce dust, inspect the threads, sealing face and passage, and use an adapter if a warning switch is present.
Fit the sender or T-piece with new seals and tighten to the manual's torque figure. Over-tightening can distort a banjo fitting or damage a threaded port. Keep the oil path unrestricted and use a connection rated for engine pressure.
For an electronic display, follow the wiring diagram for power, earth and warning-lamp resistance. For a mechanical gauge, secure the hose with the specified fitting. Leave enough movement for vibration without straining the connection.
Route the hose and wiring safely
Route the hose away from the exhaust, cylinder head, chain, suspension and sharp edges. Leave a gentle bend radius, avoid kinks, and secure it so vibration cannot rub it against metal. This matters on Australian gravel roads as well as city streets.
Mount the gauge in the maker's specified orientation where it can be read without interfering with the throttle, brake lever, clutch, switchgear or steering lock. Check visibility from the normal riding position and ensure its weight cannot pull on the oil connection. Keep connectors away from water and dirt.
Check the installation with the handlebars fully turned and the suspension compressed. If the hose crosses a steering or suspension axis, relocate it or form a safe loop. Movement can turn a minor leak into rapid oil loss.
Test, maintain and use the gauge
With the engine cold, check the oil level and inspect every fitting and the hose route. Switch on the ignition and watch for the pressure indication before starting. At idle, pressure should reach the manual's minimum; zero pressure or a persistent warning light means stop.
After starting, watch the gauge at idle and during a gentle rev increase, checking for wet patches. Confirm the original warning lamp works if its sender was retained. Record a warm baseline and compare it with the manual. If oil appears at any fitting, shut down and correct the leak before riding.
Stop if pressure drops unexpectedly, the warning lamp comes on, the engine overheats or the gauge behaves erratically. A short local test ride can reveal a movement-related leak, but do not ride with an unresolved lubrication fault. Afterwards, inspect the hose for cuts or abrasion, replace perished seals, and keep electrical connectors clean and secure.
Establish a baseline for your motorcycle and climate: Brisbane or Perth heat and Melbourne's seasonal shifts can affect readings. Continue using the oil viscosity and standard approved for the motorcycle. For a compatible gauge, sender, adapter, seals and other motorcycle parts, browse Pattern Parts at patternparts.co.uk. Match the part number to the motorcycle's year, make and model, and check Pattern Parts' shipping terms and Australian Customs requirements, including GST or import duty, before ordering from the UK. Fit the correct connection, test at idle and under load, and use the readout to protect the engine.