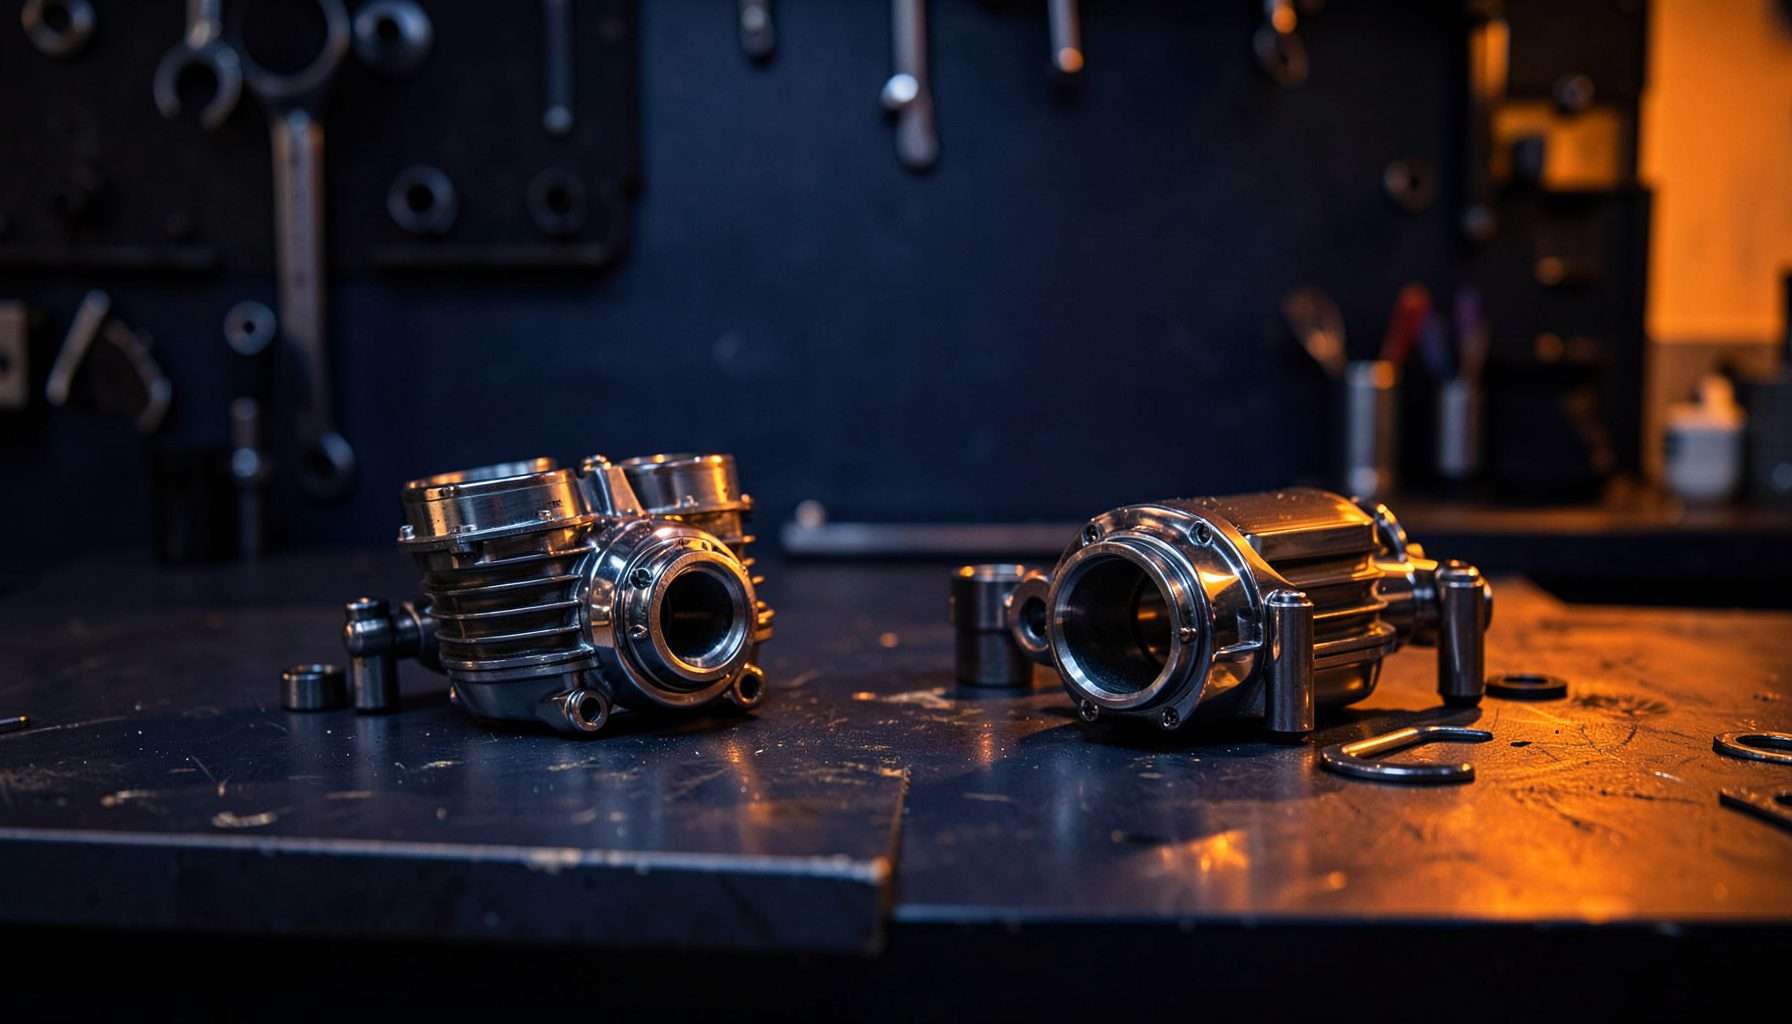
How to Install a Motorcycle Tail Tidy or Fender Eliminator
Slash the bulky OEM rear guard off your bike and bolt on a sleek tail tidy or fender eliminator. It's one of the most popular weekend mods in any Australian shed, taking roughly 60 to 90 minutes with basic tools and a model-specific kit.
The job suits everything from a learner-approved LAMS ride to a big-capacity tourer, and it cleans up the rear end for a fraction of what a workshop charges. Done properly, the new bracket tucks the rego plate tight under the seat, sorts out the indicator wiring, and shows off the rear wheel the way the designers always intended.
What a Tail Tidy Does and Why Aussie Riders Love Them
A tail tidy, also called a fender eliminator, trims the long plastic hugger most factory bikes carry over the rear tyre. Instead of a mudguard with the plate dangling off one side, you get a compact bracket tucked under the seat, often with a tiny LED plate light and slimline indicators built in.
In a country where weekend runs can take you through corrugated outback roads, sand at the Finke, or down to Tassie for a lap, that bulky OEM guard collects red dust, gravel and splattered bugs. Riders around the Adelaide Hills or up near the Glass House Mountains love the cleaner look, the small weight saving on LAMS bikes that already feel portly at the back, and the way a tidy kit cleans up the wiring.
Tools, Parts and Choosing the Right Kit
Most quality kits include a powder-coated steel or anodised alloy bracket, shorter bolts, sometimes replacement signal stalks, and often a wiring adaptor so you don't need to cut the original loom. Spending a few extra dollars on a bike-specific kit makes the job straightforward.
Universal kits turn up at swap meets around Broadmeadows or in the trader alley at the Phillip Island round, but they usually need drilling, grinding and a bit of creative swearing to sit square. A model-specific unit for your GSX-R, MT-07, R6 or Bonnie plugs straight into the original mounting points.
Before starting, grab a set of metric Allen keys, a torque wrench, pliers, side cutters, a soldering iron or crimp connectors, and heat-shrink tubing. A small drill handles a separate plate light mount, and a multimeter saves plenty of head-scratching when chasing which wire is which.
Getting the Bike Ready and Removing the Stock Fender
Start by popping the seat and disconnecting the battery. Even on older bikes that's a small job that saves a blown fuse if you short something out. Pull the bike somewhere flat with good light, whether that's the shed behind the house or the driveway if the neighbours aren't home to whinge about the noise.
Remove the rego plate and undo the bolts holding the stock fender. Most bikes use two bolts under the seat plus a couple of smaller ones behind. Keep the original guard, the rubber grommets and any spacers in a bag, since they often net a few extra bucks on Marketplace, and you might want to refit them before a roadworthy in WA or before shipping the bike.
Unplug the indicators by tracing the wires back to the connector, marking each with masking tape so left and right don't get mixed up. Do the same for the licence plate light and snap a quick photo before pulling the loom apart.
Wiring the Indicators and Plate Light
This is the part most home mechanics bottle. Modern kits often run LED indicators, which draw less current than standard globes. If your kit doesn't include load resistors and you're swapping incandescents for LEDs, the relay or dash will flash too fast because the bike thinks a bulb has blown.
Cut the original connectors off close to the plug, strip back the insulation, and either solder and heat-shrink or use proper crimp connectors. Aussie summers cook cheap plastic connectors, so spend the extra on sealed ones that hold up to our harsh UV.
Reconnect the battery, turn the key on and check left, right and hazards. Flick the headlight on and confirm the plate light glows. If anything reads backward, swap the wires on that side before tucking the loom into the subframe, far easier than once the seat is clipped back on.
Mounting the New Bracket and Test Fitting
Drop the new bracket into place using the supplied hardware and torque the bolts to what the kit calls for, usually 8 to 15 Nm. Don't reef on them, because alloy bosses in the subframe strip easily, especially on softer Japanese mounts compared to a Triumph or a euro bike.
Mount the number plate and step back. It should sit near-vertical, parallel to the rear wheel, and not rub the tyre under suspension travel. Push down on the tail a couple of times and watch the plate as the bike rebounds. This is the same check the bloke at the rego inspection will run, and it has caught plenty of dodgy installs over the years.
Most kits offer some adjustment via slotted holes, and they're worth using to angle the plate so it reads clearly from behind. If it sits too low or too far back, it gets showered in road grime on a wet run down the Pacific Highway. You'll cop a defect notice in NSW for plate angle as well as for any sharp edges that poke past the plate outline.
Roadworthy Checks and Legalities Across the States
Australia's rules aren't identical across the country, so what flies in Queensland might pull you over in Victoria. Generally, the rego plate has to be mounted vertically with the bottom at least 200mm off the ground, visible in daylight and lit at night. Indicators must flash amber and be visible from the side as well as the rear.
NSW, QLD and the ACT tend to be the strictest on modifications, while WA asks for engineer sign-off on major changes. Tasmania and SA usually accept ADR-compliant aftermarket parts without much fuss. LAMS-approved bikes generally accept any kit that doesn't change the loom pattern, though some states want a re-inspection after wiring work.
Before booking a rego check, run through every light, the indicators, the horn and the plate angle yourself. A clean install saves another trip to the mechanic, and in remote towns like Dubbo or Mount Isa that's half a day you won't get back.
Tips Worth Knowing Before You Start
- Park the bike with the rear wheel off the ground or on a paddock stand so you can spin the tyre and check clearances.
- Photograph every step before unplugging anything; a phone beats the workshop manual halfway through the job.
- A dab of dielectric grease on every connector helps coastal riders fight off salt-air corrosion.
- Keep the old OEM guard and hardware in the shed; they often cover the cost of the kit when you sell the bike.
- Zip-tie and tape the wiring tidy before the panels go back on, so nothing rattles against the subframe on rough roads.
Browse the full Pattern Parts catalogue for model-specific tail tidy kits, OEM hardware and the wiring accessories you need to get the job done in your own driveway this weekend.