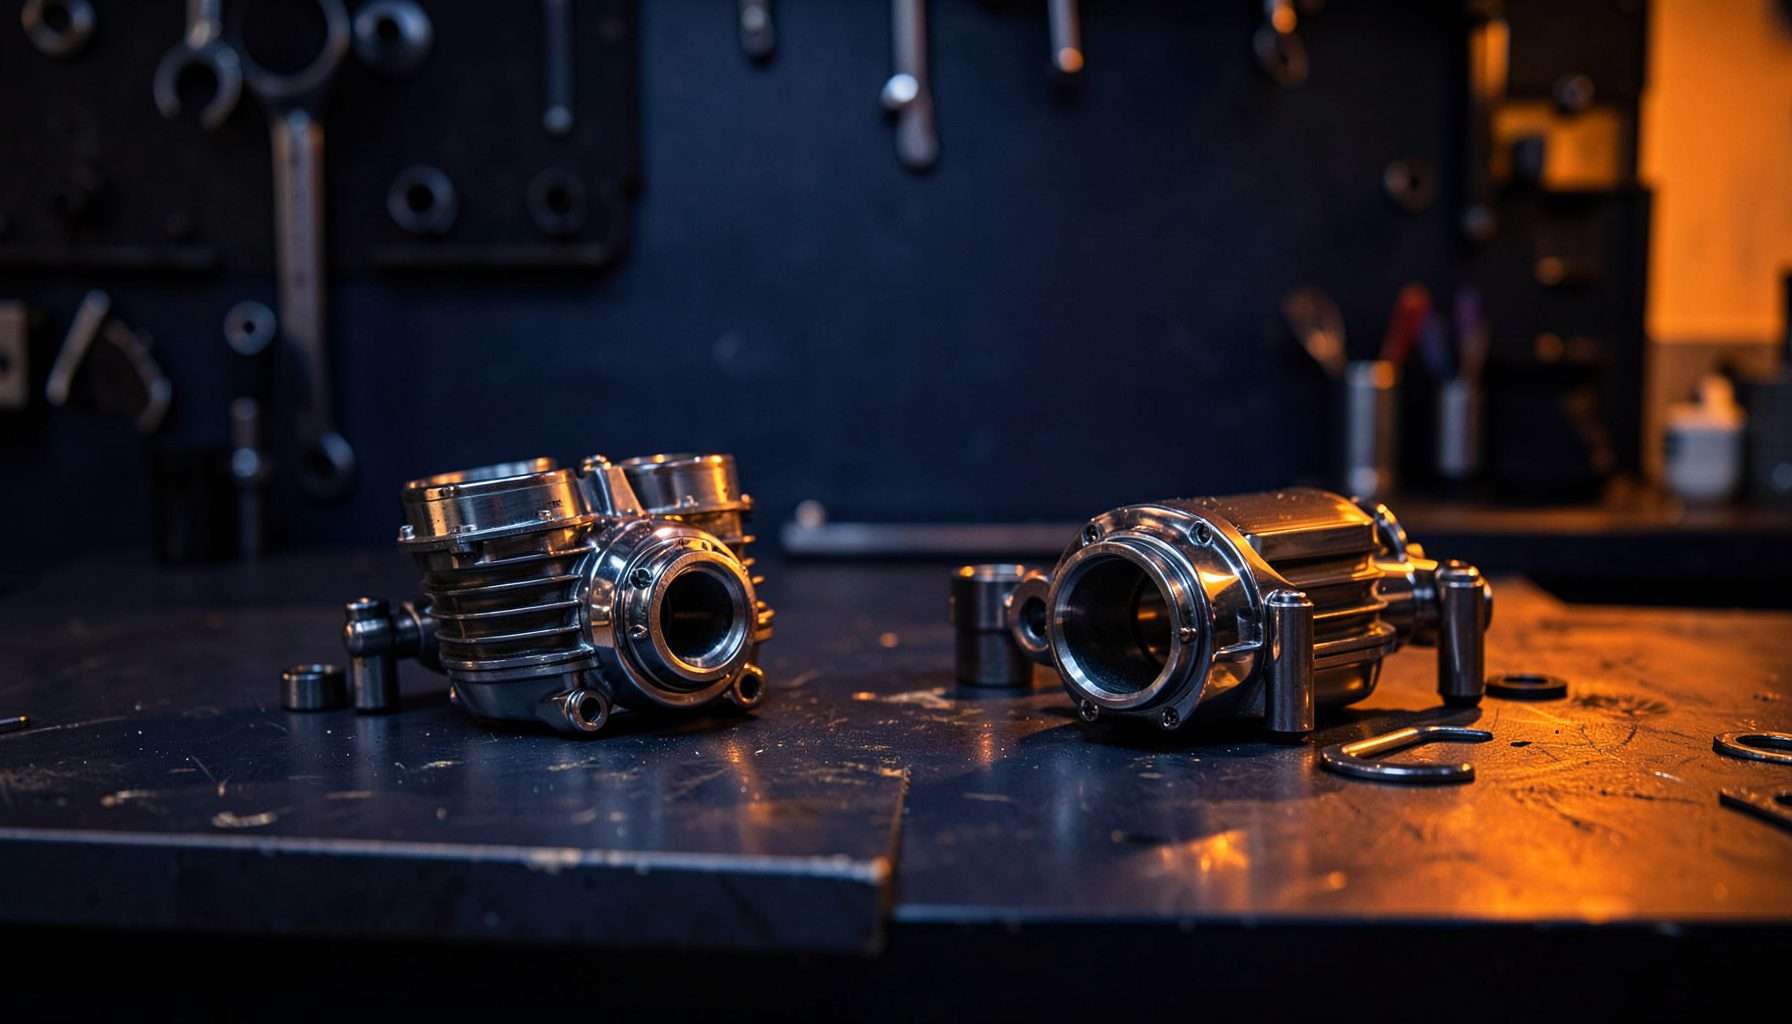
How to install a motorcycle USB charger on the handlebar
A handlebar-mounted USB charger is a practical upgrade for riders who use a phone for navigation, music or emergency calls. A correctly installed motorcycle phone charger keeps your device powered without relying on a pocket power bank, while a tidy cable route prevents interference with the throttle, clutch or steering.
The job is suitable for many home mechanics, provided the motorcycle has a healthy 12-volt electrical system and the charger is designed for outdoor use. The same basic method works on commuter bikes in Sydney, touring motorcycles crossing regional Australia and adventure bikes dealing with dust, rain and long distances between towns.
Choose a charger and mounting position
Select a charger made specifically for motorcycles rather than a basic car USB adaptor. Look for a waterproof or weather-resistant housing, a secure handlebar clamp, a fused positive lead and an output suitable for your device. USB-A remains common, while USB-C models can provide faster charging when paired with a compatible phone and cable.
Measure the handlebar before ordering. Many motorcycles use 22 mm bars, while larger adventure and touring models may have 25.4 mm or 28.6 mm sections. Check that the clamp fits the chosen section and that the charger will not touch the screen, mirrors, brake reservoir or handguards.
Position the unit where it can be seen without blocking instruments or distracting you from the road. Near the left-hand grip is often convenient for navigation, but the best location depends on the controls and the phone mount. Australian summer temperatures can be severe, so avoid placing the phone directly above hot engine components or where it will remain exposed to intense sun for long periods.
Prepare the motorcycle safely
Park the bike on stable, level ground and switch off the ignition. Remove the key, allow hot components to cool and keep the motorcycle supported securely. Gather a socket set, screwdrivers, wire cutters, crimping pliers, cable ties, electrical tape or heat-shrink tubing, and a multimeter. Use automotive-grade connectors rather than household electrical fittings.
Disconnect the negative battery terminal before making permanent wiring connections. This reduces the chance of a short circuit while routing or attaching the positive lead. On most motorcycles, the battery is under the seat or behind a side panel, so consult the owner’s manual before removing bodywork.
Read the charger instructions carefully. Some kits are intended for direct battery connection, while others use an ignition-switched circuit. A direct connection can continue drawing a small amount of current when the motorcycle is parked, so a switched supply is usually preferable for everyday use. If the kit includes an inline fuse, retain it and install it close to the power source.
Route and connect the wiring
Loosely mount the charger first, then plan the cable path to the battery or switched accessory circuit. Follow existing wiring looms where possible and leave enough slack for full handlebar movement. Turn the bars from lock to lock while checking the cable; it must not become tight, trapped or pulled across the steering head.
Keep the cable away from exhaust headers, cylinder heads, sharp frame edges and moving suspension parts. Protect exposed sections with split conduit or heat-resistant sleeve. Secure the cable with cable ties, leaving the ties snug rather than crushing the insulation. Trim the ends neatly after the routing has been checked.
For a direct battery connection, attach the fused positive wire to the positive terminal and the negative wire to the negative terminal or a suitable chassis earth specified by the manufacturer. For an ignition-switched installation, use an approved accessory connector or relay rather than piercing a random wire. A switched relay harness is useful when powering several accessories, such as heated grips and a GPS unit.
Secure the charger to the handlebar
Fit the clamp around a straight section of handlebar and tighten it evenly. Do not overtighten fasteners, particularly on aluminium bars or plastic charger housings. The unit should remain steady when the cable is inserted and removed, but it should not deform the handlebar or clamp.
Before final tightening, sit in the riding position and check visibility of the charger and phone cable. Make sure the installation does not reduce mirror adjustment or interfere with the brake lever, clutch lever, throttle tube or steering lock. A short charging lead usually looks tidier and produces less wind movement than a long cable hanging across the cockpit.
Seal the cable entry point if the charger design requires it, using the supplied rubber grommet or weatherproof boot. USB sockets are vulnerable to water and road grime, particularly on uncovered motorcycles. Keep the protective cap closed whenever the port is not in use, and avoid pressure-washing the charger at close range.
Test the electrical system and finish the job
Reconnect the battery, switch on the ignition and test the charger with a phone or USB tester. Confirm that charging starts promptly and that the connection remains stable when the handlebars are turned. If the charger operates with the ignition off, check the instructions and consider moving it to a switched circuit to protect battery capacity.
Start the engine and test again at idle and at a moderate engine speed. The output should remain stable, with no flickering, unusual heat or blown fuse. If a fuse fails, do not simply fit a larger one; inspect the cable, connectors and charger for a short circuit or overload.
Australian road rules and modification requirements vary between states and territories. The charger must not obstruct the rider’s view, controls, lights or required equipment, and the phone itself must be used in accordance with local mobile-device laws. In New South Wales, Victoria and other jurisdictions, handheld phone use while riding can attract serious penalties, so set navigation before departure and use a compliant hands-free arrangement.
Finally, inspect the installation after the first ride and again after several days of vibration. Riders in Melbourne may encounter frequent rain, while commuters in Brisbane, Perth or Darwin may deal with heat, humidity and sudden storms. Replace damaged cables, clean corrosion from connectors and disconnect the charger if the motorcycle will be stored for an extended period.
Choose a motorcycle USB charger, replacement connectors, cable protection and related electrical parts from Pattern Parts to complete the job with reliable components. Browse the range of motorcycle spares and accessories, match each part to your make and model, and keep your bike ready for daily Australian riding and longer trips.