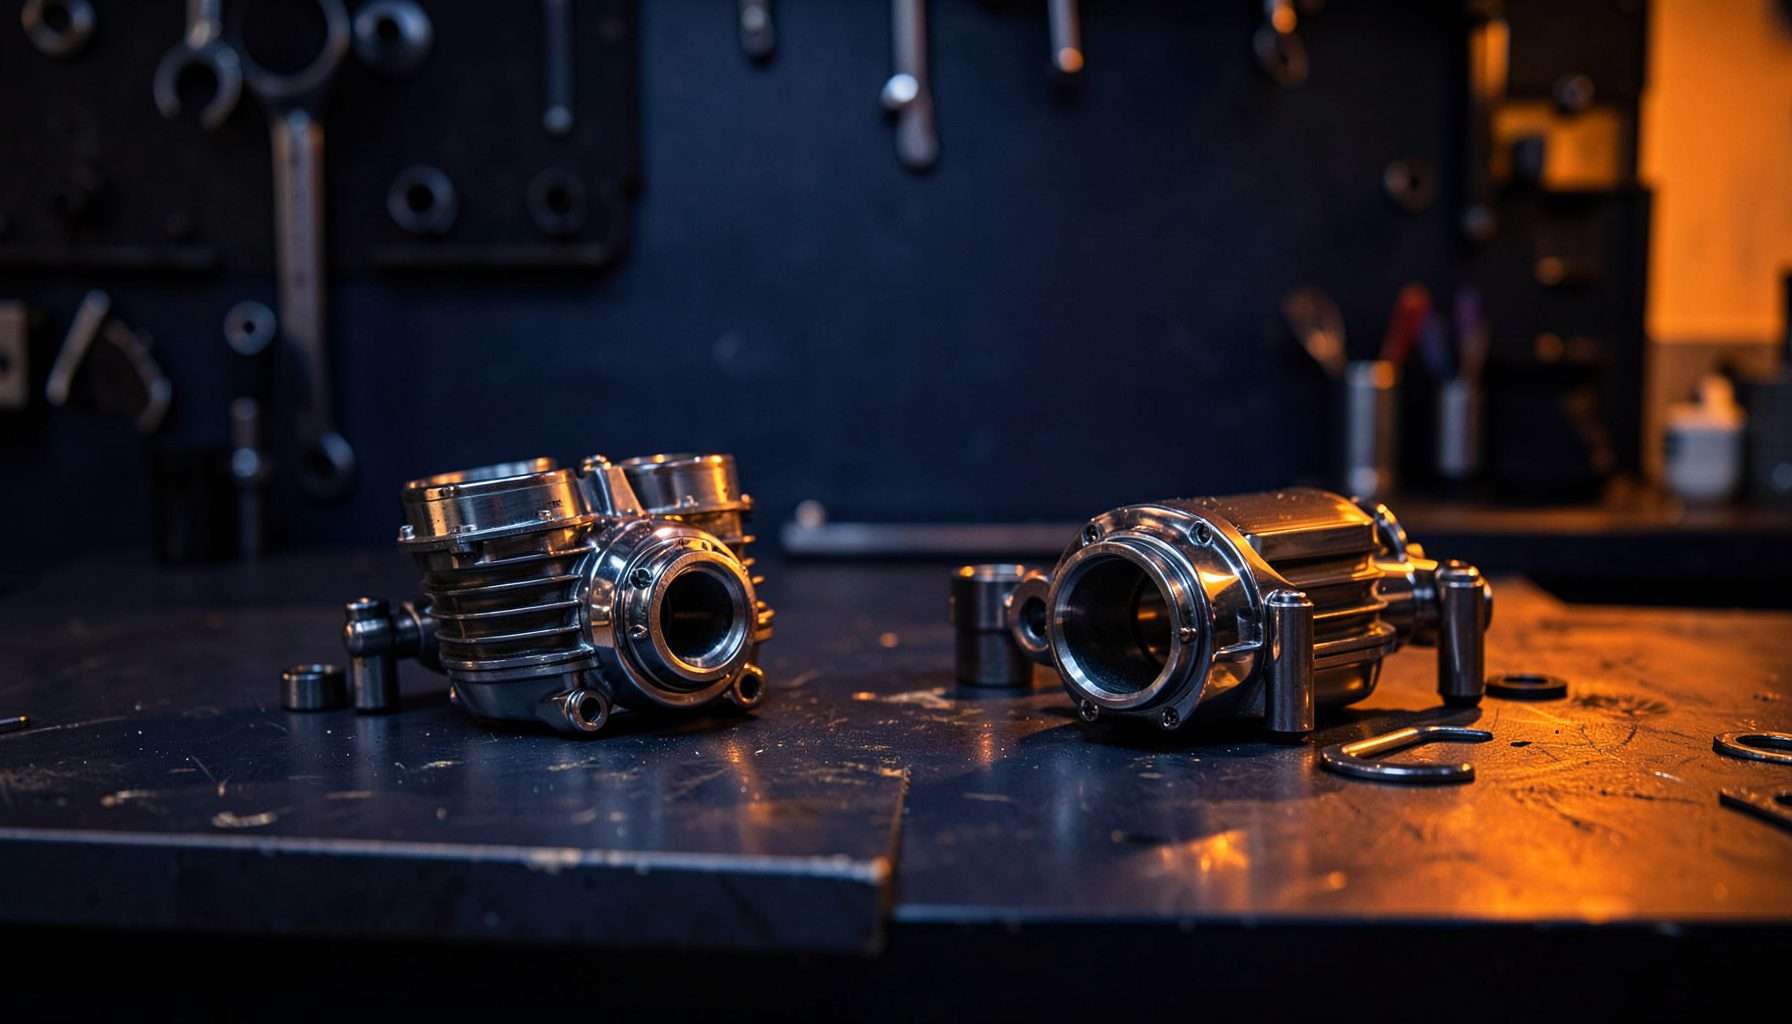
How to Install a Motorcycle Voltage Regulator and Monitor the Battery
A motorcycle voltage regulator controls the charging voltage sent from the alternator or generator to the battery. If it fails, symptoms can include dim lights, a warning lamp, repeated flat batteries or a bike that will not start. Similar faults also come from old batteries, corroded earth points or damaged wiring, so test the circuit before buying a part.
This guide covers the 12-volt systems common on Australian motorcycles, from a much-loved “old girl” to a modern sport bike. It explains how to diagnose charging faults, fit an OEM-equivalent or compatible aftermarket regulator and monitor battery condition. Use the model’s service manual for the connector layout, voltage limits and charging settings, because specifications differ between manufacturers.
Confirm the fault before replacing the regulator
Begin with the battery. A healthy, rested 12-volt lead-acid battery normally sits around 12.6–12.8 volts, although temperature and type affect the reading. If it is old, damaged or fails a load test, charging it will not make it reliable. A smart charger or conductance tester gives a better condition check than voltage alone.
Inspect the positive and negative terminals, earth straps, fuses and regulator connectors. Look for corrosion, heat discoloration, loose terminals, crushed cables or melted insulation. With the ignition off, check suspect sections for continuity; a voltage-drop test under load can reveal a bad connection that looks clean outside.
Rule out a poor earth before condemning the regulator. A loose or corroded engine-to-frame earth may make voltage fluctuate or appear excessive. Keep test leads away from fans and belts, and never use an ohms setting on a live charging circuit. If the wiring and battery pass, the regulator is a likely culprit.
Identify the correct charging system
Regulator location depends on the motorcycle. The unit may sit under a side cover, beside the battery, inside the charging harness or be integrated with the alternator. Older bikes often use an AC generator with a shunt regulator, while many modern machines use a DC alternator and separate electronic unit. Confirm the system before ordering.
Match the part number, connector shape, pin count, wire functions, mounting arrangement and specified charging voltage. A three-lead aftermarket regulator may use connections for battery sense, alternator field and earth, but that layout is not universal. Follow the supplied diagram and manual rather than relying on wire colour alone.
Australian motorcycles commonly use negative-earth charging, yet the battery markings and manual remain the authority. Check before wiring because reversed polarity can damage electronics. For aftermarket tuning and electrical options, compare the Joker Racing range for model-specific suitability before buying.
Prepare the bike and work area
Use a quality digital multimeter, socket set, screwdrivers, terminal tools and wire strippers. You may also need diode mode, a clamp meter, heat-shrink tubing, crimp terminals or solder, and a suitable battery charger. Wear eye protection and gloves, and keep metal tools clear of both battery terminals.
Work on a stable stand in a ventilated area away from petrol vapour, sparks and hot exhausts. Switch off and disconnect the negative battery terminal first, then the positive; reconnect in reverse order. Some motorcycles lose throttle settings or engine memory, so check the manual first and follow any manufacturer-specific sequence.
Summer heat is a real issue for riders in Perth, Adelaide and inland Australia: it increases electrolyte loss in flooded batteries and corrosion around terminals. Store the bike in a dry place or use a 230-volt smart charger suitable for the battery chemistry. The UK-based Pattern Parts catalogue complements local dealers and independent workshops across Australia, giving riders access to a broader electrical-parts range.
Install the new regulator
Photograph the original regulator and wiring before removal. Unplug the connector rather than pulling the wires, release any locking tab and remove the mounting bolts. Compare the replacement with the old unit, including socket orientation and earth lug, so it cannot be fitted backwards.
Install the unit in the original orientation and secure it with the correct fasteners. If the connector does not latch easily, stop and check the pins rather than forcing it. Route the loom away from sharp edges, the exhaust and moving suspension, then secure it with suitable brackets or ties.
Pay close attention to earthing. A regulator grounded through its case needs clean bare metal and a sound connection; use the specified toothed washer and tighten it to the manual’s torque. If it has a separate earth wire, attach it where the manufacturer shows. Never assume the mounting bolt is an adequate earth without checking.
For damaged wiring, use the correct cable gauge, crimp or solder the joint properly and cover it with adhesive-lined heat-shrink tubing. Avoid loose bullet connectors. Add a fused feed near the battery only when the instructions require it, and provide strain relief so a tug cannot pull a terminal loose.
Test charging and monitor the battery
Reconnect the positive terminal first and the negative last, then switch on the ignition and check for warning lamps. Crank the engine and let it idle. At the battery terminals, most 12-volt systems should produce roughly 13.8–14.4 volts while running, but the model specification takes priority. Check again at a higher engine speed; the reading should remain controlled rather than exceed the stated limit.
If voltage is low, test alternator output, connector voltage drop and earth integrity. If it is high, suspect the regulator, its earth or an incompatible unit. A clamp meter can confirm that current reaches the battery, while a load test confirms the battery can accept the charge. Do not ride with stalling, burning smells or voltage outside the manual’s range.
After the workshop checks, take a measured road test and compare battery voltage before and after the ride. A correctly charged battery should recover to its normal resting voltage and remain steady with the ignition off. If the bike has recently had brake work, use the motorcycle brake pad guide to confirm the compound suits the model and riding conditions before testing it on the road.
Make battery monitoring part of routine care. Check resting voltage monthly, clean the terminals and replace damaged holds; inspect electrolyte only on a serviceable flooded battery. Use the specified charger for an AGM battery and do not open it. A plug-in monitor can show voltage and state of charge, while a 230-volt smart charger helps during long Australian winters or storage. Lithium systems need a compatible charger and battery-management system.
A regulator replacement is straightforward when the diagnosis and part match, but the battery and earth connections decide whether the repair lasts. Follow the manual, use quality terminals and complete every voltage check before returning the motorcycle to daily use.
Source the exact replacement from Pattern Parts or a specialist supplier, fit it with the correct connectors, then measure charging at the battery under load. Protect the new unit from heat and vibration, monitor the battery after each long ride and address low readings before the next trip.