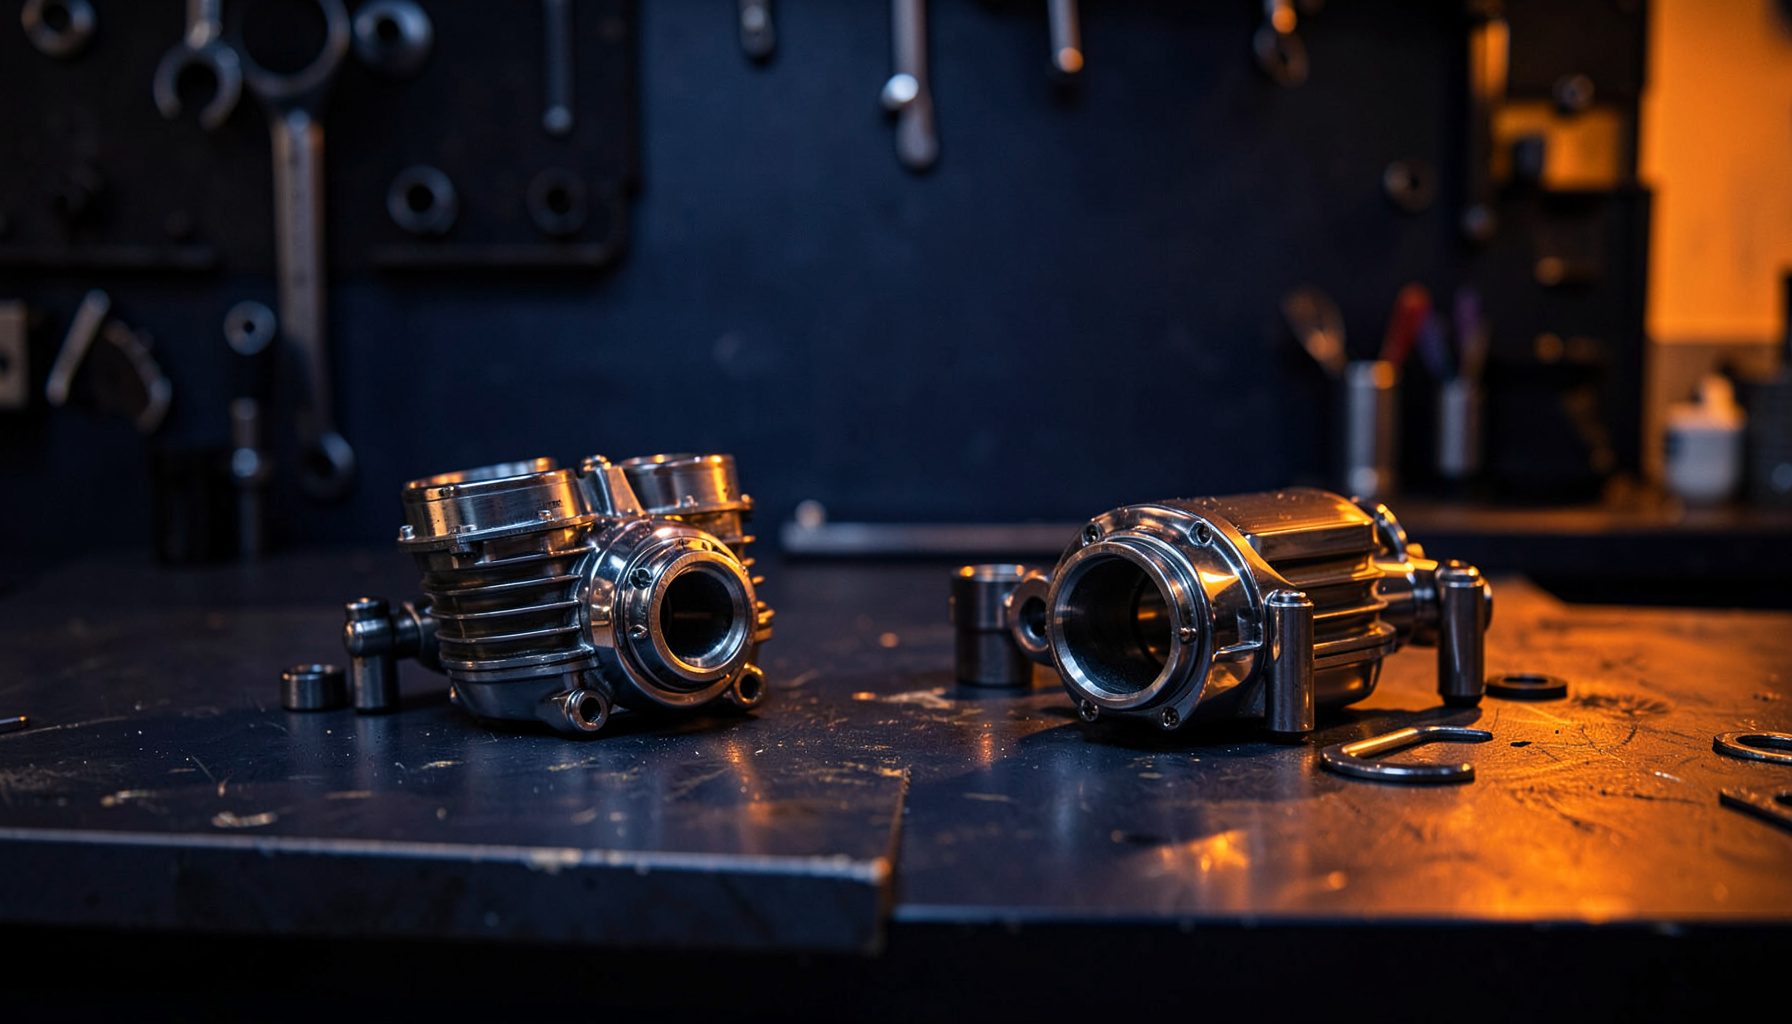
How to Install a Power Commander on a Fuel-Injected Motorcycle
A Power Commander can refine fuelling on a motorcycle that has an aftermarket exhaust, high-flow air filter, or engine upgrade. It works with the factory ECU rather than replacing it, adjusting injector signals so the engine receives a more suitable air-fuel mixture across different throttle positions and engine speeds.
Correct installation matters as much as the device itself. A loose ground, incorrectly routed harness, or unsuitable map can cause poor running, warning lights, excessive fuel consumption, or engine damage. The following process applies broadly to common Power Commander units, although the instructions supplied for your specific model always take priority.
Choose The Correct Power Commander
Start by identifying the motorcycle’s exact year, model, engine variant, and market specification. A unit designed for a 2020 Yamaha MT-07 may not suit an earlier model, even if the plugs appear similar. Check whether your bike uses a Power Commander V, Power Commander 6, or another Dynojet controller, and confirm compatibility with the injector connectors and ignition system.
Consider the parts already fitted. A stock bike, one with a slip-on silencer, and one with a full exhaust and performance air filter will require different fuel maps. Big bore kits, camshafts, velocity stacks, and altered compression ratios usually need custom tuning rather than a generic downloaded map.
Fuel choice also affects results. Australian riders commonly switch between 91, 95, and 98 RON unleaded, while E10 availability varies by location and motorcycle compatibility. Select a map that matches the fuel and modifications you actually use, particularly if the bike travels between metropolitan areas and remote touring routes.
Prepare The Motorcycle And Workspace
Work on a cool motorcycle in a clean, well-lit area. You will usually need metric sockets, screwdrivers, hex keys, side cutters, cable ties, electrical contact cleaner, and a multimeter. Keep the motorcycle upright and stable, and take photographs before removing panels so that clips, hoses, and wiring can be returned to their original positions.
Disconnect the negative battery terminal before touching injector or ECU wiring. Remove only the seat, tank, side covers, or airbox parts necessary to reach the injector connectors and a suitable mounting point. Avoid placing the controller near the cylinder head, exhaust headers, steering movement, or areas exposed to direct water spray.
Australian conditions make heat and dust worth considering. A bike regularly parked outdoors in Perth or ridden through dusty regional roads needs better protection from contamination than a garage-kept commuter in Melbourne. Never install the module where pressure washing or rainwater can collect around its connectors.
Connect The Hardware Carefully
The main harness normally plugs inline with the fuel injectors. Release each factory injector connector without pulling on its wires, then connect the Power Commander plugs firmly until the locking tabs engage. Some models also require connections to the throttle-position sensor, crank-position circuit, ignition coils, or an oxygen-sensor optimiser, so follow the supplied wiring diagram rather than assuming every lead is used.
Attach the ground wire directly to the recommended battery terminal or a clean engine grounding point. Route the harness along the factory loom, securing it with cable ties while leaving enough slack for tank movement and steering lock. Keep wiring away from sharp frame edges, hot exhaust components, and pinch points beneath the seat or fuel tank.
Mount the controller where it remains accessible for USB adjustments but protected from heat and moisture. Refit the tank and bodywork temporarily, then turn the handlebars fully left and right to check that nothing stretches or rubs. Reconnect the battery only after inspecting every plug and confirming that no tool has been left near the throttle mechanism.
Load A Suitable Fuel Map
Install the manufacturer’s software on a laptop and connect the controller with the correct USB cable. Turn the ignition on without starting the engine, allowing the software to identify the unit. Save a copy of the original map or factory settings before loading anything new.
Choose a base map that matches the motorcycle, exhaust, intake parts, fuel, and any oxygen-sensor equipment. A map for a full system should not be used with a standard exhaust simply because both bikes share the same engine family. If the exact combination is unavailable, use the closest conservative map and arrange professional dyno tuning.
Follow any instructions for throttle-position calibration. The software may require the throttle to be fully closed and then opened completely so the controller understands the sensor range. Start the engine only after the calibration process is complete, then allow it to reach operating temperature while checking for fuel leaks, warning lights, and unstable idle.
Test The Motorcycle Safely
Begin with a stationary inspection. Confirm that the engine responds smoothly to small throttle openings, the cooling fan operates normally, and there is no smell of leaking fuel. A Power Commander should not be used to conceal mechanical faults such as blocked injectors, low fuel pressure, intake leaks, worn spark plugs, or a failing oxygen sensor.
Take the first ride in a low-traffic area and keep the engine load moderate. Check for hesitation, surging, backfiring, unusually high idle speed, and excessive heat. A short ride around suburban roads in Brisbane or Adelaide can reveal basic problems before you commit to a longer trip, but it cannot replace controlled dyno testing.
Modification rules differ between Australian states and territories. Exhaust noise, emissions equipment, intake changes, and fuel-control devices may affect registration or roadworthiness requirements in NSW, Victoria, Queensland, Western Australia, and elsewhere. Keep the original parts, confirm requirements with the relevant transport authority or inspection provider, and use a qualified tuner if the motorcycle is intended for public roads.
Make The Installation Reliable
A careful installation gives you a dependable baseline and makes future troubleshooting much easier. Record the map name, fuel used, exhaust and intake parts, battery condition, and any changes made in the software. This information is useful when replacing an air filter, fitting a different exhaust, or preparing the motorcycle for a track day.
- Match the controller to the exact motorcycle year and engine specification.
- Disconnect the battery before unplugging injector or ECU connectors.
- Keep the module away from exhaust heat, water collection points, and moving parts.
- Use a map designed for the actual intake, exhaust, fuel, and engine modifications.
- Check throttle calibration and inspect for warning lights before riding.
- Arrange dyno tuning for major engine work or persistent fuelling problems.
- Confirm Australian road-use and modification requirements before relying on the altered setup.
A properly mapped motorcycle should feel predictable rather than dramatically wild. Smooth throttle response, clean starting, stable idle, and consistent acceleration are better indicators than a loud exhaust or an impressive peak dyno figure. If the bike will be used for a long ride, test it locally first and carry the basic tools needed to inspect loose bodywork or wiring.
After a successful ride, practical preparation matters too: riders heading through coastal Queensland or South Australia often plan fuel, shade, and food stops as carefully as mechanical checks. A simple Goan crab recipe can make a memorable post-ride meal, provided seafood is transported and stored safely.
Choose the right Power Commander for your motorcycle, install it methodically, and verify the result with a suitable map or professional dyno session. Pattern Parts provides motorcycle parts, spares, accessories, and tuning equipment for riders maintaining standard machines or building carefully matched performance setups. Browse the available components before beginning the installation, and use the product specifications to confirm compatibility with your bike.