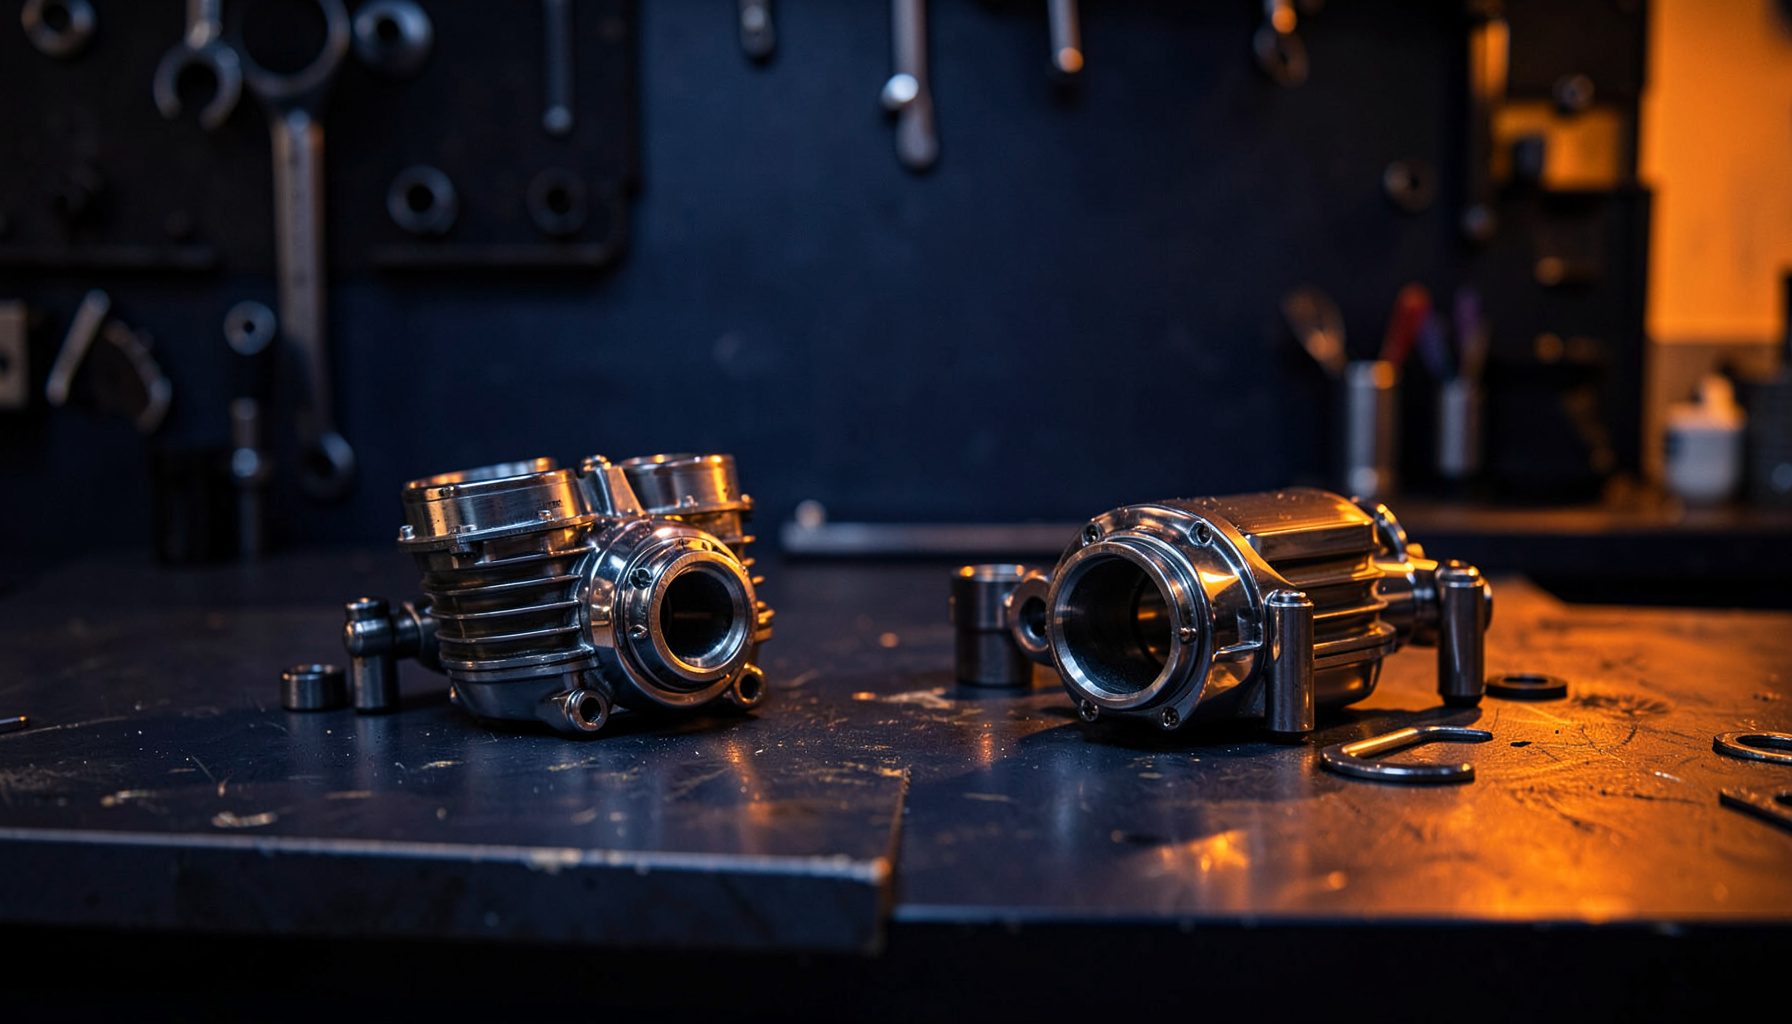
How to Install a Steering Damper on a Sports Bike
A steering damper helps control sudden handlebar movement when a sports bike hits a bump, loses rear-wheel grip, or lifts the front wheel under hard acceleration. Correctly fitted, it can reduce headshake and improve rider confidence without making the motorcycle feel heavy or reluctant to turn.
The job is within reach for a careful home mechanic, although the exact installation varies between a Honda CBR, Yamaha YZF-R1, Kawasaki Ninja, Suzuki GSX-R, Ducati Panigale, or another performance model. Most kits use model-specific brackets, a linear or rotary damper, and mounting hardware designed to preserve steering clearance.
Before beginning, confirm that the kit matches your motorcycle’s year and trim level. Australia has many parallel-import bikes, and small differences in fork spacing, fairing shape, steering stem design, or electronic equipment can affect compatibility. Read the manufacturer’s instructions alongside your workshop manual.
A clean, level workspace is essential. If you are working in Melbourne, Sydney, Brisbane, or another busy urban area, allow enough time to complete the installation without rushing the final safety checks. A steering control component deserves the same care whether the bike is used for weekend rides, commuting, or track days at Phillip Island or Sydney Motorsport Park.
Choose The Correct Damper Kit
Steering dampers are commonly available as linear units mounted across the upper triple clamp, or rotary units fitted around the steering stem. Linear dampers usually attach between a frame bracket and a fork-mounted bracket, while rotary versions sit centrally and use a dedicated collar or plate. Select a kit engineered for your precise sports bike rather than adapting a universal part.
Check the supplied parts against the instructions before removing anything. You may need a mounting bracket, spacers, locking nuts, replacement bolts, and a steering-stop interface. Verify that the damper body, rod, and brackets do not interfere with the ignition switch, clip-on handlebars, brake lines, throttle cables, fairings, or electronic steering equipment.
Purchase from a supplier with clear model information and dependable fulfilment. When ordering parts for a bike in Perth or regional New South Wales, review the delivery information so the kit and any replacement fasteners arrive before the motorcycle is dismantled.
Prepare The Motorcycle Safely
Park the bike on firm, level ground and support it securely. A rear stand may stabilise the motorcycle, but it does not always provide enough support for work around the steering head. Use a suitable front stand or another approved method that leaves the handlebars free to move while keeping the machine stable.
Remove only the fairing panels, tank covers, or other components needed to access the upper triple clamp and frame mounting point. Place fasteners in labelled containers and photograph cable routing before disturbing it. On fully faired machines, even a small change in the route of a brake hose or throttle cable can create a dangerous restriction.
Clean the mounting surfaces and inspect the steering head area for cracks, impact damage, loose fasteners, or signs of previous modifications. Do not install a damper to compensate for worn head bearings, misaligned forks, damaged tyres, or incorrect wheel alignment. Those faults must be repaired first.
Install The Mounting Hardware
Follow the kit’s fitting sequence, starting with the brackets that attach to the frame and upper triple clamp. Keep every bracket sitting flush against its designed surface. A trapped washer, incorrectly positioned spacer, or bolt that is too long can place the assembly under stress or interfere with the steering movement.
Apply medium-strength thread-locking compound only where the manufacturer specifies it. Tighten bolts progressively and use a calibrated torque wrench for the final setting. Torque values are model- and kit-specific, so use the supplied instructions or service data instead of relying on a general estimate.
With the damper loosely positioned, move the handlebars from full left lock to full right lock. The damper rod should remain straight and free from binding, while the mounting points should not touch the tank, frame, fork legs, or fairing. Check that the steering stops still operate normally and that no cable becomes taut.
Set The Damping Correctly
Begin with the damper at its lightest or recommended baseline setting. A steering stabiliser should control sharp oscillations, not make the bars difficult to turn at walking pace. Excessive resistance can slow emergency direction changes and make a low-speed turn feel awkward.
Turn the handlebars slowly through their complete range and feel for any tight spots. The resistance should be smooth in both directions, with no scraping, clicking, leaking fluid, or sudden notch. If the damper has adjustment clicks, record the starting position so you can return to it after a test ride.
Do not copy a track setting for ordinary Australian roads. Surface quality can change quickly between smooth motorway sections, patched suburban streets, cattle-grid approaches, and corrugated regional roads. A setting suitable for a closed circuit may be unnecessarily firm for daily riding.
Test The Bike In Stages
Before riding, inspect every fastener, reinstall removed bodywork, and confirm that the ignition, throttle, clutch, brake lines, and switches operate normally. With the engine off, turn the bars fully in both directions and check that the throttle snaps closed without assistance. Recheck clearance after the fairing is fitted.
Make the first ride at low speed in a quiet, familiar area. Test gentle turns, braking, acceleration, and changes of direction before increasing speed. Pay attention to delayed steering response, a tendency to pull to one side, unusual vibration, or resistance that changes across the steering range. Stop immediately if any of these symptoms appear.
Once the basic test is satisfactory, make small adjustments one step at a time. A damper is a supplement to sound suspension setup, correct tyre pressures, balanced wheels, and proper wheel alignment. It should never be used to hide a worn steering-head bearing or a chassis problem.
Keep The System Road Ready
Inspect the damper and brackets during routine servicing, particularly after a fall, track session, or work around the forks. Look for loose bolts, damaged rod seals, fluid leakage, bent brackets, and altered clearance. Wipe away grit from the exposed shaft with a clean, soft cloth rather than forcing dirt past the seal.
Australian riders should also consider registration, insurance, and event requirements. Modification rules differ between states and territories, and a road-legal setup may need to retain safe steering lock and avoid interference with required equipment. Check the relevant local authority or inspection guidance before using a modified motorcycle on public roads.
Practical Setup Checks
Use this short checklist before returning the bike to regular use:
- Confirm the damper and brackets match the motorcycle’s exact model year and specification.
- Torque all mounting fasteners to the kit or manufacturer’s stated values.
- Verify full steering lock, cable slack, throttle return, and brake-line clearance.
- Begin with a mild damping setting and record each adjustment.
- Inspect the installation again after the first ride and after any track-day session.
A correctly installed steering damper should feel unobtrusive during normal riding while offering controlled resistance during sudden handlebar movement. If the steering feels heavy, notchy, or restricted, remove the system from service and investigate the fitment before riding again.
Browse compatible motorcycle steering, suspension, and performance components through Pattern Parts, using the bike’s exact make, model, and year to narrow the selection. Order the correct hardware, follow the supplied fitting data, and have a qualified motorcycle technician check the installation if any part of the steering system is uncertain.