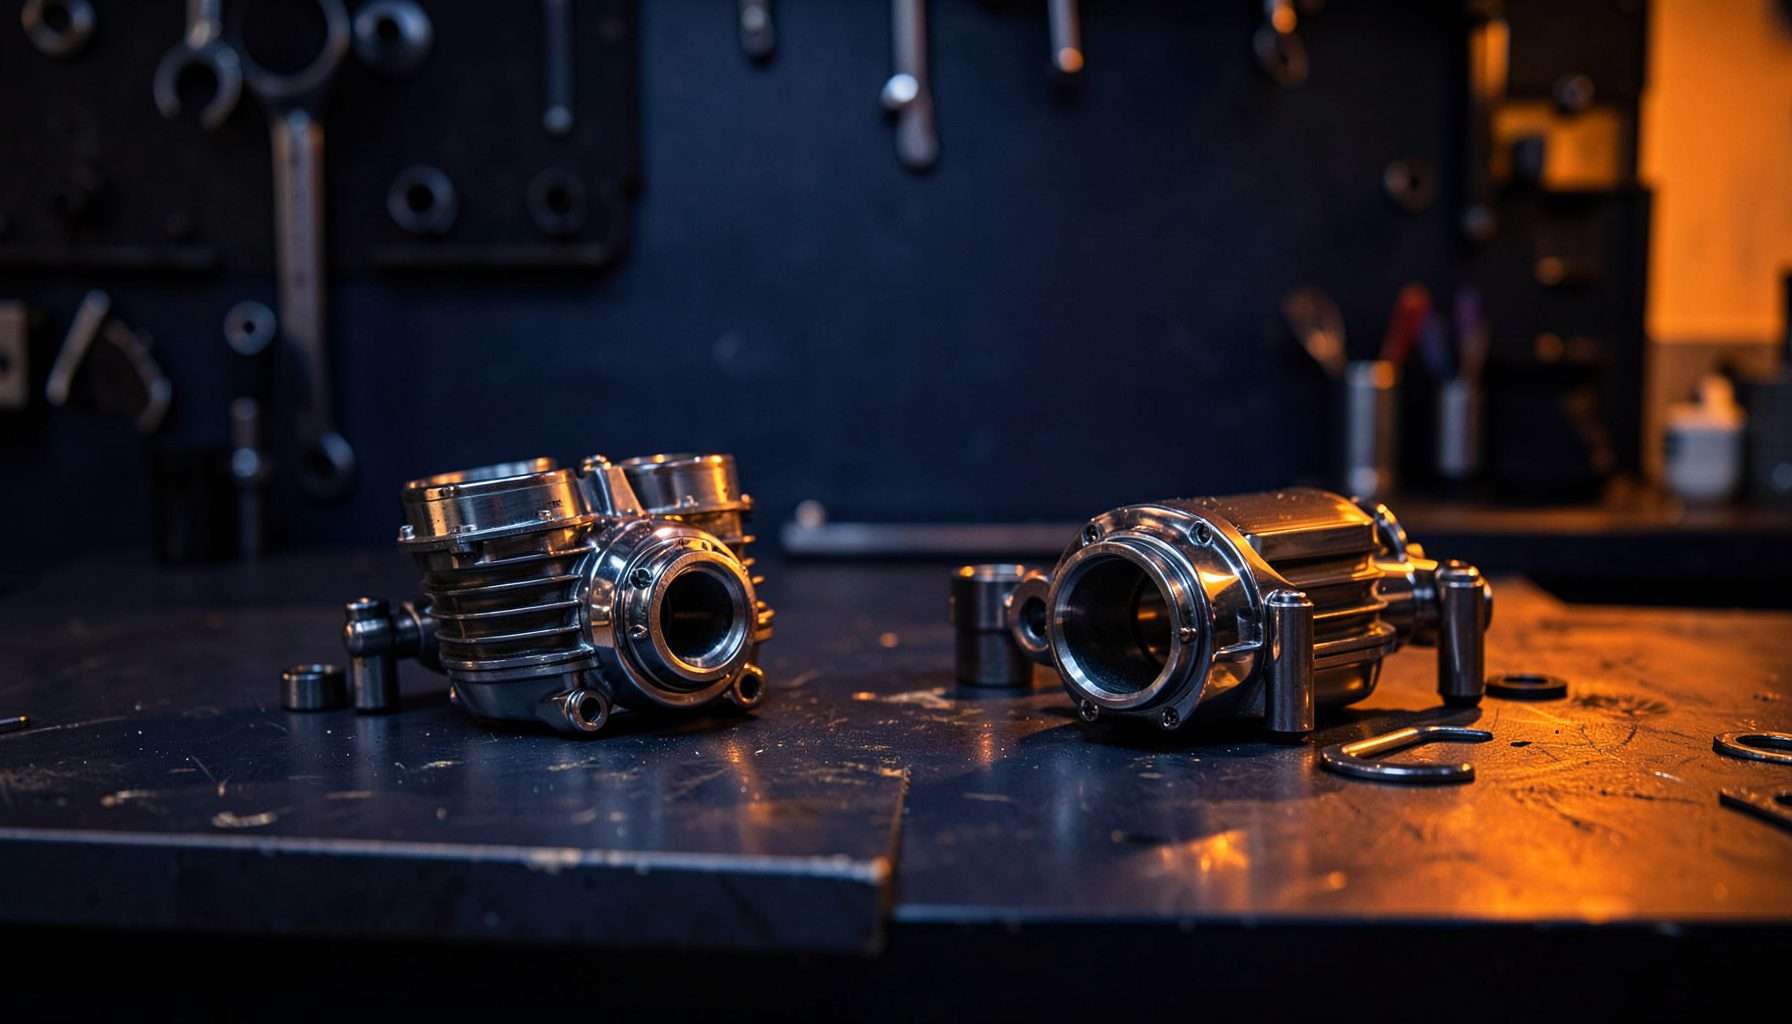
How to remove stubborn motorcycle bolts without stripping them
Removing a stubborn motorcycle bolt is usually a test of diagnosis rather than strength. A bolt may be corroded solid, overtightened or damaged before the spanner touches it. Treating every case the same risks cracking a stud or rounding the head.
The safest approach is to work from diagnosis to preparation, correct tool selection, controlled force and, only if needed, extraction. Keep the motorcycle stable, protect painted and polished surfaces, and allow time for penetrating oil to work. A breaker bar or impact driver may free a tight fastener, but neither rescues a bolt whose head has already become a rounded cylinder.
Australian riding conditions add useful context. Salt-laden humidity around the Gold Coast, tropical rain in Townsville and red dust on Outback roads all encourage corrosion, while left-hand traffic means a roadside stop needs the bike angled away from moving cars. Aussie riders also know the ritual of getting the bike out of the shed for an arvo, so having the right tools ready saves doubling back to the house.
Identify the failure before applying force
Start by checking whether the fastener is tight, corroded or physically damaged. Feel the bolt head and threads for burrs, stretched metal and rounded corners. A rounded six-point head is different from stripped internal threads; forcing an extractor into a damaged thread can make the repair substantially worse.
Find the service manual and identify the bolt’s function, size and specified torque. Check for paint, threadlocker, washers, locking nuts or a nut trapped behind a bracket. If access is poor, remove the obstruction carefully rather than turning the fastener at an awkward angle. Metric fasteners are common on Australian motorcycles, but socket sizes and bolt grades still vary by make and model.
Secure the motorcycle on a stand or stable centre stand before applying meaningful leverage. If the engine is warm, allow it to cool, and keep hands clear of hot exhaust parts. Disconnect the battery when working near electrical components, and support the bracket or component so it cannot twist while the bolt moves.
Clean the threads and let the penetrant work
Clean the visible dirt and corrosion first. Use a wire brush, scraper or degreaser around the bolt head and threads without pushing grit into the joint. The aim is to expose bare metal and let a purpose-made penetrating oil travel into the narrow gap where the threads have bonded together.
Apply the penetrant along the bolt head seam and down the exposed thread. Mask nearby paint, seals and finished surfaces because some products will stain or creep. A general water-displacement spray may help with moisture, but it is not a substitute for a dedicated penetrant when corrosion is the main cause of seizure.
Give the chemical time to work, then try the fastener again with modest force. Reapply after another soak if it remains stuck. Do not alternate violent tightening and loosening; that can damage the head or twist the thread. Schedule the job rather than rushing it in the backyard shed. Adelaide owners who also manage a vegie plot can check growing vegetables down under for produce that needs picking before committing an entire arvo to motorcycle work; a clear workshop window beats stopping halfway through a seized fastener.
Match the socket and protect the bolt head
Choose a deep, six-point socket that fits the bolt head with no play. A loose socket rounds the corners, while an undersized socket can slip and mark the fastener. Check the socket size printed on the tool and confirm it against the bolt before applying force. Impact-rated sockets are useful for seized hardware, but the driver itself must also be suitable for the fastener’s grade and diameter.
For ordinary seizure, a breaker bar, ratchet or good-quality socket handle is usually safer than an impact driver. Keep the socket square, pull in the direction the bolt turns and avoid side-loading the fastener. A short length of steel pipe over the handle can increase leverage, but stop before the socket begins to deform. An adjustable wrench is a last resort because its movable jaw can round a hex head.
If the head is already rounded, do not clamp it with pliers and then twist. A correctly sized socket may still bite enough to move it. If it slips, use a purpose-made bolt extractor or a socket-and-washer combination rather than hammering harder. These methods need accurate sizing and steady pressure; excessive impact can shear the shank or damage the threads in the housing.
Apply controlled heat and extraction methods
Heat can break a corrosion bond, particularly on a steel bolt passing through an aluminium bracket or cover. Warm the surrounding metal with a heat gun, keeping the nozzle moving and maintaining a safe distance. Do not use an open flame near fuel lines, wiring, oil seals, plastics or painted surfaces, and avoid heating aluminium excessively because it can lose strength.
If the head shears completely, a stud extractor may be able to grip the remaining shank. Select an extractor for the visible thread diameter, follow its drill-depth instructions and keep the drill straight. Add cutting oil and withdraw frequently to clear chips. If the extractor cannot get purchase, the damaged component may need replacing instead of becoming a drilling exercise.
Drilling is a final option for a broken fastener that cannot be extracted, and it demands unusual care. The drill can wander toward the housing walls or cut below the thread level, turning a bolt problem into a case repair. Measure first, mark the depth clearly and use a sharp, correctly sized bit. For a critical engine component, a specialist machine shop is usually safer than persistent workshop improvisation.
Repair the damage and prevent repeat seizureing
Once the fastener is free, inspect the bolt, threads, washer and mating surface. Remove rust with a thread chaser or tap of the correct size, then flush away metal particles. If the threads are crushed or stripped, use a thread repair insert or install a replacement nut or component rather than filling the hole with coarse material and hoping it will hold.
Before refitting, clean both surfaces and apply anti-seize where appropriate, particularly for stainless steel fasteners and aluminium parts. Follow the service manual for the specified torque and tightening sequence, and use a torque wrench for final tightening. Anti-seize is not a substitute for clean, correctly sized hardware, and too much can affect the clamp load.
Pattern Parts, the Nottingham-based supplier, carries more than 30,000 motorcycle products, including engine, brake, electrical and chain components, plus OEM-equivalent replacements and aftermarket tuning upgrades. Australian riders comparing imported parts should match the part number, dimensions, material and manufacturer rather than relying on appearance. Its motorcycle maintenance guidance can also help determine whether replacing a damaged bolt, nut or thread insert is the appropriate repair.
Next time a fastener seizes, place the bike on a stand, diagnose the head, clean the threads, allow the penetrant to work and use only the leverage the fastener can handle. That sequence turns a frustrating roadside job into a controlled workshop task.
Get ready for the next service by checking Pattern Parts for the correct replacement hardware and related components, then keep a matched socket, breaker bar and penetrating oil in the toolbox before starting.