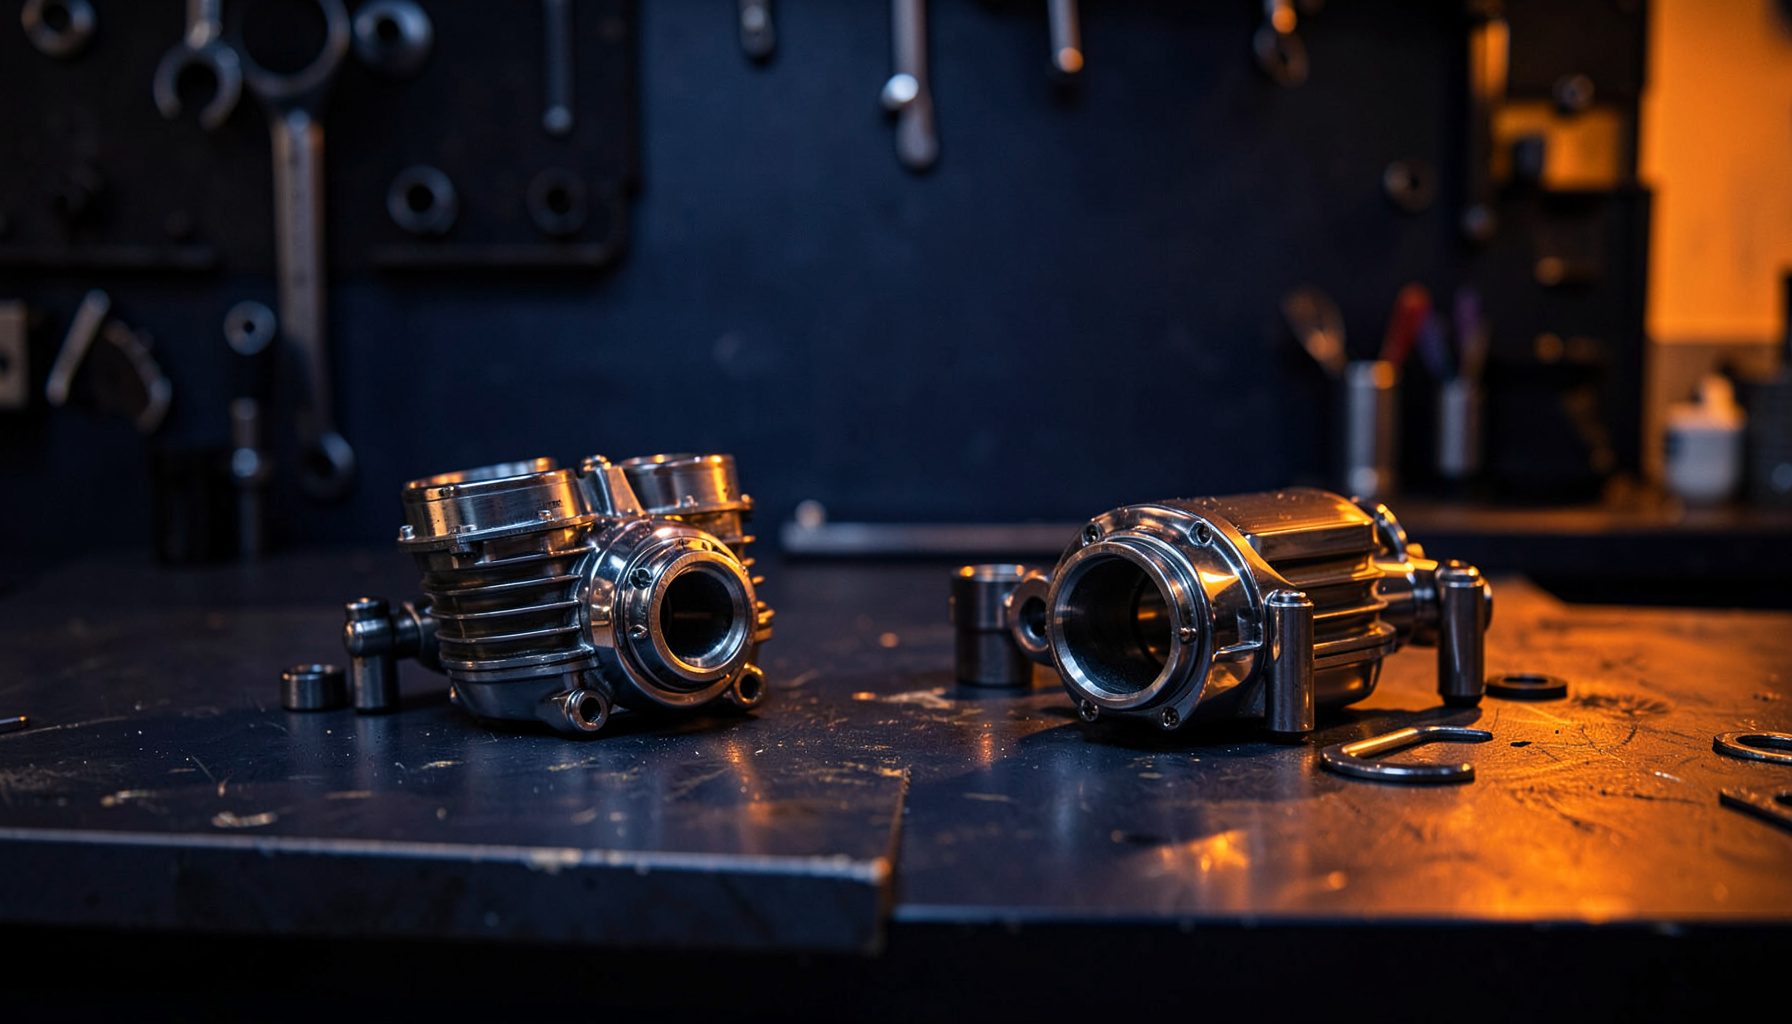
How to Replace a Motorcycle Camshaft Chain Tensioner
A camshaft chain tensioner keeps the timing chain tight as it runs between the crankshaft and camshafts. When the tensioner weakens, sticks or fails to hold pressure, the chain can rattle, jump teeth or throw the engine out of valve timing. In severe cases, piston-to-valve contact can cause expensive internal damage.
Replacing the tensioner is a manageable workshop job on many four-stroke motorcycles, but it demands accurate timing work. The procedure differs between Honda, Yamaha, Suzuki, Kawasaki, European and Chinese-built engines, so the model-specific workshop manual should guide torque settings and adjustment measurements.
Common warning signs include a rattling noise from the cylinder-head area, particularly during cold starts, unstable idle, difficult starting and an engine warning light. A noisy chain does not always mean the tensioner is faulty: worn chain guides, a stretched cam chain, low oil pressure or damaged camshaft components can create similar symptoms.
Australian riding conditions can expose weaknesses quickly. High temperatures in places such as Brisbane, Darwin and inland New South Wales place extra demands on engine oil and tensioner components, while dust from unsealed roads can accelerate general wear. A careful inspection is worthwhile before fitting a new part.
Identify the tensioner and confirm the fault
Most cam chain tensioners are mounted on the side or rear of the cylinder block or cylinder head. Look for a compact aluminium or steel housing secured by two bolts, often with a central plug, spring cap or adjustment mechanism. Some motorcycles use an automatic ratcheting tensioner, while others have a hydraulic design or a manually adjusted unit.
Listen to the engine with a mechanic’s stethoscope or a long screwdriver placed carefully against the tensioner housing. A sharp, repetitive rattle that changes with engine speed can support the diagnosis, but do not rely on sound alone. Check the service history, oil level and condition, and inspect any accessible chain guide or inspection port.
Automatic units may fail because the internal ratchet sticks or the spring loses tension. A manual cam chain adjuster may simply be incorrectly set. If the chain has already skipped a tooth, replacing the tensioner without checking valve timing can leave the engine running poorly or cause further damage.
Prepare the motorcycle and work area
Park the motorcycle on stable, level ground and allow the engine to cool completely. Disconnect the battery’s negative terminal if the manufacturer recommends it, then remove seats, fairings, fuel tanks or other parts that obstruct access. Keep fasteners in labelled containers; a magnetic tray is useful when working on a compact bike.
You will generally need metric sockets, a ratchet, a torque wrench, screwdrivers, Allen or Torx keys, a new tensioner gasket or O-ring, and suitable engine oil for lubricating the replacement part. A workshop light helps when reading timing marks. Riders in Australia should also account for heat, especially when working in a tin shed during summer, and avoid rushing because tools or parts are harder to source in regional areas.
Before dismantling anything, clean the area around the tensioner. Dirt falling into an open engine can damage the chain path or contaminate the sealing surface. Photograph hose and bracket positions, and read the manual’s instructions for locking or retracting an automatic tensioner.
Set the engine at top dead centre
Remove the relevant inspection plug or engine cover and turn the crankshaft in its normal running direction using the correct socket. Align the crankshaft’s top dead centre mark with the case reference mark. For timing work, the engine normally needs to be at top dead centre on the compression stroke, with the camshaft timing marks aligned as specified.
Do not use the electric starter to position the engine. It moves too quickly for precise work and can turn the crankshaft while your hands or tools are near the chain. Once the marks align, use paint or a marker to record the relationship between the chain and camshaft sprockets as an additional reference.
If the timing marks do not align as expected, stop and investigate. The chain may already have jumped, or the engine may be positioned on the wrong stroke. Turning the crankshaft with the tensioner removed can allow the chain to become slack and move off the sprockets.
Remove and fit the replacement unit
Follow the manufacturer’s procedure to retract and lock an automatic tensioner before removal. On some units, a small screwdriver is used to wind the plunger back; others have a retaining pin or a special locking tool. Remove the mounting bolts evenly and keep track of any different-length fasteners. Do not lever aggressively against the cylinder head or allow the chain to drop into the engine.
Compare the old and new tensioners side by side. Check the body shape, bolt spacing, plunger length, gasket surface and locking arrangement. A replacement described as suitable for a particular model year may still vary between markets, so confirm the engine code and fitment before installation. If you need help checking a part against your motorcycle, the Pattern Parts contact team can assist with product and application details.
Fit a new gasket or O-ring rather than reusing a compressed seal. Lubricate the plunger where specified, place the tensioner squarely against the mounting surface and tighten the bolts by hand first. Finish with a calibrated torque wrench set to the workshop manual’s value; overtightening can strip threads in the cylinder head.
Release, adjust and verify chain tension
Once an automatic tensioner is secured, release its locking mechanism according to the manual. Never assume that tightening the bolts alone has engaged the plunger. For a manual adjuster, set chain slack using the prescribed method, usually with the engine stopped at a specified crank position. The correct setting is model-specific, so avoid copying a generic measurement from another motorcycle.
Recheck the camshaft and crankshaft timing marks before replacing covers. Rotate the crankshaft by hand through two complete revolutions in the normal direction, then return it to the specified timing position. It should turn smoothly without a hard stop, and the timing marks should realign. If they do not, remove the tensioner and correct the chain position rather than trying to compensate with adjustment.
Inspect the chain’s visible span and guides for abnormal slack, scoring or cracks. A new tensioner cannot repair a worn chain or broken guide. If the chain has substantial side movement or the engine has covered high kilometres, a full timing-chain inspection may be more appropriate.
Start the engine and check the repair
Replace inspection plugs, covers, hoses, tanks and fairings, then reconnect the battery. Check the oil level and make sure no tools or rags remain near the engine. Start the motorcycle without raising the revs and listen for the previous rattle. A brief change in noise while oil pressure builds can occur, but persistent knocking or grinding requires immediate shutdown.
Look for oil leaks around the tensioner and confirm that the idle is stable. After the engine cools, inspect the fasteners and sealing area again. Take a short ride close to home rather than heading straight onto a long run through the Australian outback or along an isolated stretch of the Stuart Highway.
If the warning light remains on, the engine is difficult to start, or the noise continues, arrange a proper diagnostic inspection. Keep the removed tensioner until the repair has been confirmed, and record the date, mileage, part number and torque settings in the motorcycle’s service notes.
A correctly installed cam chain tensioner protects valve timing and helps prevent avoidable engine damage. Match the component to the exact model and engine code, follow the service manual at every timing step, and use quality replacement parts from a specialist motorcycle supplier. Browse suitable timing, engine and maintenance components through Pattern Parts before beginning the job, and organise professional workshop support when the timing marks or tensioner design are unclear.