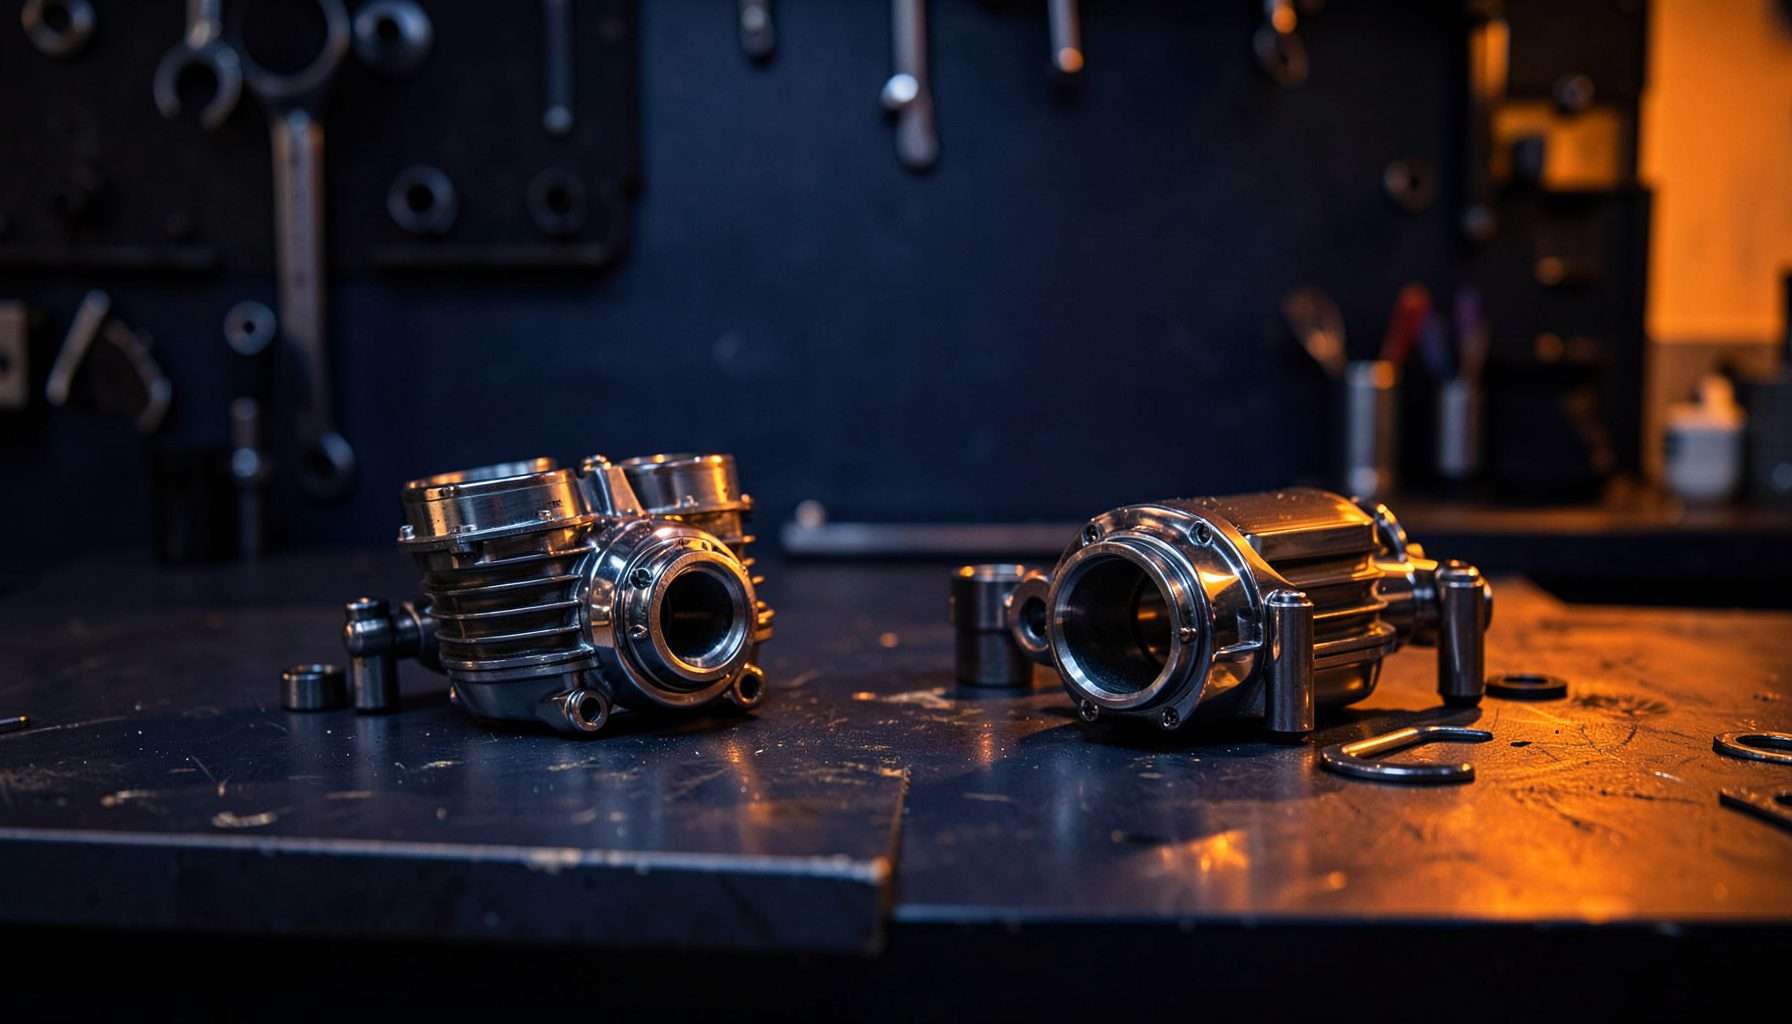
How to replace a motorcycle clutch cable and adjust tension
A stretched or damaged clutch cable can make gears difficult to engage, cause the clutch to slip under acceleration, or leave the bike lurching when pulling away. Replacing the cable and setting its tension is a manageable job, but the correct adjustment depends on the motorcycle’s design.
Pattern Parts stocks motorcycle parts, spares and tuning equipment for a wide range of brands and models. Its OEM-equivalent replacements and aftermarket upgrades can suit an ageing bike or provide a more durable alternative to the original component.
Signs the cable needs attention
A cable that has become slack may provide excessive lever travel before the clutch begins to release. Other warning signs include a spongy lever, visible fraying, a clicking sound near the lever perch, difficulty selecting first gear or a motorcycle that accelerates without matching road speed.
Adjustment cannot repair a broken inner wire, damaged outer housing or seized lever perch. If the clutch still slips after the cable has been correctly tensioned, the friction plates, springs or clutch basket may require inspection. Continually tightening the cable will not solve that mechanical fault.
Prepare the bike and confirm the correct cable
Use the motorcycle’s service manual to confirm the cable route, adjustment method, lever free play and fastener torque. Common tools include metric spanners, screwdrivers and a cable adjuster. Support the bike securely on a centre or paddock stand, allow the exhaust to cool and avoid working beside traffic with only the side stand deployed.
Most motorcycles sold in Australia have the clutch lever on the left, but cable layouts still vary. Some use a pull cable, while others employ a push-type or reverse-action arrangement. Check the lever perch, engine connection and required length before purchasing a replacement.
Australia’s motorcycle market includes many Japanese, European and American marques, so a cable must be matched by make, model and year rather than described as “universal”. When comparing Australian suppliers with UK-based online retailers such as Pattern Parts, check the current delivery time and landed cost, including currency conversion and any import charges.
Remove the old cable without damaging fittings
Photograph the original routing and take note of any washers, seals or spacers. Loosen the cable adjuster locknut, then disconnect the inner cable from the lever perch or remove the barrel adjuster where that design allows it. Release the opposite end at the clutch actuator without forcing seized fittings or pulling sharply on the outer housing.
Inspect the removed cable for broken strands, corrosion and damaged housing. Also check the lever return spring, adjuster threads and clutch-actuator linkage. Keep the old cable as a length and routing reference, but do not reinstall it if its core or housing is damaged. Clean any loose dirt from the connection points before fitting the replacement.
Install and route the replacement
Fit the new cable using the original path unless the supplied instructions specify otherwise. Avoid sharp bends, twists and contact with the suspension, chain, exhaust or moving steering components. A slight kink in the inner wire can cause early failure, while insufficient housing at full steering lock can pull the cable tight and alter the clutch operation.
Apply a light film of motorcycle-specific cable lubricant where recommended. Some motorcycles lubricate the inner wire, others use a grease nipple at the clutch end, and some specify no additional lubricant. Fit the correct seals and washers, then tighten the lever perch and engine-side fasteners to the manufacturer’s torque settings without over-tightening them.
Check the routing with the handlebars turned fully in both directions and with the suspension compressed. The cable should remain free and should not pull the clutch lever towards the grip.
Adjust tension for smooth clutch operation
Some motorcycles adjust the clutch at the handlebar lever, while others use a screw at the engine or transmission. Start with the adjuster near the middle of its travel so there is room to fine-tune the setting. Fit the cable, remove the slack from the housing and tighten the locknut while holding the adjuster securely.
Follow the service manual for the specified lever free play. Where no clear specification is available, obtain model-specific guidance rather than copying a generic measurement. Adjust in small increments while repeatedly operating the lever. The lever should return fully towards the grip, yet the clutch should begin to disengage promptly when the lever is moved.
Too much free play causes delayed engagement and possible gearbox crunching. Too little makes the lever feel stiff, may prevent it from returning and can leave the clutch partly engaged. Push-cable systems may respond differently from pull-cable systems, so follow the stated adjustment direction. Finally, tighten the locknut and recheck that the setting has not changed.
Test the clutch before returning to the road
With the transmission in neutral, operate the lever through its full travel and inspect the cable for movement, binding or contact with other components. Start the engine and confirm that the lever still returns fully and that the cable does not vibrate. The clutch should move smoothly when the lever is pulled.
Begin a low-speed road test in a quiet area. Select first gear, release the clutch gently and check for stalling, hopping, excessive noise or a tendency to drag. Test the remaining gears and confirm that acceleration no longer causes the clutch to slip. If the lever feels correct but the engine revs without corresponding speed, stop riding and arrange a clutch inspection.
Practical care for Australian riding conditions
Stop-start traffic in Sydney, Melbourne and Brisbane places repeated load on the clutch, making correct cable tension particularly important. Hot climates, coastal salt air, dusty rural roads and long-distance touring can also accelerate corrosion or wear. Regular cleaning and suitable lubrication help protect the cable in these conditions.
Roadworthiness requirements and vehicle inspections are administered by state and territory authorities, so details differ across Australia. A replacement should restore the manufacturer’s original clutch-control geometry, and an inoperative or continuously dragging clutch could create an unsafe condition. Keep the correct part record and retain the service instructions for future adjustments.
- Match the replacement cable to the motorcycle’s make, model, year and cable type
- Inspect the inner wire, outer housing, lever perch and adjuster during routine servicing
- Use only lubricant or grease approved for the specific cable design
- Check lever free play periodically, particularly after heavy touring or off-road riding
- Keep the cable clean and route it away from sharp edges and hot exhaust components
- Investigate clutch slip or engagement problems rather than compensating with extra cable tension
Browse the Pattern Parts motorcycle parts range, confirm the correct cable specification and delivery details for Australia, and fit the replacement before your next ride.