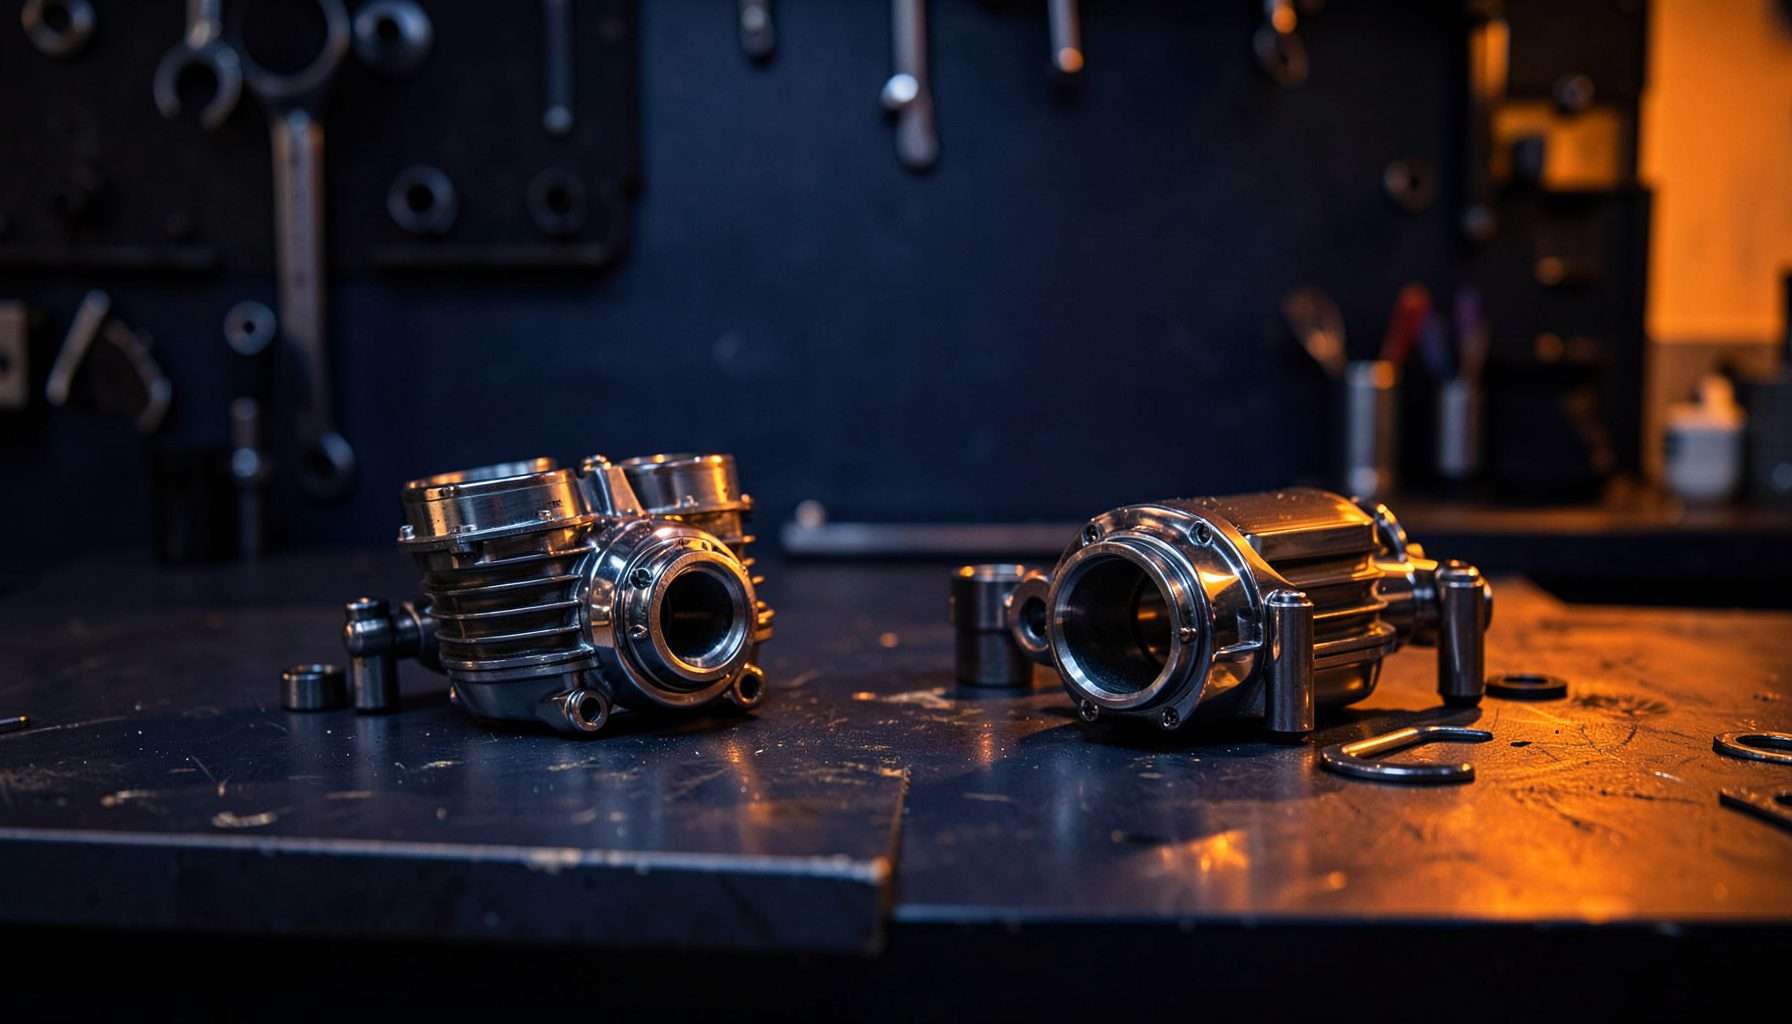
How to replace motorcycle brake rotors and choose the right type
A motorcycle brake rotor, often called a brake disc in Australia, is the steel component clamped by the brake caliper. When the pads slow the bike, the rotor converts that movement into heat. Replacing a worn or damaged disc is routine motorcycle servicing, but correct fitment and safe assembly matter.
Common reasons for replacement include severe scoring, cracks, excessive thickness loss, persistent warping, hot spots or brake fade. A light rusty film after rain may clean off, while deep pitting usually means the rotor has consumed too much material. Inspection is safer than replacing a part that still meets the manufacturer's limits.
Before ordering, identify the exact motorcycle, model year and side of the disc. The same model can use different rotors across markets, and a visually identical part may have a different mounting face. This guide explains how to replace the rotor and how to choose between standard, floating, wave, drilled and high-performance options.
Know when a brake rotor needs replacing
Listen and look first. A grinding noise suggests pad material or debris has reached the braking surface; pulsing under light pressure can indicate runout; and a hot spot can produce a vibration after braking. A soft pedal, spongy response or fluid leak is a braking-system fault, not automatically a rotor fault, so diagnose it before buying.
Measure the disc at several points with a micrometer and compare it with the minimum thickness stamped on the rotor. Also check the friction band for deep grooves, cracks and blue areas. If the disc is close to its limit, replace it rather than trying to clean it back into service. Use the maker's inspection figures where they differ.
Australian conditions make inspection especially worthwhile. Corrugated gravel around Alice Springs can throw stones into the front brake, while tight, wet bends in the Blue Mountains and Otways can expose worn steel. Humid coastal storage and workshop chemicals also encourage corrosion, so inspect stored bikes and sealed roads after servicing.
Match the replacement to the motorcycle
Check the bolt or stud pattern, hub bore, outside diameter, nominal thickness, offset from the wheel centreline and any left-versus-right designation. The minimum-thickness marking is a safety limit, not the thickness to order. Some rotors carry an ABS tone ring; replacing the disc can disturb the sensor gap and require wheel alignment.
Next, understand fixed and floating construction. A fixed one-piece rotor bolts directly to the hub. A floating rotor has a steel braking ring carried on a separate aluminium or steel carrier and can move slightly as it expands. Wave-shaped outer edges do not always mean floating, so check the product description and fitting sequence.
Australian garages and rider forums often use "bike", "disc" and "servicing" interchangeably, but local slang does not guarantee compatibility. The market includes Japanese, European and American marques, from Honda and Yamaha to BMW, Triumph and Harley-Davidson. Pattern Parts offers OEM-equivalent replacements and aftermarket upgrades, so use the motorcycle's part number and fitment guidance, while confirming overseas shipping, insurance and tax terms.
Compare the main rotor styles
When choosing motorcycle brake rotors, most riders consider their riding style, heat load and budget rather than appearance alone. Quality steel gives predictable road performance, while wave, drilled and slotted designs mainly address feel, water clearance or debris behaviour.
| Rotor type | Construction | Strengths | Trade-offs |
|---|---|---|---|
| OE-style fixed disc | One-piece stainless steel | Durable, predictable and economical | Less heat capacity than some premium sport rotors |
| Floating wave disc | Steel ring on a separate carrier | Good feedback and repeated-braking performance | Correct carrier and tightening sequence are essential |
| Drilled and slotted disc | Steel disc with holes and channels | Helps clear water and debris | May increase pad wear; not automatically better |
| Carbon-ceramic | Carbon composite ring, often floating | High heat capacity and potentially lower unsprung mass | Expensive, with careful bedding and pad requirements |
For commuting, trail work and tours, a reputable OE-equivalent or well-made stainless rotor is usually the sensible choice. Match it to the caliper and pad compound. Performance hardware helps only when the brake fluid, pads, hoses and caliper are in good condition; a shiny upgrade cannot compensate for a dragging caliper or contaminated brake.
Replace the rotor safely and correctly
Work on level ground, place the motorcycle securely on a stand, and loosen the wheel fasteners before removing the wheel. For roadside work, move well off the carriageway because Australian traffic keeps left. Support the wheel if removing the axle, and photograph the brake side, spacer positions and axle path before proceeding.
Remove the axle, slide the wheel forward and support it without hanging on the brake hose or wiring. If the caliper must come off, remove its banjo bolt, cap the hose and note the pad arrangement. Take care not to scratch the friction band or allow oil onto the rotor, pads or caliper.
Fit the new rotor in the correct direction, using any supplied damping washers. Install the carrier in the specified sequence and tighten the axle and wheel fasteners to the manufacturer's torque values. Some floating designs need alternating, staged tightening to prevent bind; loose hardware can make a new rotor warp.
Reinstall the wheel, axle, spacers, brake hose and caliper, then check that the wheel turns freely and the caliper is centred. If the caliper was removed, bleed the system and torque the banjo bolt correctly. Replace pads that are worn, contaminated or incompatible, then follow the bedding-in procedure before normal riding.
Complete a practical pre-ride check
Use this checklist before the wheel goes back on:
- Confirm the full part number and model-year fitment, not just the bike's make.
- Compare diameter, bore, offset, thickness and bolt pattern with the old rotor.
- Check whether the brake is fixed, floating or fitted with an ABS tone ring.
- Measure thickness and inspect the friction band for cracks, scoring and runout.
- Use new lock washers or damping washers where the manufacturer requires them.
- Torque axle, caliper and wheel fasteners to the specified values in the correct order.
- Bed in compatible pads progressively, then recheck torque and brake operation.
Pattern Parts carries more than 30,000 motorcycle parts, including brake components, chains, electrical items and tuning equipment, plus maintenance guidance for common brands. Use the fitment data to find your replacement rotor, add any required pads or washers, and check the current delivery terms for your Australian address before checkout.