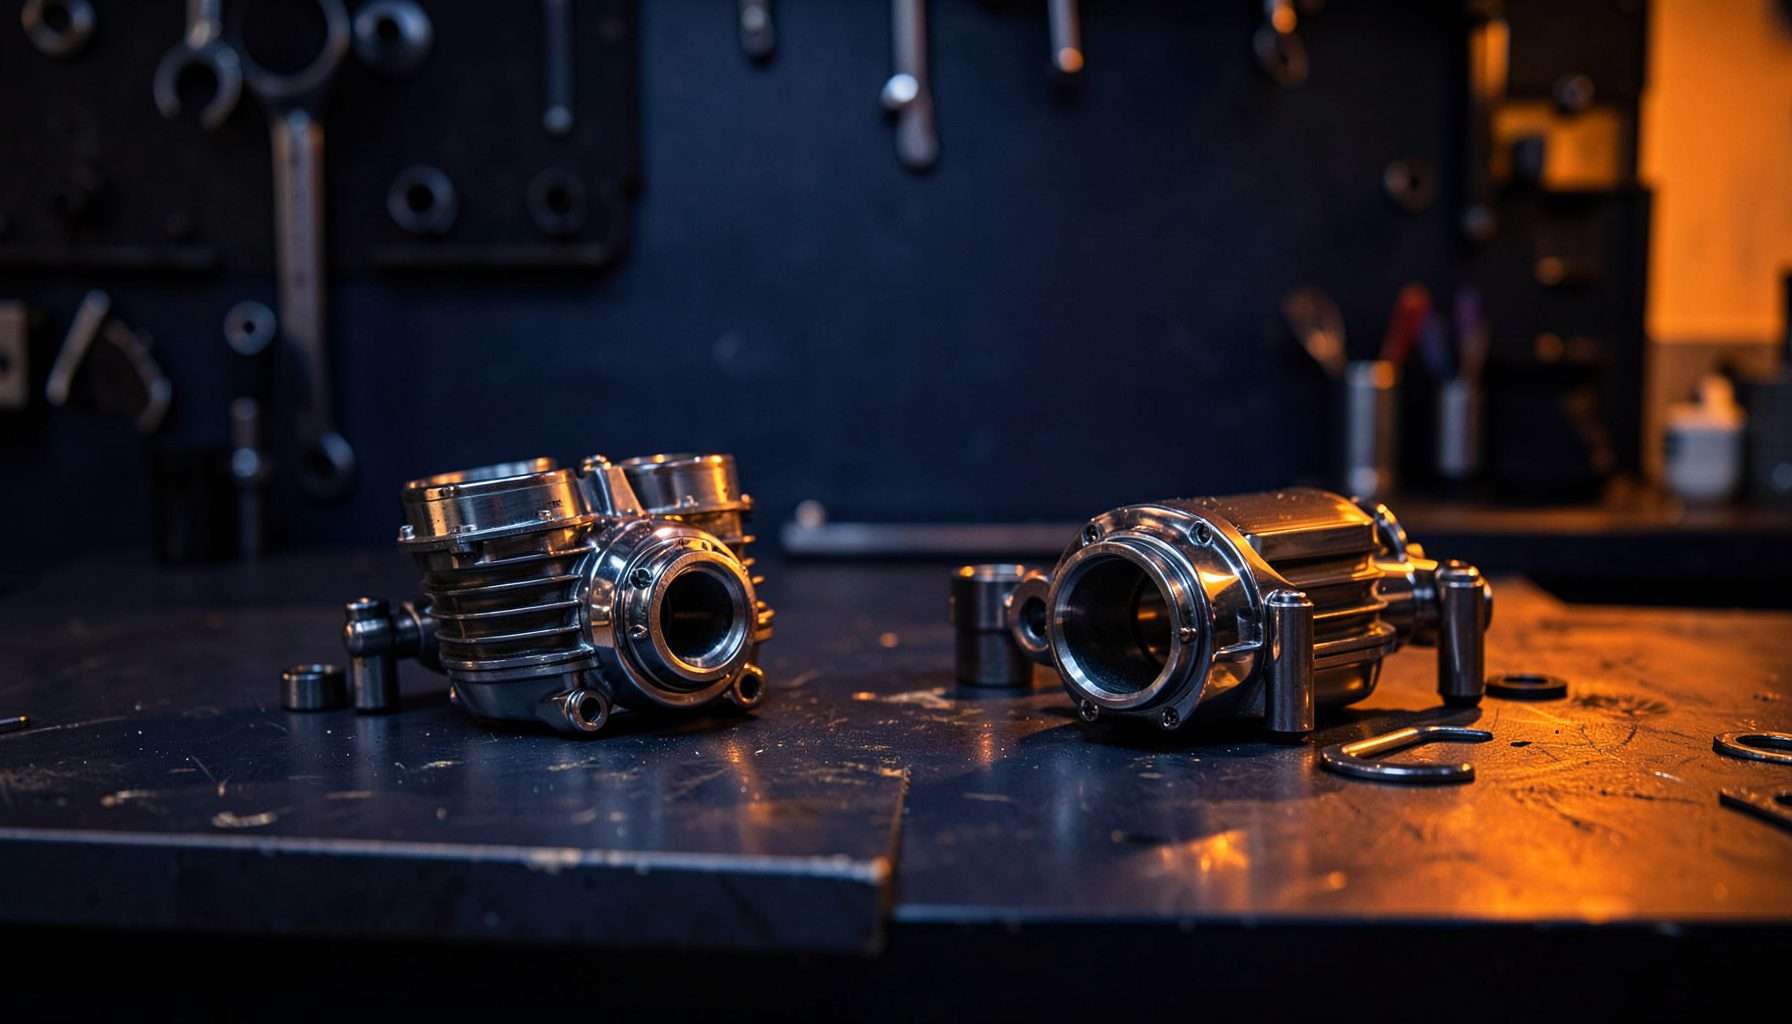
How to replace motorcycle fork oil for better ride quality
Fork oil does more than lubricate the sliding surfaces inside a telescopic fork. It also controls how the suspension reacts to braking, bumps and rapid direction changes. Old, aerated or contaminated oil can make the front end feel vague, harsh or inconsistent.
Replacing motorcycle fork oil is a manageable garage job on many bikes, but the correct volume, oil specification and tightening sequence matter. Cartridge forks, conventional forks and remote-reservoir designs differ, so the workshop manual should guide the procedure rather than a generic checklist.
Australian conditions add useful clues. Stop-start traffic around Sydney and Melbourne punishes weak damping, Brisbane humidity and Perth heat can age seals, and coastal salt rewards careful cleaning. Because Pattern Parts is UK-based, Australian riders should compare shipping and local workshop options, allow time for international delivery and plan for any customs clearance before starting a service.
Choosing the right fork oil
Check the manual for the required oil type, SAE weight and total quantity. Fork oil is not ordinary engine oil, and many manufacturers specify a mineral or synthetic fluid within a particular viscosity range. Do not substitute gear oil or automatic transmission fluid unless the manual explicitly permits it. Also confirm the service interval; many bikes are checked around 10,000 to 20,000 km, but the maker’s schedule takes priority.
Viscosity changes damping, but a heavier oil does not automatically create a better ride. A softer setting may suit a light commuter, while a firmer setting can control body movement on a larger sport bike or loaded touring machine. Use the manual’s baseline before considering a change. Owners of Aprilia motorcycles can check Aprilia replacement parts for compatible seals and other service items before ordering.
Preparing the bike and workspace
Work on level ground, secure the motorcycle and raise the front wheel so the fork legs are free to move. Remove the wheel, brake caliper or sensor wiring as required by the model, and photograph the original assembly. Lay out drain plugs, seals and washers in order. Use metric tools and torque values from the manual; overtightening the axle or pinch bolts can change alignment and handling.
Clean the lower legs and drain area before opening them, since grit can scratch a seal lip. Place a sealed container beneath the fork and protect painted parts from used fluid. If a bracket, guard or brace needs reshaping, a practical half-round filing technique may help; polished fork stanchions should be cleaned and checked, never filed to hide wear.
Draining and refilling the forks
Start by releasing pressure in the fork according to its design. Remove the drain plug from the lower leg, or remove the cartridge as specified for that model, and allow the old oil to run into the container. Conventional forks may require the fork tubes to be separated from the sliders; cartridge forks usually retain the damper unit. Keep the assembly upright and controlled while opening it, and prevent used fluid from contaminating nearby seals and brake components.
Inspect the dust seals, oil seals, O-rings and retaining clips while the fork is open. Replace anything torn, hardened or distorted, and check that the sealing surfaces remain smooth. Refit new seals with the correct orientation and lubricate them with the specified fork oil or compatible assembly grease. If the fork uses a bleed valve, ensure its sealing washer is in good condition.
Before reassembly, measure the exact fluid required for each fork leg or cartridge, as specified. Pour slowly into the opening named in the manual, watching for the correct level when the fork is upright. Fit drain plugs and cartridge clamps, then pump the forks through their travel several times to force trapped air toward the bleed screw. Bleed until oil appears without bubbles, following the maker’s bleeding method.
Setting sag and testing the ride
With the front wheel refitted, tighten the axle, pinch bolts and brake components to the specified torque, then measure static sag, check the preload setting and compare the front ride height with the manual. The manual will give the measurement method and targets for the model; a common loaded-sag starting point is roughly one-third of available travel, but suspension geometry and preload settings can alter that figure.
Take a short test ride at low speed before evaluating the result. A smooth bike should stand upright under braking, settle predictably after a bump and maintain steering control without a heavy or nervous front end. If it dives excessively, first confirm preload, tyre pressure and load; then consult the manual for the appropriate oil volume or weight adjustment. If it feels harsh, check for a tight seal, incorrect oil level, oil that is too heavy or a damaged stanchion.
Comparing weights and completing the job
Oil weight is a tuning choice rather than an upgrade ladder. Formulation, temperature and fork design all influence the result, so compare options against the manufacturer’s baseline and change one variable at a time. Record the oil used, mileage and front ride height so future servicing can reproduce the setup.
| Oil or setup | Typical character | Suitable starting point | Check first |
|---|---|---|---|
| Manufacturer’s baseline | Balanced response for the original design | Every motorcycle | Exact volume and fluid type |
| Lower-viscosity alternative | Usually softer initial action | Models approved for lighter damping | Oil specification and ride height |
| Higher-viscosity alternative | Usually firmer and more controlled | Models approved for firmer damping | Preload setting and oil volume |
| Cartridge or remote-reservoir fluid | Purpose-matched to the damper design | Specific fork architecture | Reservoir level and bleed procedure |
Dispose of the old fluid through an approved local waste-oil collection point, clean every tool and check for leaks before releasing the bike. Get a sharper, more consistent front end by browsing Pattern Parts’ range of motorcycle parts, accessories and tuning equipment, arranging the correct fork oil and seals for your model, and booking the service before your next Australian road trip.