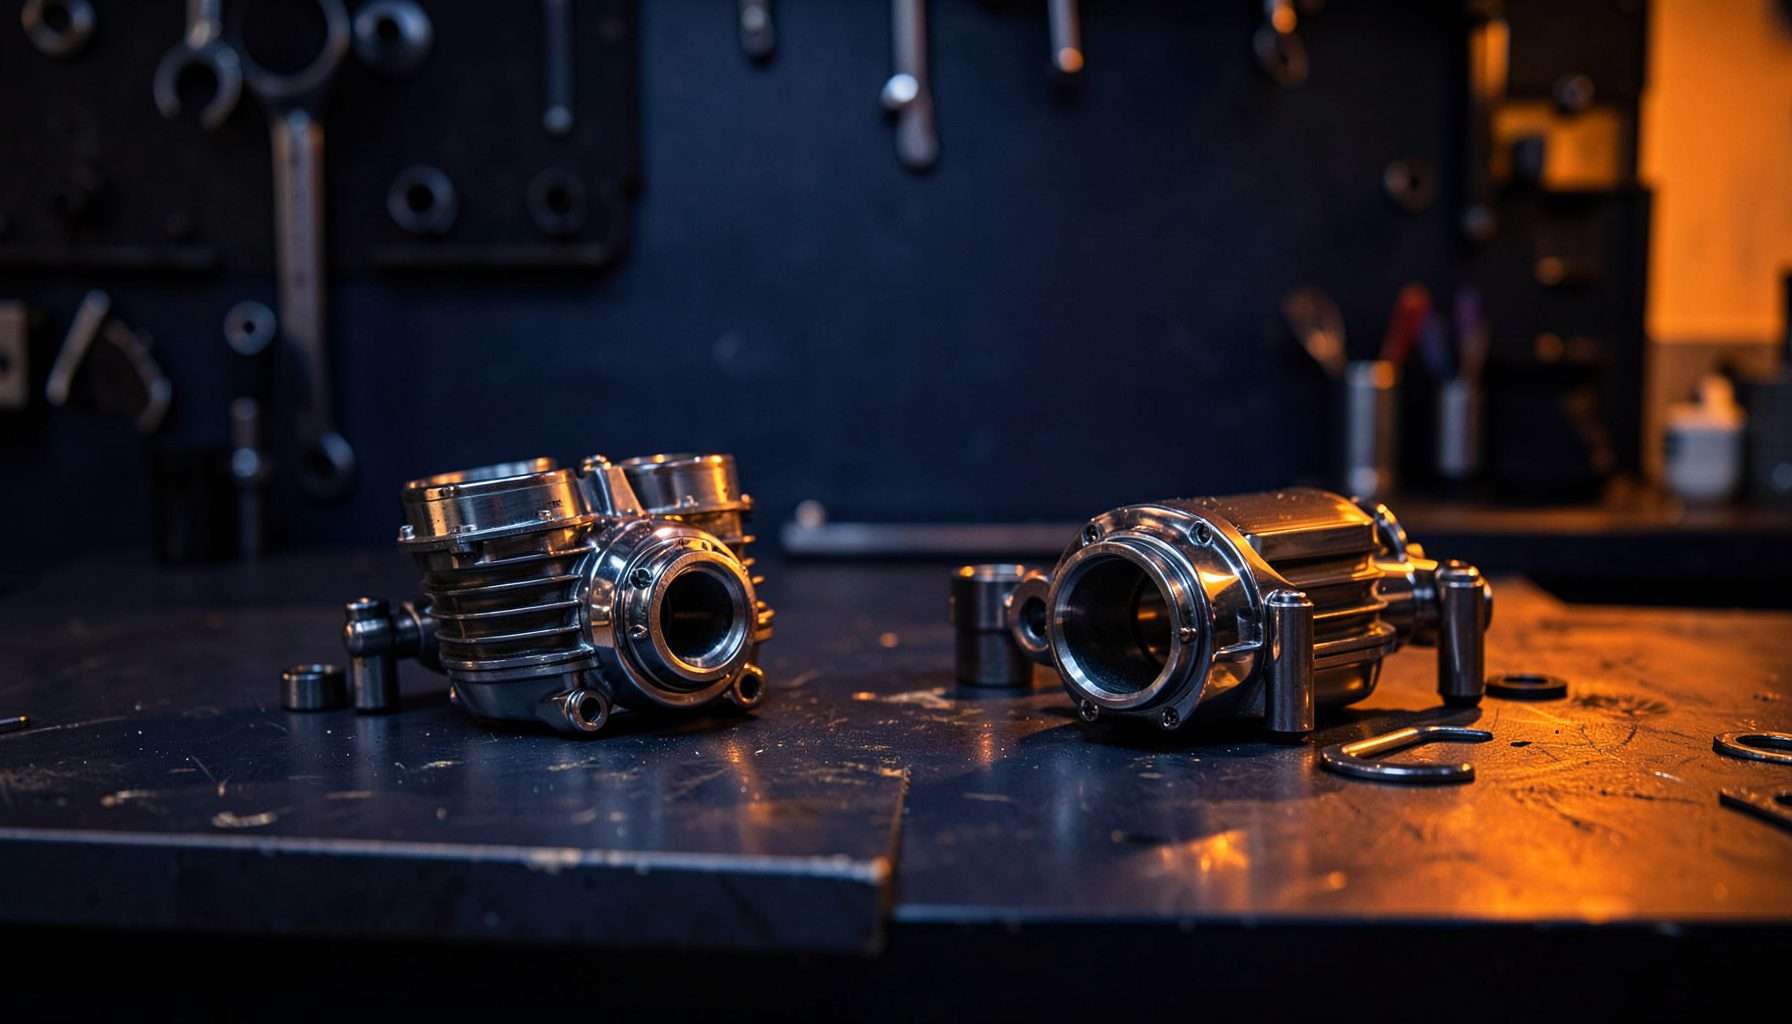
How to replace motorcycle rear sets for better ergonomics
Rear sets are the rider’s main contact point with the motorcycle below the knees. Their position affects comfort, control and the ability to shift or brake during traffic. Understanding how to replace motorcycle rear sets for better ergonomics can reduce fatigue, especially on longer rides or repeated journeys through busy streets.
Common problems include footpegs that are too far forward, too low or angled incorrectly. A worn mounting bracket, slippery footpeg or misaligned lever can also make a rear set feel unsafe. Replacing the assembly may solve these issues, although changing only one component can sometimes be enough.
Australian riders cover a broad mix of conditions, from stop-start commuting in Sydney, Melbourne and Brisbane to gravel and corrugated roads. The market includes Japanese, European and locally developed motorcycles, so fitment must be checked against the exact model rather than assumed from engine size alone.
What a rear set includes
A rear set generally consists of the footpeg, heel guard, mounting brackets and the rider-operated brake and shift controls. Some designs also incorporate the passenger footpeg support, while others use separate pieces for different motorcycles. Brake levers may be cable-operated or hydraulic, so the original arrangement matters.
Rear sets are commonly divided into bolt-on and swingarm-mounted designs. A bolt-on unit uses the original pivot and mounting points, whereas a swingarm-mounted assembly replaces more of the bracket structure. The correct type is determined by the motorcycle’s frame and swingarm, not merely by its appearance.
For better ergonomics, consider the triangle formed by the seat, footpegs and handlebars. The rider should be able to sit comfortably with a relaxed knee bend, keep the heel near the peg and reach the brake and shift levers without moving the upper body excessively.
Choosing a suitable replacement
OEM-equivalent rear sets reproduce the original fit, finish and control layout. They are usually the safest choice when the aim is to restore the motorcycle’s factory ergonomics. Aftermarket assemblies may offer adjustable peg positions, wider platforms, sharper edges or different materials for different riding styles.
Pattern Parts stocks motorcycle filters, brake components, chains, electrical items and other replacement parts for a wide range of brands. Its selection of OEM-equivalent parts and tuning equipment can help riders compare standard replacements with more adjustable options. The motorcycle’s year, model designation, engine capacity and original part number should guide the search.
Treating fitment as a numbers game is no more reliable than quick roulette wins. Check whether the new unit includes the required lever, pedal, spring, pin and passenger bracket, and confirm that it suits the motorcycle’s chain, side stand and suspension movement.
Preparing the motorcycle and workspace
Begin with the service manual, a torque wrench and the correct metric sockets or hex keys. The manual should provide mounting torque figures, cable adjustments and any specified threadlocker. Take photographs before removing parts, and keep small hardware in a labelled tray.
Use a paddock stand or secure centre stand so the motorcycle cannot move while the rear set is off the bike. A rear wheel stand is also useful, but it must be positioned correctly to prevent the motorcycle from tipping. Work on level ground with adequate lighting and keep the brake and shift controls supported during removal.
Australian road rules require compliant helmets and protective clothing, with specific requirements varying between states. Modifications must also retain safe braking and steering operation. In Victoria, a roadworthy certificate can be required following certain registration or ownership changes, so any alteration should be completed before an inspection rather than deferred.
Removing the worn assembly
Support the old assembly, remove the brake and shift levers, and release the footpeg from its spring, clip or mounting bolt. On cable-operated systems, note how the adjuster and cable are routed before disconnecting them. Hydraulic brake connections should remain sealed unless the manufacturer’s instructions specifically require them to be opened.
Once the controls and peg are free, remove the brackets or mounting bolts while supporting the remaining components. If corrosion has seized a fastener, apply suitable penetrating oil and allow it to work instead of applying excessive force. Damaged threads should be inspected before new parts are fitted.
Inspect the exposed pivot, linkage and mounting points for wear, cracks or distorted holes. This is a good time to clean the area and check whether the replacement assembly will correct the underlying alignment problem. Replace worn hardware rather than reusing components that have lost their strength.
Fitting and adjusting the new controls
Fit the replacement brackets using the specified hardware and torque settings. Transfer cable adjusters, springs and pins to the corresponding components, following the manual for their orientation. A small amount of suitable lubricant on pivots helps prevent early stiffness, but excess grease can contaminate friction surfaces.
Adjust the footpeg position before final tightening. Sitting on the motorcycle should produce a natural spread of the legs without locking the knees or leaning forward. The foot should remain supported on the peg, and the brake lever should fall naturally beneath the front of the boot while the shift lever is reached without excessive wrist flexion.
Check that the assembly clears the chain, swingarm, exhaust, side stand and suspension throughout its travel. The brake lever must firm up progressively without pulling the cable sharply, while the shift lever should return freely to its resting position. Recheck the bolts after a short ride because suspension movement and vibration can settle components slightly.
Testing and maintaining the installation
Before riding, confirm that both pedals return correctly, the brake engages cleanly and the transmission can shift through every gear. Operate the controls several times while watching for cable movement, loose linkage or interference between parts. The motorcycle should remain stable with the parking brake and side stand functioning normally.
Begin the road test in a quiet area with low traffic rather than entering a busy city street immediately. Test gentle braking, emergency braking and changes between all gears, then inspect the fasteners and alignment again. On dusty roads or corrugated surfaces, vibration can reveal looseness that does not appear in a stationary check.
Regular maintenance keeps the ergonomic benefit intact. Clean the footpeg edges, lubricate pivots as specified and inspect the mount for corrosion or movement. Australian heat, coastal humidity and road dust can accelerate wear, so periodic checks are particularly valuable. Keep the complete replacement assembly and adjustment notes for future servicing.
Use the motorcycle’s model, year and original part number to identify the correct Pattern Parts replacement, then follow the service manual throughout the installation. A careful first fit, proper torque and a low-speed road test will give the new rear sets the best chance of improving rider comfort and control.