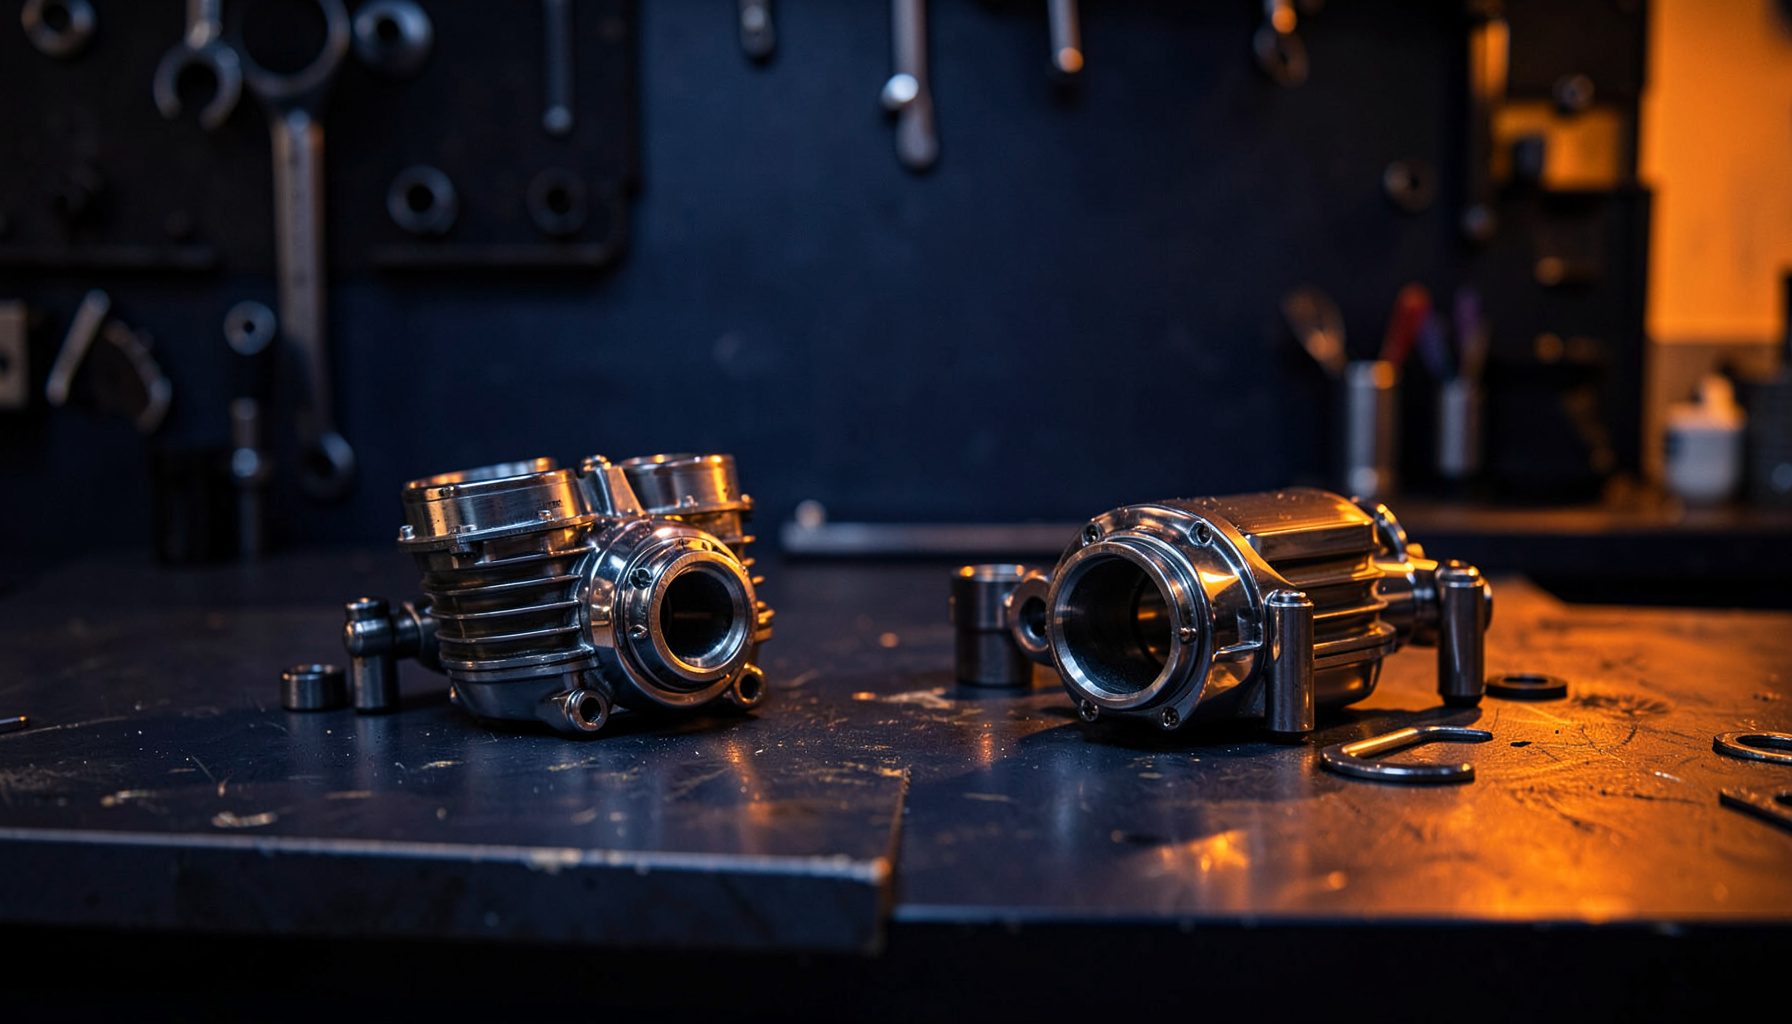
A Practical Guide to LED Motorcycle Lighting Upgrades
LED lighting can transform a motorcycle’s visibility, electrical efficiency, and appearance. A brighter headlight, crisp indicators, and a reliable tail lamp make a noticeable difference during early commutes, night rides, and long-distance touring. The key is choosing compatible components and installing them without creating beam, wiring, or compliance problems.
For Australian riders, the upgrade also needs to suit local conditions. A bike used in Sydney traffic has different demands from one covering dark rural roads near Toowoomba or the outskirts of Perth. Heat, dust, rain, wildlife, roadworthiness inspections, and state-based lighting rules should all influence the parts you select.
Start With The Motorcycle And Its Wiring
Before buying LED bulbs or complete lamp units, identify the motorcycle’s year, model, market specification, and existing bulb types. Headlights may use H4, H7, or another fitting, while indicators and brake lamps can use different wedge or bayonet bases. The same motorcycle model may also have variations between Australian, European, and Japanese-market versions.
Check the owner’s handbook and inspect the current bulb for its code and wattage. A motorcycle parts catalogue can help confirm fitment, but the bulb base alone is not enough. You also need to consider available space behind the reflector, the position of the locking tabs, the depth of the heat sink, and whether the wiring uses a conventional filament bulb or a CAN-bus-style monitoring system.
Choose The Right LED Headlight
An LED headlight should produce a controlled beam rather than simply claiming a high lumen figure. A poorly designed replacement can scatter light into oncoming traffic, leave dark patches on the road, or create glare for other riders and drivers. Look for a lamp designed for the original reflector or select a complete LED headlamp with its own approved optics.
Cooling is equally important. LED chips create less heat at the front of the lamp, but the electronics still need to dispose of heat. Compact fans, braided heat sinks, and sealed passive cooling systems each have advantages. A fan may offer strong cooling but can be vulnerable to dust and moisture, which matters for bikes regularly used on unsealed roads around regional Australia.
After installation, park the motorcycle on level ground and check the beam against a wall. Adjust the headlight according to the workshop manual, then test it from the rider’s normal position. A brighter lamp is useful only when it illuminates the lane without shining directly into the eyes of approaching traffic.
Upgrade Indicators And Brake Lamps Carefully
LED indicators illuminate quickly and can make a motorcycle easier to notice in busy city traffic, including congested routes through Melbourne or Brisbane. However, replacing filament globes often changes the electrical load. The original flasher relay may interpret the lower resistance as a failed bulb, causing rapid flashing or preventing the indicators from working correctly.
An LED-compatible relay is usually the cleanest solution because it preserves normal flash timing without adding unnecessary resistors. Load resistors can work where relay replacement is unsuitable, but they generate heat and must be mounted away from plastic panels, wiring insulation, and fuel system components. Confirm that the indicator spacing, colour, brightness, and flash rate meet the requirements that apply in your state or territory.
For brake and tail lamps, choose a red LED with a clear distinction between running-light and brake-light intensity. Check that the lamp is visible from suitable angles and does not interfere with the number plate light. A complete LED tail unit may provide better optics and sealing than a universal bulb fitted into an old reflector.
Check Australian Compliance Before Riding
Lighting rules in Australia are governed through national vehicle standards and state or territory enforcement, so requirements can vary. The Australian Design Rules provide the technical framework, while transport authorities and inspection schemes apply the rules locally. A replacement bulb that physically fits may still be unsuitable if the original housing was not designed or approved for that light source.
Front lamps generally need to show white light, rear lamps red, and indicators amber, subject to the applicable standards and vehicle configuration. Queensland safety certificates, Victorian roadworthy inspections, and registration checks in other jurisdictions may identify non-compliant lighting. Riders should verify current requirements with their state transport authority before fitting a non-standard headlight or coloured accent light.
Avoid blue or excessively bright decorative lighting on public roads, and keep emergency-vehicle colours out of the design. Some aftermarket lamps carry compliance markings, but those markings do not automatically make every installation legal on every motorcycle. Keep the original components so the bike can be returned to its standard configuration if an inspection or future sale requires it.
Install, Test, And Maintain The System
Disconnect the battery before altering wiring, especially when installing a relay, auxiliary driving lights, or a new harness. Use sealed connectors, correctly rated fuses, and cable routing that stays clear of the steering head, exhaust, chain, and suspension movement. Do not rely on twisted wires or household electrical tape in areas exposed to water and vibration.
Once fitted, test low beam, high beam, passing switches, indicators, hazard operation if equipped, brake switches, tail illumination, and the number plate lamp. Turn the handlebars fully from side to side and compress the suspension to make sure no cable pulls tight. Inspect for condensation after the first wet ride and check that the lamp remains secure.
Quality and compatibility matter when ordering motorcycle lighting online, particularly where a return depends on the part being unused and correctly packaged. Review the retailer’s store terms before purchasing, and keep product details, invoices, and fitment information with the bike’s maintenance records. This is useful when matching replacement parts later or preparing the motorcycle for sale.
A well-planned LED conversion should improve visibility without compromising beam control, reliability, or legal compliance. Match every component to the motorcycle, use proper electrical protection, and verify the finished installation in real riding conditions. Browse suitable motorcycle lighting, wiring, and electrical parts from a specialist supplier, then complete the upgrade with a careful test ride in a safe, familiar area.