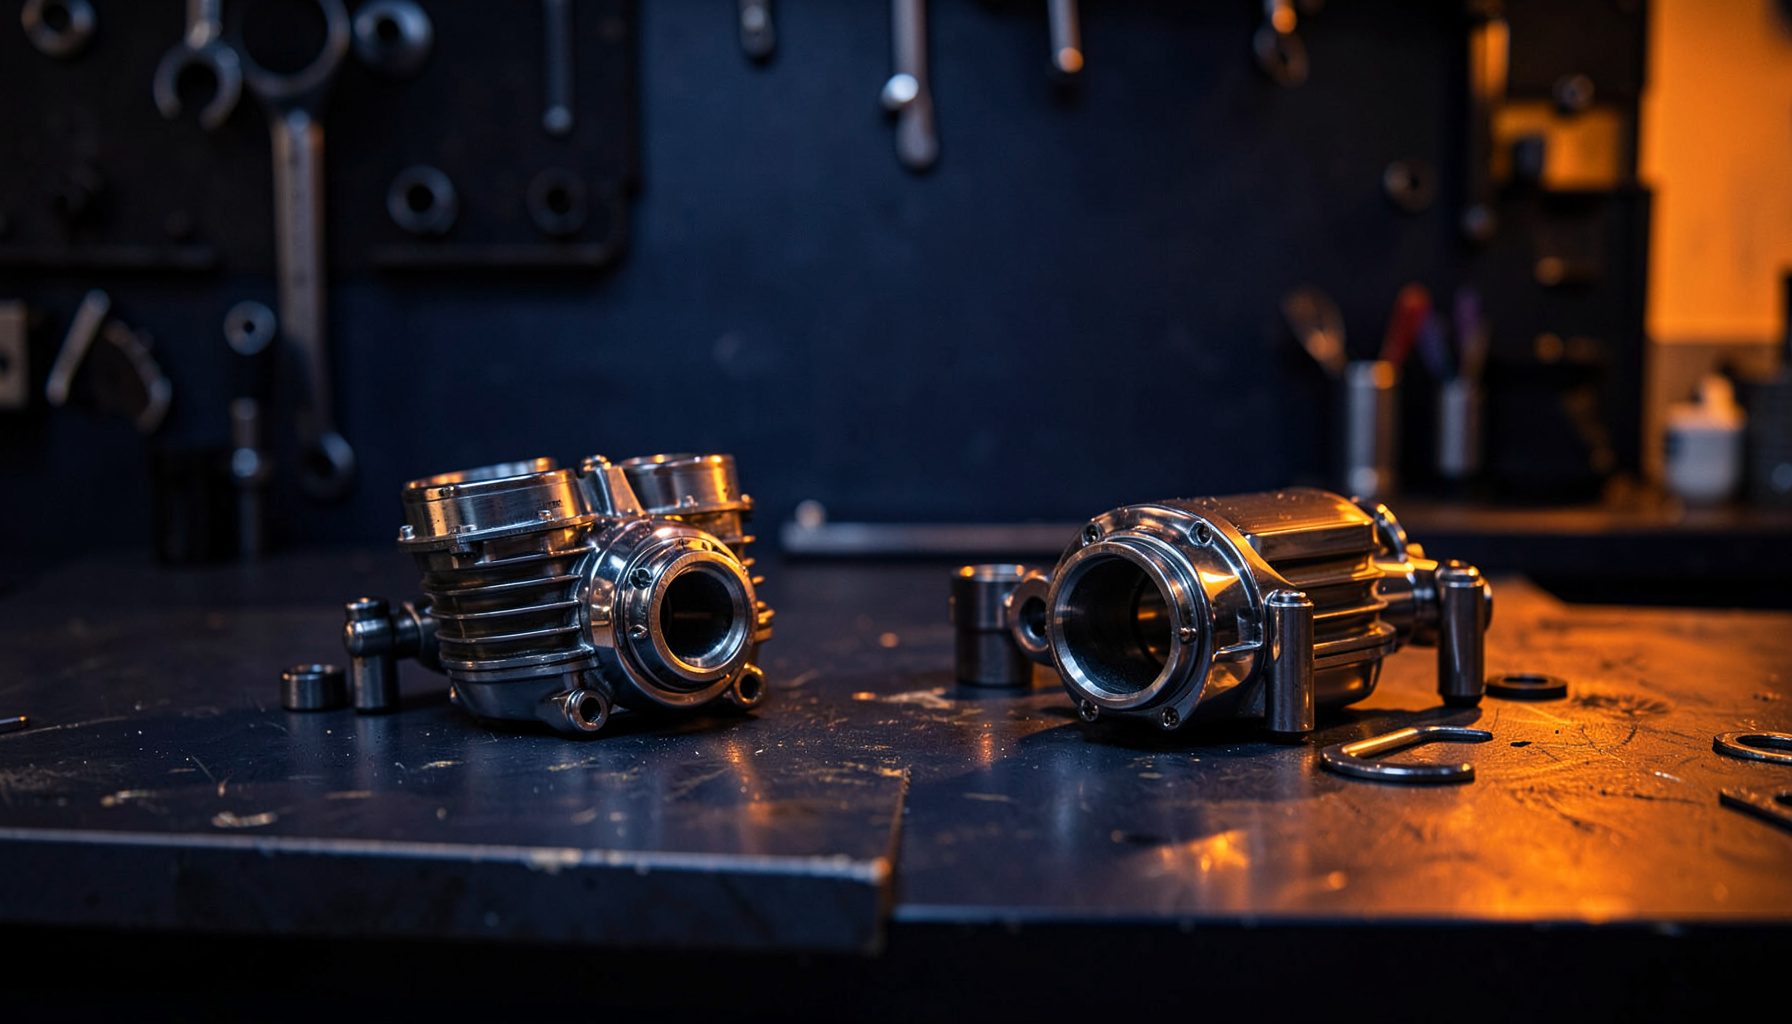
Motorcycle Exhaust Gasket Replacement Made Simple
A leaking exhaust gasket can turn a smooth-running motorcycle into a noisy, rough, and potentially unreliable machine. The usual signs include a sharp ticking sound near the cylinder head, black soot around an exhaust joint, popping on overrun, or a faint smell of exhaust gases while riding. Replacing the seal is often a manageable home maintenance job when the fasteners are accessible.
Exhaust gaskets are designed to crush and seal the joint between the cylinder head and header pipe, or between sections of the exhaust system. Once disturbed, an old gasket may not reseal properly. Reusing it can allow hot gases to escape, damage nearby components, and create inaccurate oxygen-sensor readings on fuel-injected motorcycles.
Australian riders may notice exhaust leaks more quickly during long summer rides around Brisbane, Sydney, or Perth, where high ambient temperatures place extra stress on the exhaust system. Dust, road grime, and corrosion from coastal air can also make flange nuts and bolts difficult to remove. Allow extra time for cleaning and penetrating oil rather than forcing seized hardware.
Before ordering parts, confirm the motorcycle’s exact make, model, engine size, and year. A 2018 Yamaha MT-07, for example, may use a different gasket from a similar-looking model in another market. Pattern Parts supplies OEM-equivalent replacements and performance components, making accurate part identification important when choosing a standard exhaust seal or a gasket for an aftermarket header.
Confirm The Leak And Choose The Correct Gasket
Start with the engine completely cold. Inspect each exhaust connection, including the cylinder-head outlet, collector joints, muffler sleeve, and any link pipe. Look for dark carbon marks, a loose flange, damaged springs, or a small gap around the joint. A gentle puff of air or a ticking noise during a brief start-up can help locate the leak, but keep hands, clothing, and tools away from hot or moving parts.
The replacement part may be a flat copper gasket, a graphite ring, a multi-layer steel seal, or a crush-style exhaust donut. These shapes are not interchangeable. Check the workshop manual or a reliable motorcycle parts catalogue, and compare the new gasket with the old one before beginning. If the exhaust has been modified with an aftermarket system, use the manufacturer’s specification rather than assuming the original factory gasket will fit.
Gather Tools And Prepare The Motorcycle
Typical tools include metric sockets and spanners, an extension bar, penetrating fluid, a torque wrench, a wire brush, a plastic scraper, and suitable gloves. You may also need new flange nuts, exhaust springs, or replacement studs if the existing hardware is badly corroded. Avoid relying on an adjustable wrench, which can round soft or rusty fasteners.
Park the motorcycle securely on level ground. A paddock stand can improve access, while a centre stand may be sufficient for some models. Remove only the panels, bash plate, heat shield, or radiator guards that obstruct the exhaust joint. On liquid-cooled motorcycles, take care around hoses and the radiator. If an oxygen sensor must be disconnected, mark its routing and unplug it without twisting the wiring.
Allow penetrating fluid to soak into rusty threads. Australian coastal areas such as Newcastle and the Gold Coast can be particularly hard on exposed exhaust hardware, while bikes used on unsealed roads may carry compacted dirt around the flange. Do not work under a motorcycle supported only by a side stand if removing a substantial exhaust section.
Remove The Old Exhaust Seal
Loosen the exhaust fasteners gradually and evenly. If the gasket is at the cylinder head, support the header pipe before removing the final nuts or bolts so its weight does not pull against the studs. For a joint farther along the system, loosen the clamp and remove the mounting bolt or bracket as required. Gentle rocking can free the pipe, but avoid levering against the cylinder head or damaging the sealing face.
Remove the old gasket with a pick or blunt scraper, taking care not to scratch aluminium surfaces. Some crushed seals remain tightly lodged in a recessed port. Confirm that every piece has been removed, then clean carbon deposits from both mating faces with a brush and solvent approved for the area. Do not allow debris to fall into the exhaust port, and do not use aggressive abrasives that can distort the flange.
Inspect the studs, threads, flange, springs, and pipe for cracks or warping. A new gasket cannot compensate for a split header, distorted flange, or severely damaged cylinder-head outlet. Replace questionable hardware now, while access is available. If a stud starts to turn in the head or a bolt shears, stop and arrange appropriate mechanical repairs rather than applying increasing force.
Install The New Gasket And Refit The Pipe
Place the new exhaust gasket squarely in its recess or over the outlet, depending on the design. Do not apply silicone, exhaust paste, grease, or copper slip to the sealing surface unless the gasket or motorcycle manufacturer specifically permits it. Sealants can burn, contaminate an oxygen sensor, or prevent a crush gasket from seating correctly.
Refit the header or exhaust section without forcing it into position. Start every nut and bolt by hand, then tighten the fasteners evenly so the flange draws down squarely. Follow the workshop manual for the correct torque and tightening sequence. If no model-specific figure is available, obtain technical guidance rather than guessing; overtightening can pull studs from an aluminium cylinder head, while insufficient torque allows another leak.
Reconnect the oxygen sensor and return its wiring to the original clips, keeping it away from the header and moving parts. Reinstall heat shields, brackets, body panels, and any protective guards. Check that the exhaust has adequate clearance from brake lines, wiring, fairings, luggage, and the rider’s leg.
Test The Repair And Maintain The Joint
Start the engine outdoors in a well-ventilated area and let it idle. Listen for ticking or hissing, then hold a small strip of tissue near—but never against—the joint to detect escaping gases. Inspect for fresh soot after the engine has cooled. Do not place bare fingers near the exhaust, and never run a motorcycle in a closed garage.
The first heat cycle may settle the gasket. Once the system is fully cold again, recheck accessible fasteners according to the manufacturer’s instructions. Some exhaust systems require a second torque check, while others use self-locking nuts that should not be retightened repeatedly. If popping, poor throttle response, or a warning light remains, investigate for another leak or an oxygen-sensor issue.
A properly sealed exhaust supports stable fuelling, quieter operation, and safer gas routing. This matters on long-distance trips between Melbourne and regional Victoria, on hot rides through Western Australia, and during vehicle inspections where excessive noise or insecure exhaust components may attract attention. Keep the old gasket only for identification, not as a future spare.
Practical Checks Before You Ride Away
- Confirm the gasket shape, dimensions, and application against the motorcycle’s exact year and model.
- Work only with a cold exhaust and support the pipe before removing flange fasteners.
- Replace crushed gaskets rather than trying to reuse them after disassembly.
- Clean carbon from both sealing faces without scratching or gouging aluminium.
- Use the manufacturer’s torque values and tightening sequence wherever available.
- Check oxygen-sensor wiring, heat shields, brackets, and exhaust clearance after refitting.
- Reinspect for leaks after the first heat cycle and short test ride.
A replacement exhaust gasket is a small part with an important role in engine performance and rider safety. Browse the motorcycle exhaust gaskets, fasteners, exhaust components, and related maintenance parts available from Pattern Parts, then match the component carefully to your bike before placing the order. With the right seal and a methodical installation, you can restore a quiet, secure exhaust joint ready for daily commuting or the next Australian road trip.