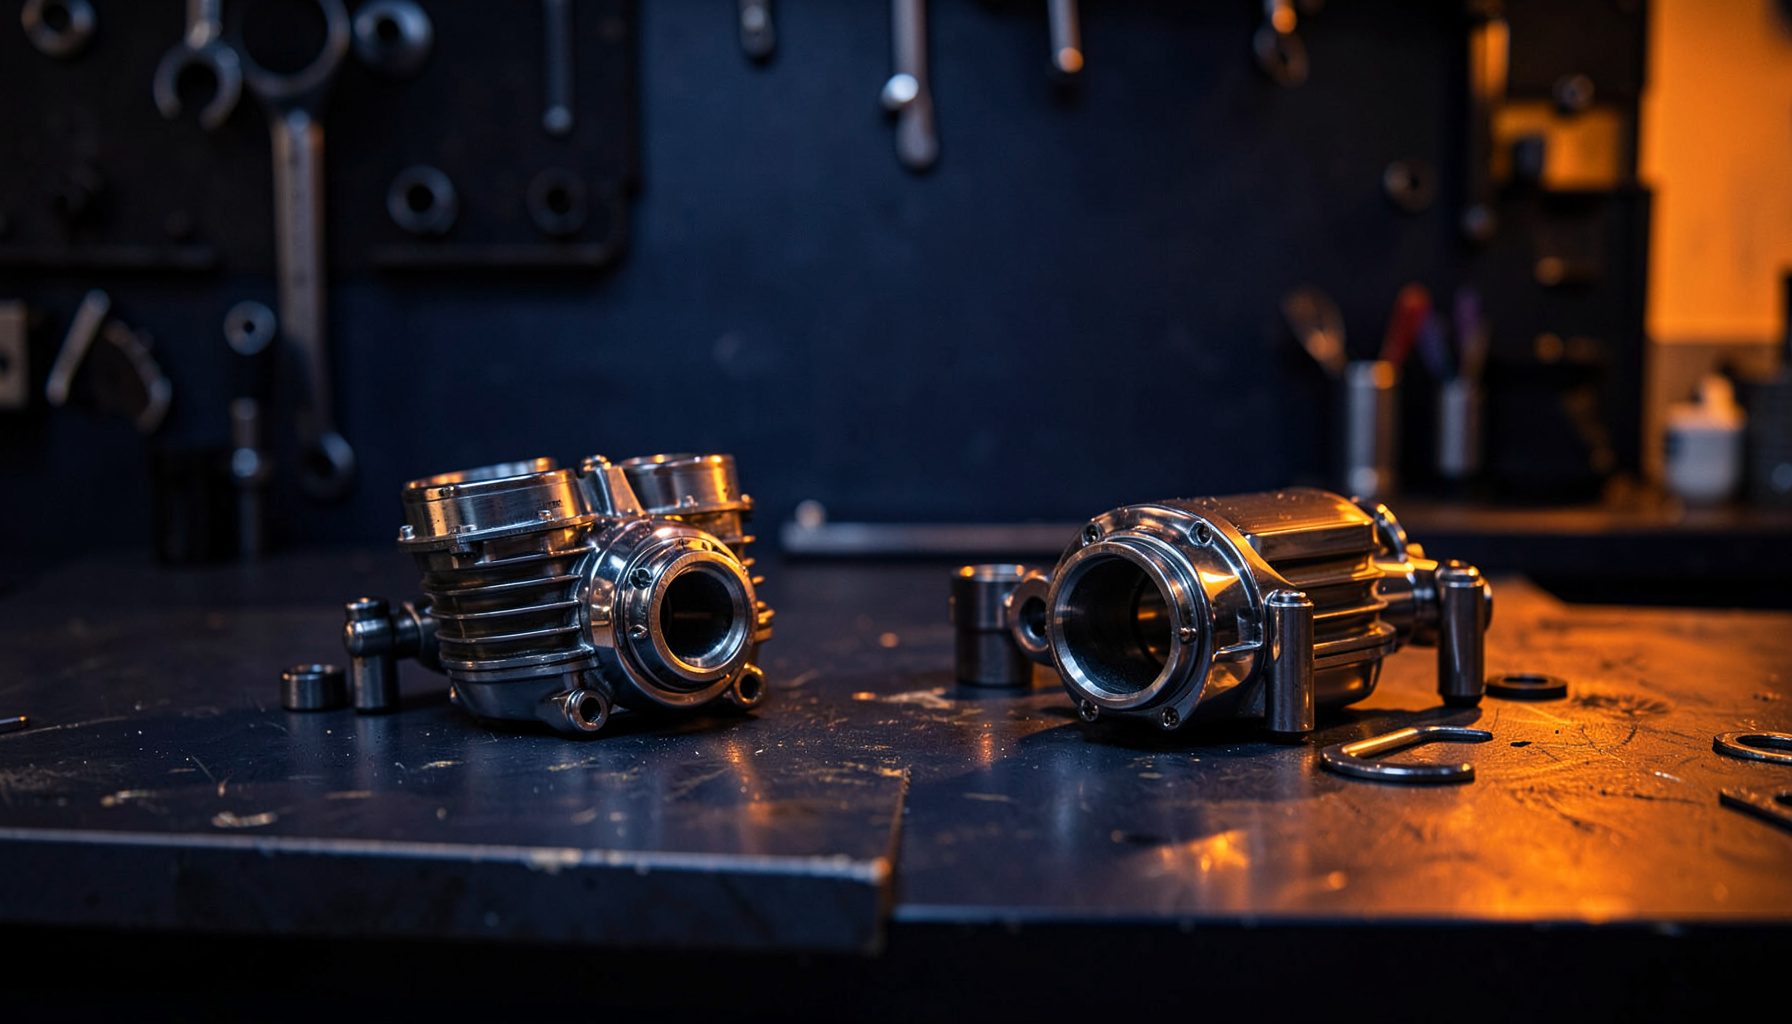
The complete guide to motorcycle wheel bearings replacement
Wheel bearings are the unsung heroes of every motorcycle, quietly transferring load from the axle to the hub while allowing the wheel to spin with minimal friction. Tucked inside the hub on both ends of the spindle, these small steel rings determine how your bike tracks through corners and how predictably it stops. When they degrade, Australian riders who log serious mileage should never overlook them.
Most bikes sold in Australia accumulate kilometres quickly, whether commuting through Sydney's gridlock, carving laps at Phillip Island, or tackling the Stuart Highway outside Alice Springs. Wheel bearings live a hard life on rough chip-seal roads and corrugated outback tracks, and they suffer from water ingress when riding through tropical downpours in Cairns or splashing through flooded causeways during the Wet. Catching wear early protects your wheel, brake rotors and neck.
The replacement job sits within the reach of a competent home mechanic with basic hand tools, a torque wrench, and a bearing driver set. You will need a clean workspace, access to a press or suitable drift, and a reliable source of quality components that match your hub dimensions.
Pattern Parts stocks more than thirty thousand motorcycle components and supplies riders across the UK, Europe and Australasia with OEM-equivalent bearings, seals and specialist tools. Before tackling the job, it is worth reading through the Pattern Parts background to understand the catalogue and which part numbers suit your machine.
Recognising the warning signs of failing wheel bearings
A healthy bearing feels silky smooth when the wheel is rotated by hand, with no graininess or detectable play when you rock the wheel. The first symptom most riders notice is vagueness in the steering at motorway speeds, where the front end feels reluctant to settle. You might also hear a low hum or rhythmic grinding that changes with road speed but persists regardless of engine RPM.
Physical inspection comes next. On a centre stand or paddock stand, grip the top and bottom of the tyre and wobble the wheel. Any sideways movement suggests excessive play. Seized or partially seized bearings manifest as hot hubs after a ride, brake disc warping, or uneven tyre wear across the centre.
If you ride through Melbourne's wet winters or Brisbane's humid summers, moisture accelerates pitting on the races and washes out the factory grease. Salt spray from coastal roads around Perth or Hobart does the same, which is why many Australian riders adopt a more aggressive replacement schedule than the manufacturer suggests.
Common symptoms riders report
- Steering vagueness or a wandering front end at speed
- Grinding, humming or clicking noises that vary with road speed
- Visible play when rocking the wheel by hand
- Hot hub centres or brake disc discolouration after riding
Gathering tools, parts and workspace preparation
Preparation separates a smooth job from a frustrating weekend. Start by confirming your hub dimensions, bearing part number, and whether your bike uses sealed or shielded units. Some older bikes and most scooters use caged ball bearings, while many sports bikes run tapered roller bearings installed as matched pairs.
You will need a bearing driver, seal puller, soft-faced mallet, degreaser, clean rags, fresh high-temperature grease, and a torque wrench with accurate low-range settings. A workshop manual is invaluable for torque figures and removal sequence.
Essential items for the job
- Bearing driver set or correctly sized sockets for the outer races
- High-temperature waterproof bearing grease suitable for motorcycle hubs
- Seal puller, circlip pliers and a soft-faced mallet
- Torque wrench calibrated in the low Newton-metre range
Set up on a level concrete floor or sturdy workbench with good lighting. Use a magnetic tray for circlips and spacers, and have solvent ready. Ensure your garage has proper workshop ventilation to safely handle cleaning fluids, particularly during the colder months in Canberra or Hobart.
Removing the wheel and accessing the bearings
With the bike secured on a stand, loosen the axle nut and brake caliper bolts. On the rear, remove chain adjustment, slacken the chain, and push the wheel forward to free it from the sprocket. Mark spacer positions so they return exactly, particularly on shaft-driven tourers. Slide the wheel out and rest it across two blocks of wood on the bench.
Strip the brake disc, cush drive rubbers, sprocket carrier and speedometer drive from the hub. Photograph each step. Remove the circlip or dust cover that retains the bearing on one side. Some hubs have a circlip only on the left, while others rely on interference fit alone.
Place the hub on a solid surface and drift the old bearing out using a socket that bears only on the outer race. Never strike the inner race or balls, as this damages the bore. Repeat on the opposite side, remove old grease, and inspect the bore for scoring or elongation.
Installing new bearings and seals correctly
Fresh bearings should stay sealed until installation. Handle them with clean gloves to avoid contaminating the rolling elements. Pack each bearing with grease by working lubricant into the cage and between the balls until it oozes evenly. For tapered roller bearings, pack the cage thoroughly but avoid overfill that migrates to the brake disc.
Drive the first bearing in square using a driver that contacts only the outer race, seating it against the shoulder. Use a mallet or arbor press, checking the bearing goes in straight rather than at an angle. Install the central spacer, then repeat for the opposite bearing. Fit seals with lips facing inward, pressing them home evenly with a seal driver.
Reassemble circlips, speedometer gear, cush drive rubbers, sprocket carrier and brake disc in reverse order, replacing stretched rubbers or worn circlips. Torque sprocket and disc bolts to manufacturer figures in a criss-cross pattern to prevent distortion.
Reassembling the wheel and torque specifications
Refit the wheel, aligning adjusters or spacers with your earlier marks. For chain-driven bikes, set tension to the slack specified in the manual, usually twenty to thirty millimetres at the swingarm midpoint. For shaft-drive machines, align the adjuster marks exactly as they were before removal.
Torque the axle nut progressively, checking the wheel spins freely without binding and the brake caliper sits properly with no pads dragging. On bikes with ABS rings or speed sensors, ensure the pick-up is aligned and the gap is within specification. Tighten caliper bolts, chain adjusters and brake line brackets to stated torque values.
Take the bike for a short test ride at low speed in a quiet street before venturing into traffic. Bed the brakes in with progressive stops and listen for abnormal noises from the wheel area. Check hub temperature after the first few kilometres; anything above lukewarm suggests the bearings are over-tightened and need readjustment.
Post-installation checks and ongoing maintenance
A newly installed bearing set should provide many thousands of trouble-free kilometres, but quick inspections every service interval will extend their life. Spin each wheel during routine chain adjustments and rock it to confirm no developing play. If you frequently ride through river crossings or wash your bike with a pressure washer, consider a six-monthly maintenance cycle rather than yearly.
Grease migration is the enemy of sealed bearings, so watch the seal lips for weeping or hardening. In Australia's variable climate, from Uluru's dry heat to the Great Ocean Road's salt spray, proactive replacement beats reactive repair. Keep a record of bearing dates and mileages so you can predict the next service before a problem appears on a remote stretch of highway.
For riders who tackle track days at The Bend in South Australia or commute year-round through Brisbane, high-quality aftermarket bearings make a worthwhile upgrade over standard items. Browse the full catalogue and source the correct bearing kit, seal set and grease for your specific model via the Pattern Parts online shop, where experienced staff can match part numbers to your bike and ship directly to Australia.