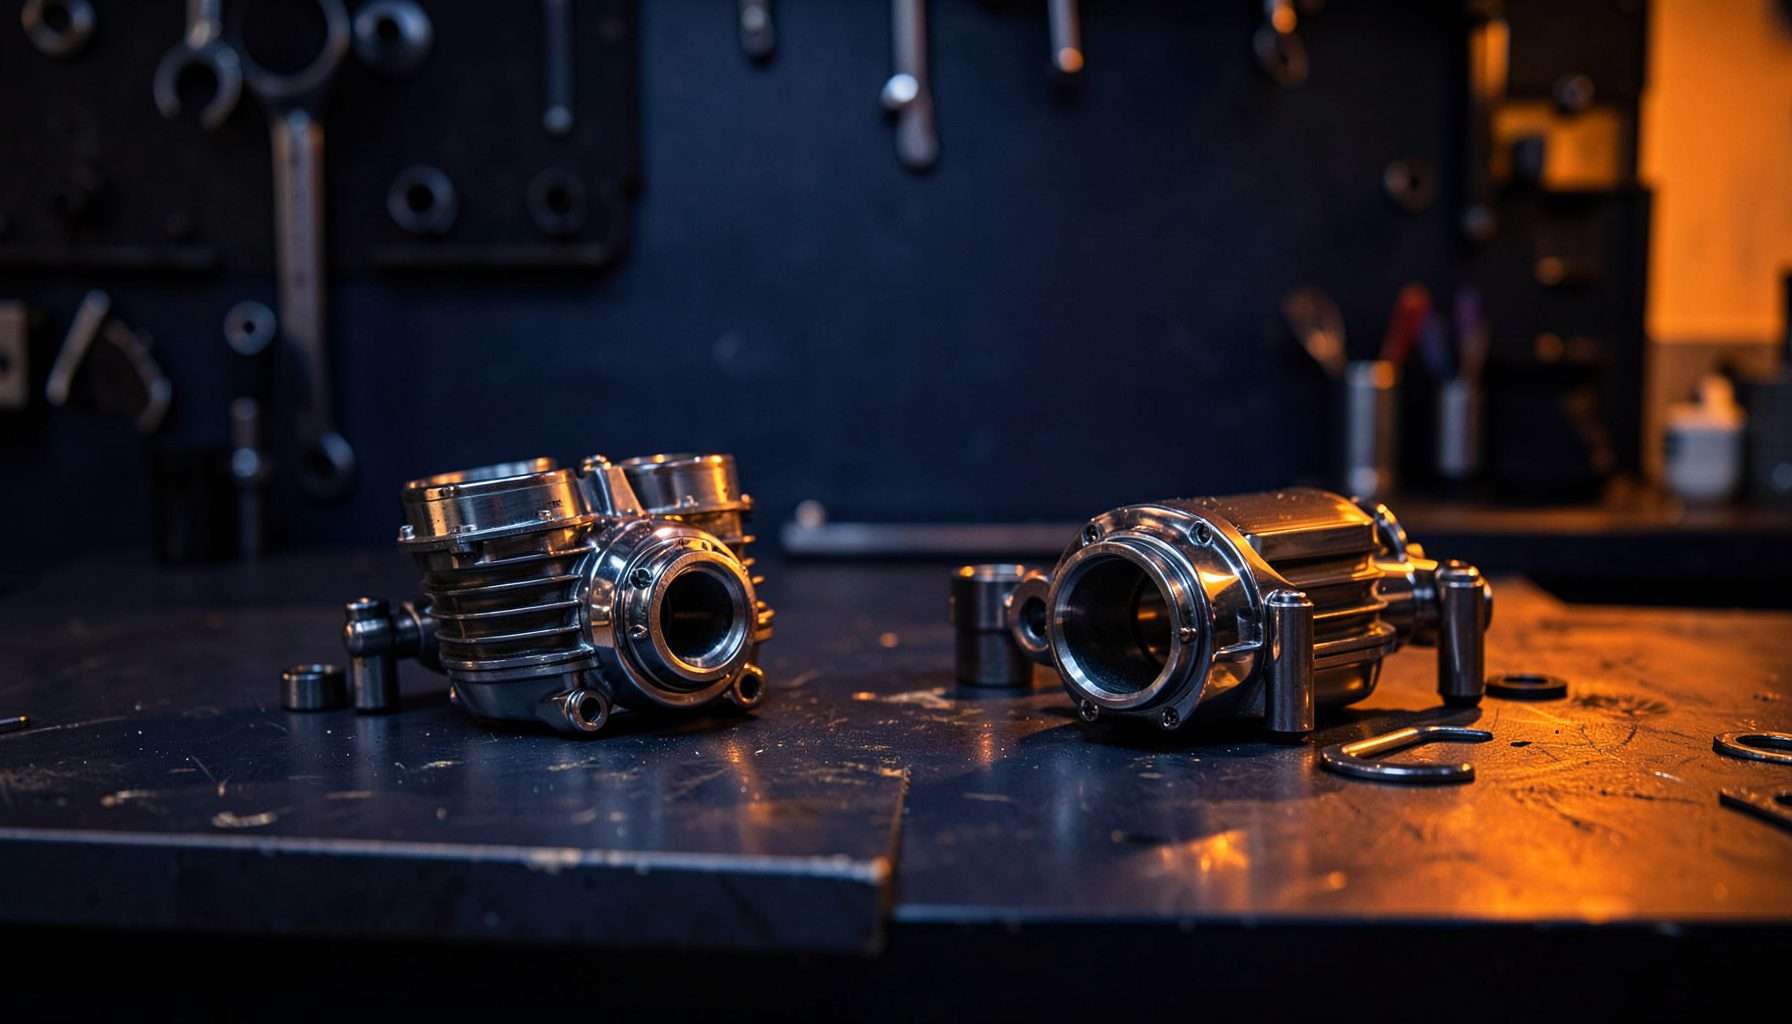
Fork seal replacement essentials for Australian riders
A wet film on a motorcycle fork stanchion, oil weeping below the dust seal, or a seal that has become hard and cracked usually means the sealing system needs attention. Small traces of grease are normal on many sliding surfaces, so inspect the fork in daylight and wipe it clean before deciding.
Replacing motorcycle fork seals is more than choosing a circle of rubber. Conventional and upside-down forks use different arrangements, and an incorrect seal can leak, affect damping, or damage the stanchion. The fork model, measurements and service instructions matter more than a generic diameter alone.
Spotting signs that a seal needs replacing
The clearest warning is fresh oil on the exposed stanchion or a ring of residue around the dust wiper. Check whether the oil reappears after a clean wipe and a short ride. A seal may pass this test briefly yet harden, tear, or lose grip around the sliding surface.
A greasy fork that still moves smoothly may only need cleaning. A heavy oil film, damaged rubber, or contamination entering the fork calls for replacement. Roughness, a notch in the stanchion, or excessive play may point to rust, a damaged bushing, or scoring, so inspect the complete sliding assembly rather than blaming the seal alone.
Identifying your fork and the exact seal
Record the motorcycle’s make, model, model year, engine capacity, and fork brand before ordering. Popular Australian-market examples include Honda CRFs, Yamaha MT-07s and FZ1s, Suzuki DR-Zs, KTM 300 EXCs, and Triumph scramblers. Production changes within one model year can alter fork dimensions, so the VIN and parts manual are more reliable than appearance.
Measure the seal’s internal diameter, external diameter, height, and slide fit, and distinguish the main seal from the dust wiper. Some listings describe a seal as internal or external, depending on whether it sits in the outer tube or lower slider. Choose a matched pair, and select OEM-equivalent replacements or verified aftermarket upgrades suited to the fork’s original design.
Preparing the bike and the work area
Use the model-specific service manual for removal, refill, bleeding, and torque settings. Gather the correct seals, retainers, fork oil, circlip pliers, a suitable seal tool, sockets, a torque wrench, and a drain pan. Support the motorcycle securely, remove the front wheel as directed, and prevent brake fluid or dirt from entering the open fork.
Australian riders in Brisbane, Melbourne, and Sydney often deal with summer heat, road dust, and occasional corrugated sections that punish worn suspension. Work in a clean, shaded area, label parts before removal, and keep grit off polished tubes. Dispose of used oil through an approved collection point or local council service rather than pouring it into a storm drain.
Removing old seals and installing replacements
Photograph the retainer stack and note the orientation of washers and shims. Drain the fork, remove the retaining clip, and draw out the old seal without scratching the bore or stanchion. Conventional forks may provide access once the axle and lower hardware are removed; inverted forks often require cartridge disassembly and specialist knowledge.
Inspect the chrome for pitting, rust, flat spots, and deep scratches. A seal can stop a leak yet still allow oil past a scarred tube, so replacement may be uneconomical if the stanchion is damaged. Replace worn bushings separately where required, and treat seals, dust wipers, O-rings, and circlips as a coordinated job.
Install the new seal squarely with even pressure, using a plastic tool and following the manufacturer’s lubrication guidance. Do not force a tight seal over a burr or use a screwdriver against the sealing lip. Seat each retainer in the correct order, then clean every surface that will pass near the new rubber.
Refilling, bleeding, and setting up the fork
Use only the oil grade, quantity, additives, and volume specified for the motorcycle. Incorrect viscosity changes damping and heat management, while overfilling can cause harshness, seal leakage, or loss of travel. Refill and bleed the fork by the prescribed method, then watch the oil level through the sight glass or inspection port.
Set spring preload within the maker’s range, then measure static sag. Many modern forks settle to roughly one-quarter to one-third of travel, but the service manual takes priority. Check low-speed rebound and compression, pump the front brake, confirm wheel clearance, and torque the axle, pinch bolts, and fork fasteners to model-specific figures.
Take a short test ride away from traffic and check for renewed oil marks, noise, or inconsistent damping. A fork that remains stiff, bouncy, or harsh may need professional bleeding. Keep the old seals and drain oil until the repair passes a road test.
A practical checklist for fork-seal work
Use this parts list before checkout:
- Confirm the fork brand, year, and seal dimensions
- Match the main seal and dust wiper
- Check the retaining clip, washers, and O-rings
- Verify the specified fork oil and volume
Use this workshop list before starting:
- Secure the bike and support the front end
- Protect the stanchions from tool marks
- Keep the work area clean and contain oil
- Record torque, sag, and preload settings
Ordering from UK suppliers in Australia
Pattern Parts is a Nottingham-based online supplier with more than 30,000 motorcycle parts, including OEM-equivalent replacements and aftermarket upgrades. Compare its seal range and technical guidance with local motorcycle shops in Sydney, Melbourne, or Brisbane and specialist Australian retailers. Check stock, dispatch times, and return terms before paying.
Account for exchange rates, card fees, Australian tax, and customs. Low-value imports can attract GST, while consignments above AUD 1,000 may require formal clearance and attract duty. UK VAT treatment can change the displayed total, so confirm what is payable on delivery. Transit time from the UK also makes a wrong fitment costly.
General UK storefronts such as Corteiz Cargo UK sit within the same cross-border retail environment, but they cannot establish motorcycle fork compatibility. Use the manufacturer’s data, the bike’s VIN, and measurements from the removed seal to decide, and confirm the supplier’s exchange policy if dimensions or packaging are wrong.
Before ordering, identify the exact fork and record both seal measurements. Browse Pattern Parts’ fork components and replacement seals, then order the matched set, correct oil, and required retainers together. If the fork is inverted or the manual is unclear, book a qualified motorcycle mechanic to complete the strip, refill, bleed, and setup.