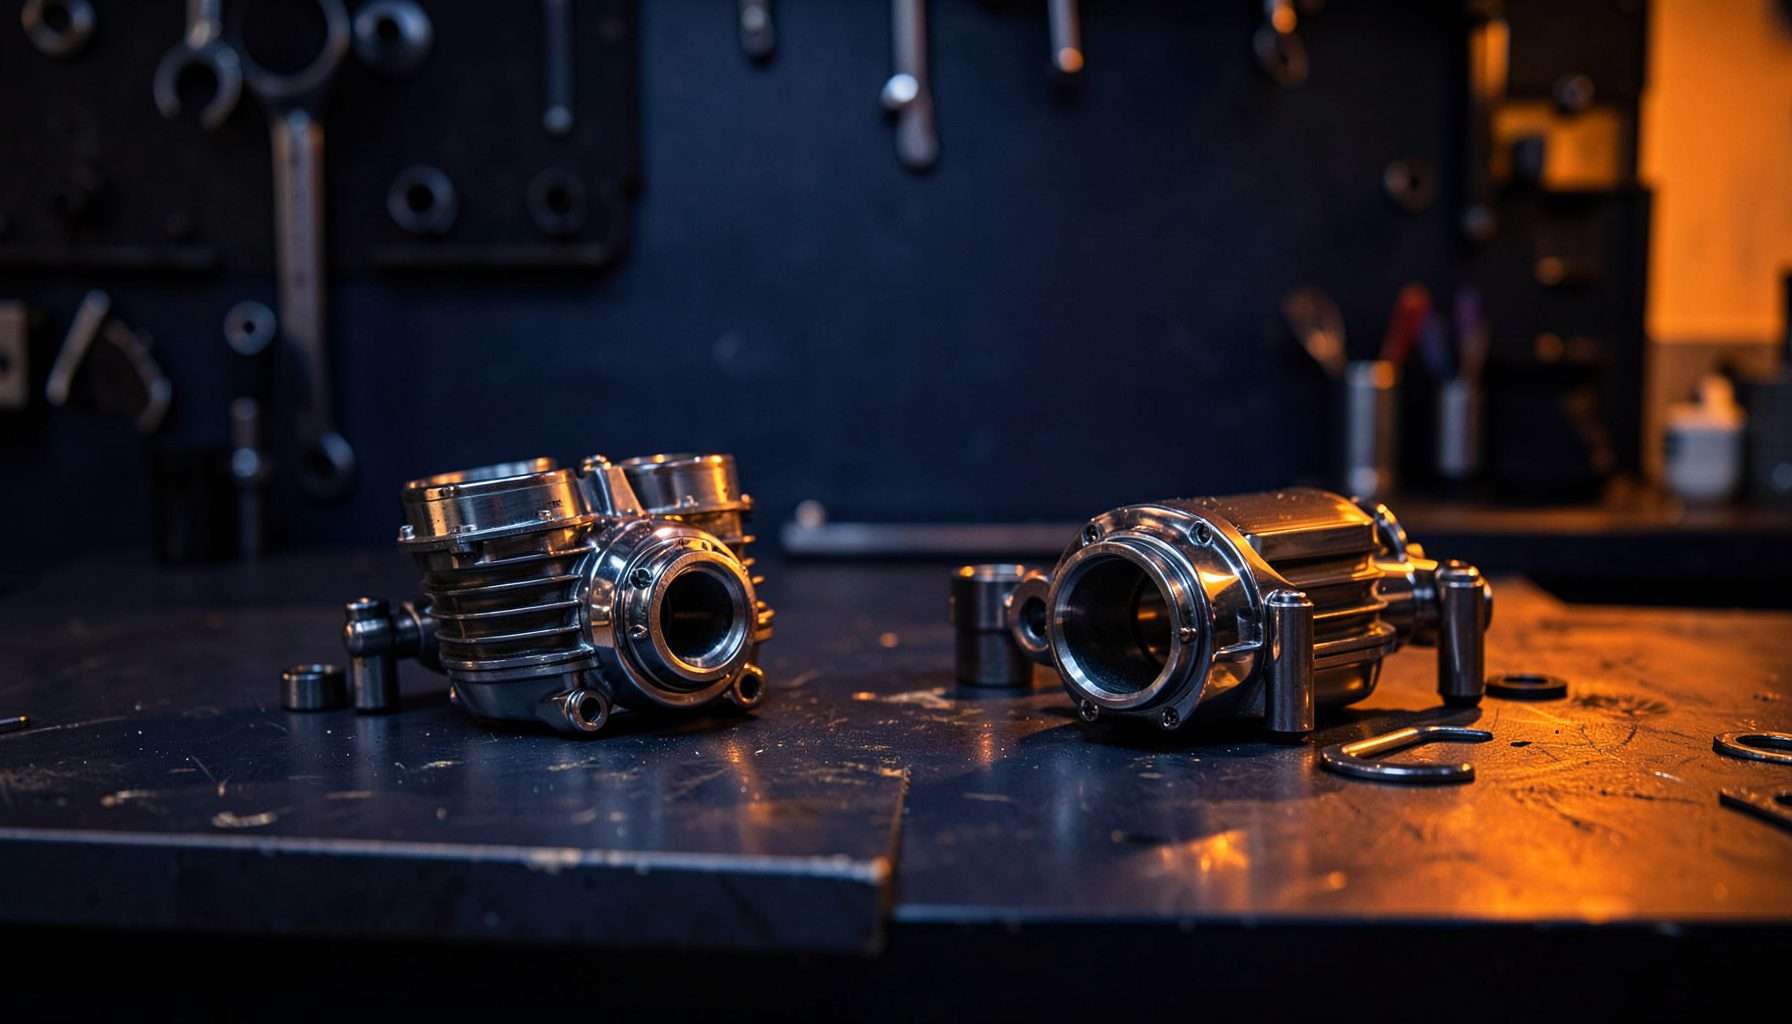
How to Replace a Motorcycle Starter Motor
If you've ever pressed the start button only to be greeted by a hollow click, a high whir, or silence, you know the dread of a dud starter motor. Swapping one out isn't the trickiest job on a home mechanic's list, but it rewards a methodical approach and a few specialist tools.
For Australian riders, this fix carries extra weight. Long stretches of highway between country towns mean a tow to the nearest workshop isn't always an option. Whether you're prepping a BMW GS for a run through the Top End or sorting the trusty street bike you ride to work in Melbourne, knowing how to replace a motorcycle starter motor yourself is a real confidence boost.
This walkthrough covers diagnosing the cause, gathering parts, dropping the old unit, and refitting the new one — in plain language rather than workshop jargon. It also covers how Aussie conditions put extra strain on starters, and how to keep the replacement alive.
Recognising the Symptoms of a Failing Starter
The first clue usually comes as a sound. A healthy starter kicks the engine over with authority — a quick spinning "rrrrr" followed by a catch. When that collapses into a sharp click every time, the culprit is usually a starter not engaging, often a worn sprag clutch inside. Another classic is a whirring noise with no crankshaft movement — the motor spins but doesn't drive the engine. On big-bore adventure bikes common in Australian garages, this often traces back to heat soak during slow summer cranking. Intermittent operation is the trickiest symptom to chase, with loose or corroded connectors and oxidised power leads the typical offenders, especially on machines stored outdoors in humid coastal cities like Sydney or Brisbane.
| Symptom | Most probable cause |
|---|---|
| Sharp click, no crank | Weak battery, poor earth, dud solenoid |
| Whirring, no rotation | Sprung clutch or stripped gear teeth |
| Complete silence | Open circuit, blown fuse, or dead motor |
| Works cold, fails hot | Heat damage to windings |
| Intermittent operation | Loose or corroded connectors |
Match what you're hearing against the table and you've usually narrowed the issue within a couple of attempts. Symptoms in the lower rows generally mean a full replacement rather than a quick repair.
What Goes Wrong Inside a Starter
Most starters are sealed units housing an electric motor, a solenoid, and a sprag-style clutch. The motor is honest workhorse hardware, but the bearings, brushes, and clutch mechanism live a hard life. Heat cycling, vibration, and every ignition jolt add up over the years.
Electrical faults are common too. A solenoid coil that has lost resistance won't pull the plunger in, leaving the motor disengaged. Moisture is a particular headache for bikes stored outdoors during North Queensland's wet season, where humid air works into joints and corrodes copper windings.
Tools, Parts and Safety Gear
A starter swap falls into moderate-difficulty territory. You'll want a basic metric socket and spanner set — 8mm, 10mm, 12mm and often 14mm sockets cover most starter mounting bolts. A torque wrench is non-negotiable, since over-tightening cracks alloy cases.
Beyond sockets, plan on a multimeter for testing voltage draw, long-nose pliers, cable ties, and dielectric grease for the connectors. A paddock stand makes life easier, particularly on sports bikes. Source a replacement starter matched exactly to your bike — Pattern Parts stocks OEM-equivalent and aftermarket units across countless brands, so you don't wait weeks for parts to arrive from elsewhere.
Prepping the Bike Before You Start
Disconnect the battery first, every time. Ideally isolate the system completely so stray current can't arc across your spanner when working near live terminals. Modern bikes carry capacitor banks that hold charge for minutes, so let things settle before you begin.
Locate the starter — almost always down by the engine cases, near the crank axis on the right side of most Japanese and Italian bikes, or tucked low and left on many BMW twins. Drain any fluids in the way; on some machines, oil runs through a passage right next to the starter mount. Pop a drain pan underneath, capture what comes out, and top up fresh oil during reassembly.
Removing the Old Starter Motor
Unplug the main power cable and the smaller solenoid wire first, tagging them if the wiring isn't clearly marked. The heavy battery lead usually bolts directly onto the starter body, with a separate spade connector feeding the solenoid trigger wire.
Crack the mounting bolts — often torqued tighter than expected, especially if thread-lock was used. A six-point socket prevents rounding the heads, and penetrating oil on the threads the night before pays off on high-kay bikes. Once out, gently lever the starter from its housing; some units slide straight out, others need a touch of wiggling to clear the clutch basket. Don't pry at the engine case with a screwdriver — that scores soft alloy and starts weeping oil later.
Fitting the New Starter and Reconnecting
Before sliding the new unit home, compare it side-by-side with the old one: same bolt pattern, same connector positions, same gear mesh profile. A mismatch is rare but happens when the wrong part gets ordered, and far easier to spot before the motor is half-fitted.
Apply a thin smear of silicone sealant around the O-ring or paper gasket, depending on what your bike uses. Some machines don't use a gasket and rely on a precise metal-to-metal fit, where cleanliness is everything. Snug the bolts by hand first, torque to spec in a criss-cross pattern, then reconnect the heavy cable before the solenoid terminal. Dielectric grease on both connections keeps moisture out — useful for bikes living outside or facing an occasional coastal fog.
Testing, Reassembly and Hitting the Road
Don't fully button the bike up yet. Press the button and listen — a healthy starter spins the engine over briskly, with a confident catch within half a second. If you hear the original symptoms replayed back, stop and recheck the connections before anything else.
Check current draw with the multimeter clamped around the battery lead; most bikes sit between 80 and 200 amps while cranking. A reading well outside that band suggests an internal short or poor earthing. Once everything checks out, refit panels, top up fluids, and bolt the seat home. While you're in there, a quick glance at the complete guide to motorcycle wheel bearings replacement is worthwhile if your bike is showing its age, since hubs and starter bearings share similar failure modes from long-term vibration.
Browse Pattern Parts for starter motors, solenoids, and a full range of replacement components, with Australia-friendly shipping and same-day despatch on most in-stock items — so your bike spends more time on the open road and less on the lift.