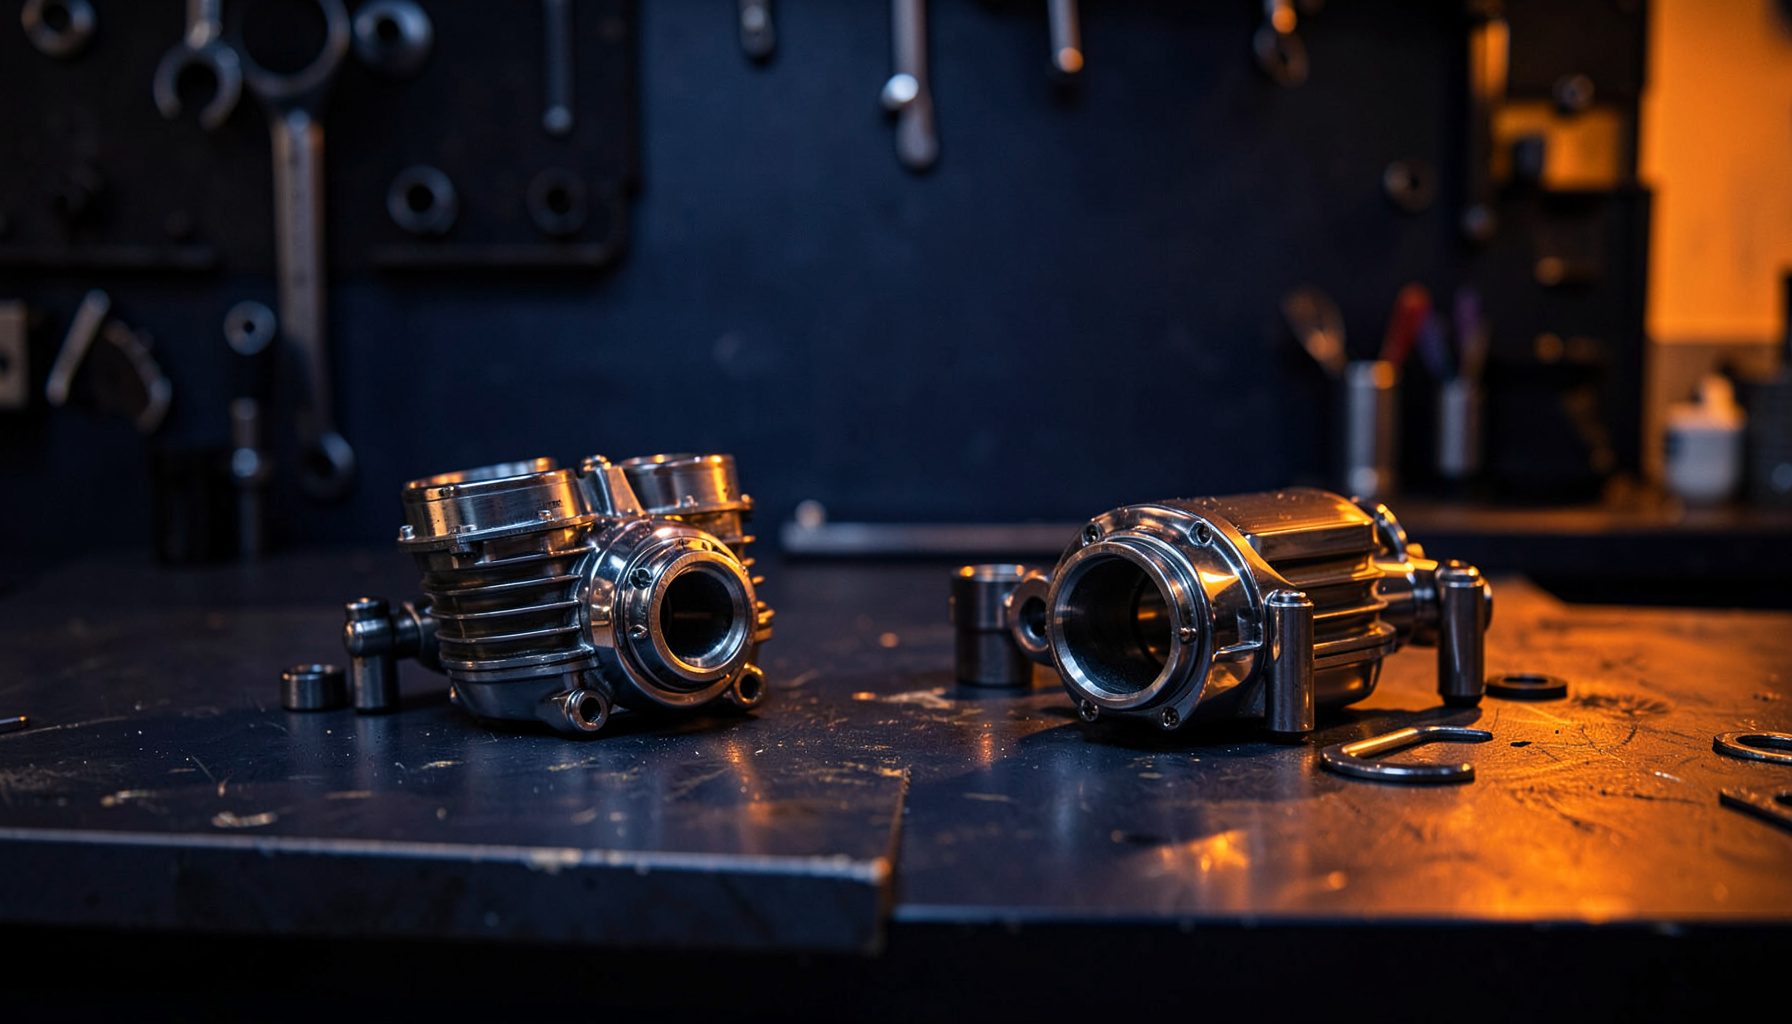
Restoring faded motorcycle plastic and paint: a detailed guide
Australian riders know the feeling. You park the bike in the driveway in Brisbane or Perth, and within months the once-vibrant tank and fairings start looking chalky and tired. The harsh southern sun and high UV index down here accelerate oxidation faster than almost anywhere else on the planet, and salt-laden coastal air around Sydney or the Mornington Peninsula adds another layer of punishment to any unprotected surface.
Even a well-maintained machine can develop dull patches on the dashboard, faded side panels, and oxidised headlight lenses after a couple of seasons. The good news is that bringing a tired-looking bike back from the brink is entirely achievable with the right products, a free weekend, and a bit of patience.
The Australian UV problem
Australia sits under a thinner ozone layer than most countries, and UV radiation here is notoriously aggressive. Polymer plastics, vinyl decals, and two-pack or single-stage paintwork all break down when exposed to this kind of sustained light. The chemical bonds in the pigment and clear coat degrade, leaving behind a powdery, bleached film that no amount of washing will shift.
Riders who commute along the Great Ocean Road or store bikes outdoors in Adelaide often notice the damage first on horizontal surfaces: the top of the tank, the seat cowl, and the upper fairing. Black plastic is particularly prone to going grey, while red and yellow paint can chalk to an almost pastel finish. If you've ever wondered whether a deeper mechanical issue might be linked to the problem, it's worth reading about checking valve clearances separately, since faded plastic won't affect engine timing but often coincides with general neglect.
Sorting cosmetic damage from structural issues
Before reaching for the polish, walk around the bike in good light and identify exactly what you're dealing with. Surface oxidation is a different beast from a deep scratch, and a chalky fairing is not the same as a cracked one. Use a fingernail to test how deep the damage goes. If your nail catches in a groove, you're looking at paint that needs more than a buff.
Take note of the headlight covers too. A cloudy lens is a safety issue, not just a cosmetic one, especially for night riding through the Blue Mountains or on unlit stretches out west. Make a quick list of which panels are simply faded, which have light scuffs, and which are genuinely damaged and might need replacement panels from a specialist supplier.
What you need in your restoration kit
You don't need a professional workshop, but you do need a few quality items. For a typical mid-size bike, a basic kit will cover the tank, fairings, mudguards, and trim pieces without costing a fortune.
- A selection of microfibre cloths in different grades
- A dual-action polisher for larger panels
- Cutting compound, polish, and finishing glaze
- Plastic restorer or trim dye for unpainted surfaces
Bringing faded plastic back to life
Unpainted plastic trim is the easiest win and the most dramatic transformation. Start by giving every piece a thorough wash with a pH-neutral soap to remove road grime and any old dressing. Dry completely, then work a small amount of plastic restorer into the surface using a foam applicator. Most products darken and saturate the original colour without leaving a greasy film, which matters for grippy areas like tank pads or knee guards.
For heavily oxidised plastic, a heat gun on a low setting can work wonders by drawing out the natural oils within the polymer. Keep the nozzle moving at least 20 centimetres from the surface and never linger in one spot. If the piece is beyond saving, aftermarket replacement panels are available for most popular Japanese and European models, and Pattern Parts carries a wide catalogue for riders rebuilding machines from the ground up.
Reviving oxidised paintwork
Paint restoration is a multi-stage process and rewards a methodical approach. Begin by taping off any trim, screen, or delicate badges, then wash the panel again and clay-bar the surface to remove embedded contaminants. A clay bar will pick up industrial fallout and bug residue that ordinary washing misses, particularly if you've been riding through the bush in regional Queensland or along dusty outback tracks.
The core polishing sequence looks like this:
- Cutting compound with a medium foam pad to remove oxidation
- Fine polish to refine the finish and eliminate swirl marks
- Glaze to deepen the colour and add richness
- Wax or sealant for protection and final gloss
Work in small sections, keeping the pad flat and the speed moderate. Wipe off residue with a microfibre cloth and inspect your work. Most faded single-stage finishes will show dramatic improvement at this stage, though you may need a second pass on particularly bad areas.
Sealing and long-term care
A freshly restored bike looks fantastic for about a week without protection, and then the sun starts its work again. Sealing the surface is therefore the most important step for Australian conditions. A quality carnauba wax will give a warm glow and lasts several months, while a ceramic coating provides longer protection at a higher upfront cost. Both create a sacrificial layer that takes the UV hit instead of your paint.
Parking habits matter too. A bike cover or a shaded spot in the garage cuts UV exposure dramatically, and riders in tropical Darwin or humid Cairns should wipe down the bike after wet rides to prevent water spots etching into the fresh finish. Once a season, a quick detail with a spray-on sealant keeps the finish holding strong between major restoration efforts.
Before you click buy, do your homework. The right compound for your paint type, the correct grit for your sanding pad, and the proper sealant for Australian conditions all matter, and reading detailed product guides helps just as much in this hobby as it does when reviewing a thorough bolt-action comparison. The workshop at Pattern Parts ships thousands of components from Nottingham to riders across Australia, and the same attention you give your engine deserves to go into the cosmetics. Grab a restoration kit, pick a mild weekend in Melbourne or Hobart, and spend a day bringing the colour back. Your bike will look years younger, and you'll enjoy every ride a little more for it.